User Guide
1. Introduction
(Contributed by Tan Yu Li, James)
Welcome to the User Guide of HairStyleX.
Today, many budding hair salons still resort to using pen and paper to keep track of their appointments, clients, and hairdressers due to their tight budget. While suitable for a small client base, this is not sustainable in the long run as their client base increases, since recording and searching for information manually would be slow and prone to human errors. Our salon management application HairStyleX is designed to make this process much easier for salon managers who have at least a laptop at their front desk.
This application uses a Command Line Interface (CLI); this means that you operate the application by typing commands into a Command Box. If you are fast at typing, you can manage your appointments faster than other Graphical User Interface (GUI) applications; GUI applications allow users to interact with the application through graphical icons such as buttons.
The purpose of this user guide is to provide you with an in-depth documentation on how to install and use our application. If this is your first time using this document, we recommend you to first visit Section 2, “About” to familiarise yourself with the terminology related to this user guide.
2. About
(Contributed by Tan Yu Li, James)
2.1 Structure of this document
There are many things you can do with HairStyleX. Thus, we have structured this user guide in such a way that you can easily find what you need. In the next subsection, Section 2.2, “Reading this Document”, you will find useful tips on reading this document. It is then followed by Section 3, “Quick Start” where installation details will be provided, and then Section 4, “Features” where the four main features of HairStyleX and their commands are documented:
-
Client Management
-
Hairdresser Management
-
Appointment Management
-
Shortcut Management
2.2 Reading this document
Before moving on to the next section, you may want to familiarise yourself with some technical terms, symbols and syntax that are used throughout the document. In this subsection, you can find all the information you need to know when reading this document.
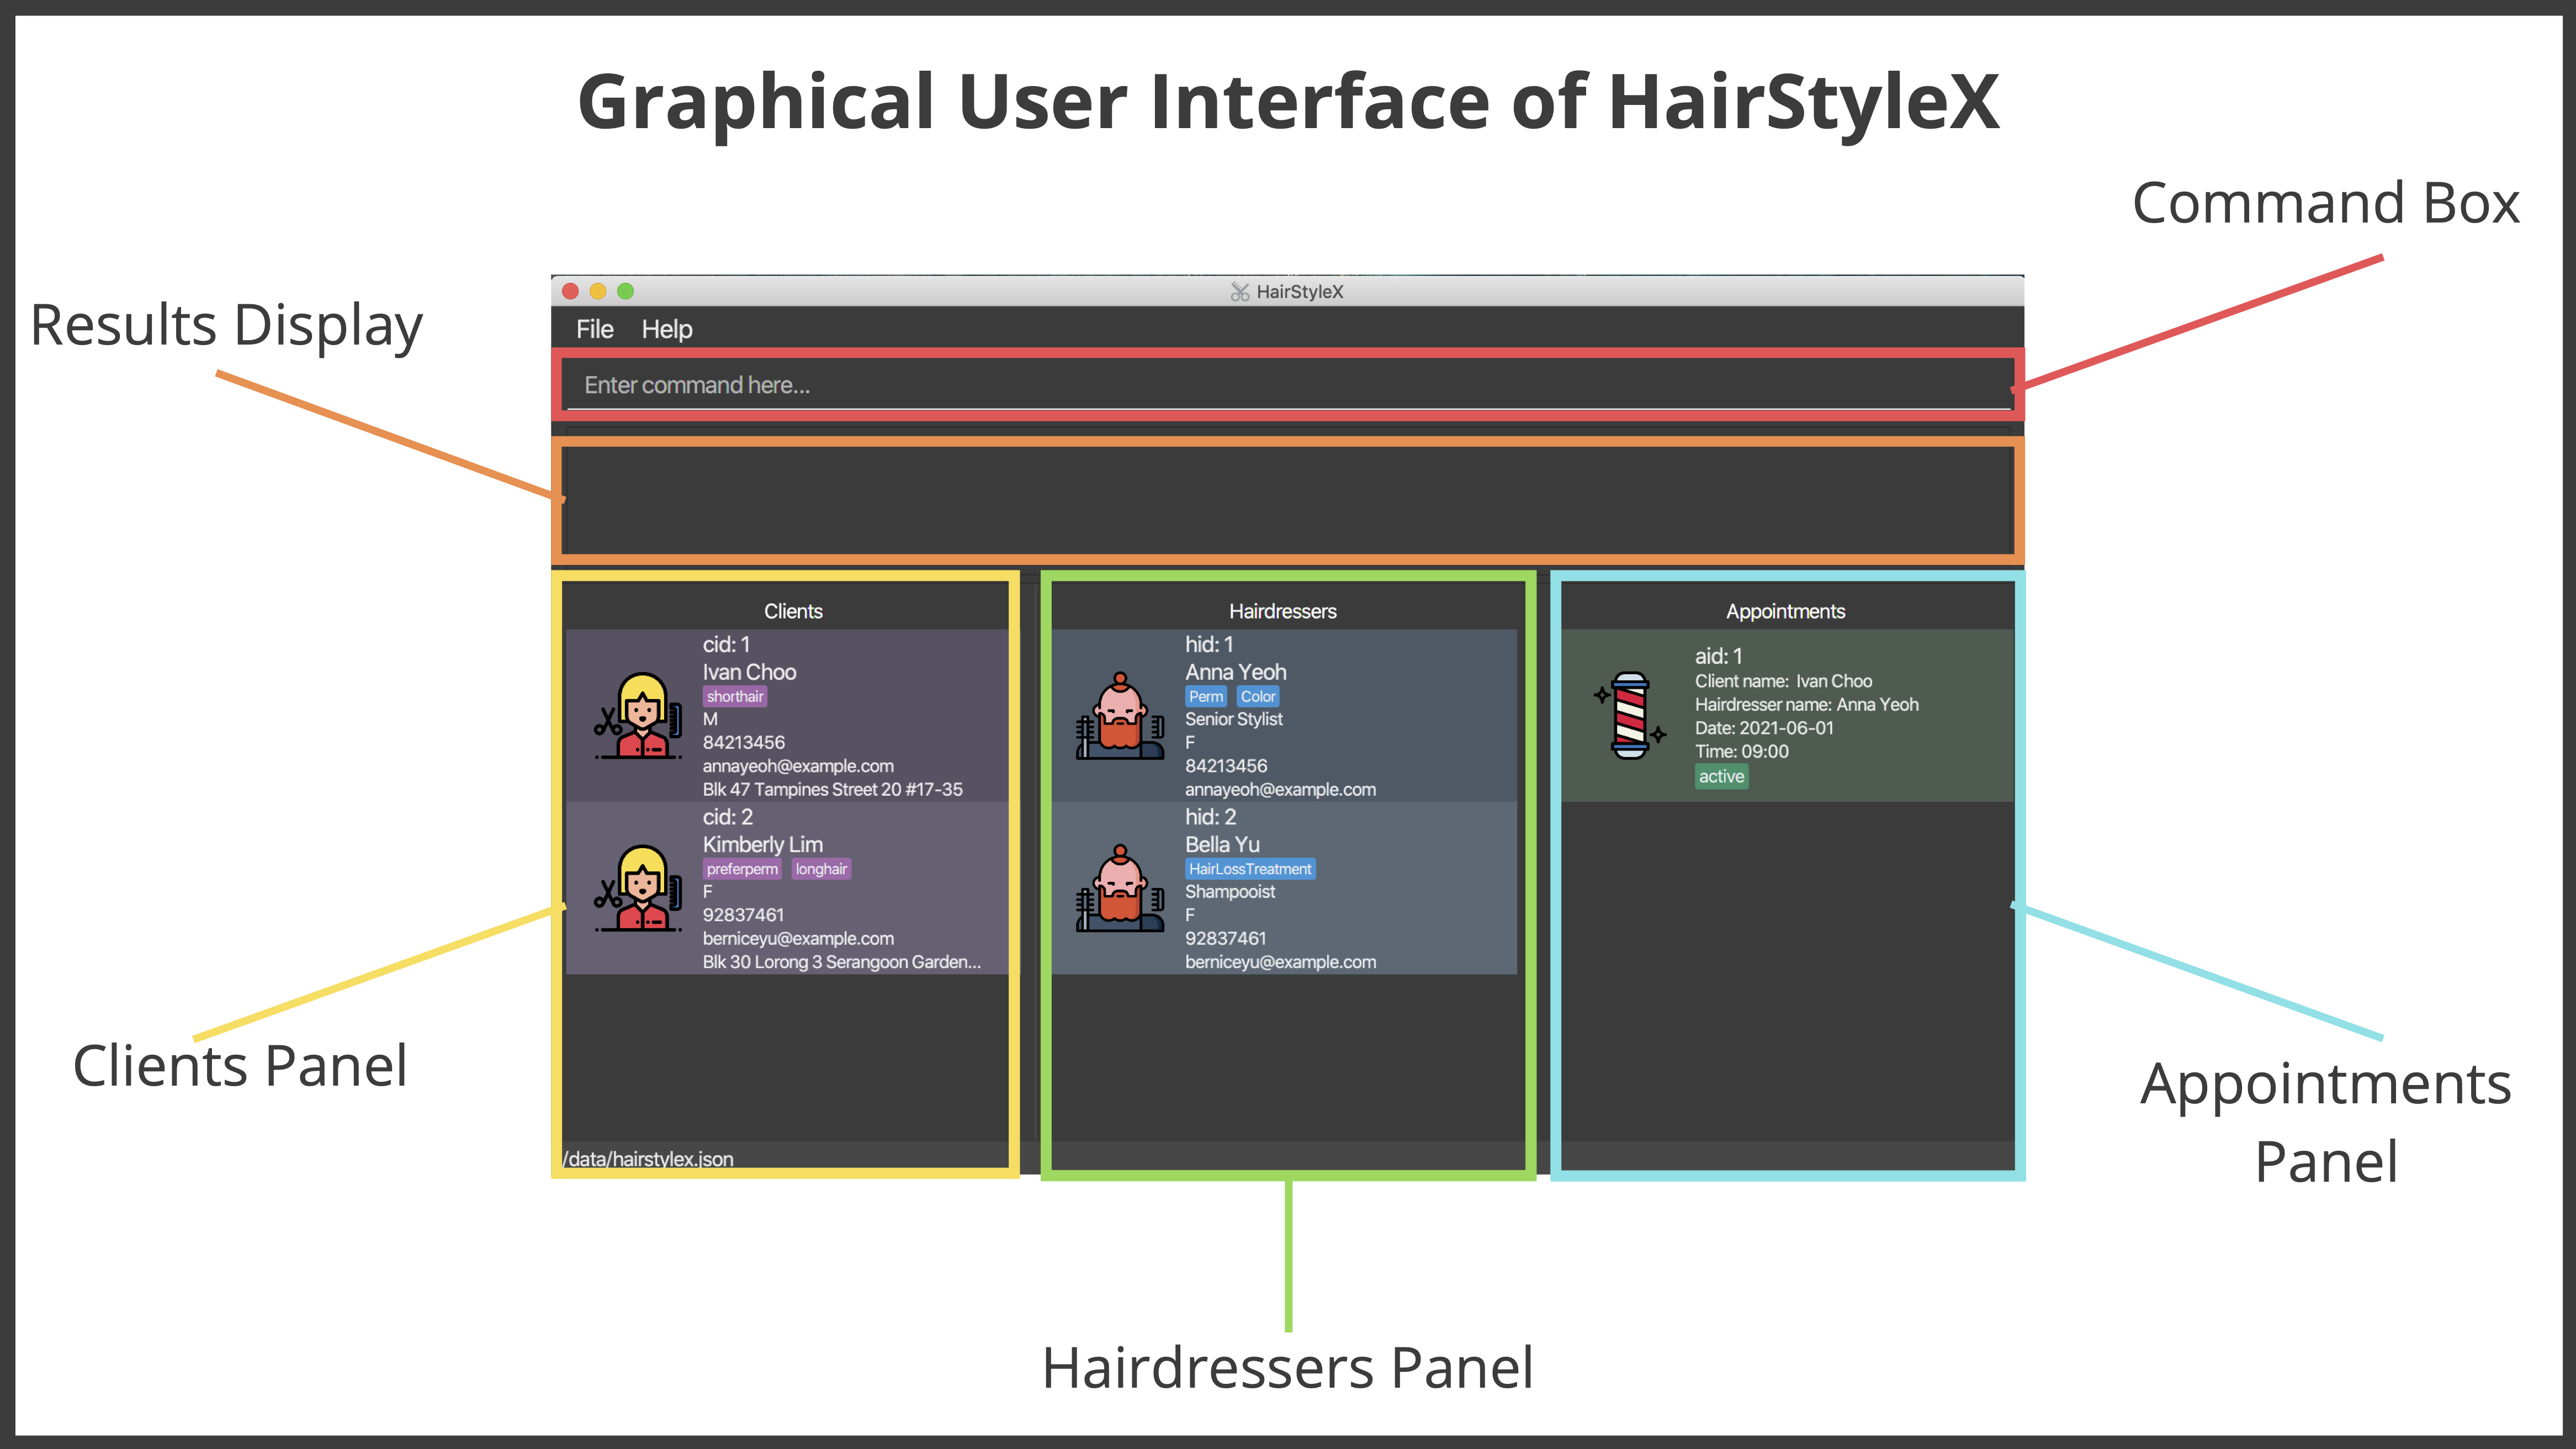
2.2.1 Terminology related to the Graphical User Interface (GUI)
The following figure shows the GUI of HairStyleX. It is annotated with the name of the GUI components.
2.2.2 General Symbols and Syntax
The table below explains the general symbols and syntax used throughout the document.
| Symbol/Syntax | Meaning |
|---|---|
command |
A light blue highlight (called a code-block markup) indicates that this is a command that can be typed into the command box and executed by the application. |
| An information icon indicates that the enclosed text are notes regarding this section. | |
| A warning sign indicates that the enclosed text is important, and usually entails details about potential errors. | |
| A light bulb indicates that the enclosed text is a tip. |
2.2.3 Command Syntax and Usage
Since HairStyleX is a CLI application, knowing how to use commands is very important. The following subsection will teach you how to read and use commands in HairStyleX. All commands in HairStyleX follow similar formats as described below and examples will be provided to help you understand their usage. Examples of commands and their formats will be written in code-blocks.
The table below explains some important technical terms. An example will be provided to help you visualize these terms.
| Technical Term | Meaning |
|---|---|
| Command word | The first word of a command. It determines the action that HairStyleX should perform. |
| Parameter | The word or group of words following the command word. They are values given to a command to perform the specified action. |
| Prefix | The letter(s) that at the start of a parameter. It distinguishes one parameter from another. |
Breakdown:
Command Word - add_hairdresser
Parameters - NAME, PHONE, EMAIL
Prefix - n/, p/, e/
The following four points explain how you can use a command with the provided format. More examples will be provided for each command in Section 4, “Features”.
-
Words in the upper case are the parameters which are required.
-
Format given:
delete_client CLIENT_ID -
Acceptable input:
delete_client 1
-
-
Items in square brackets are optional.
-
Format given:
edit_client ID [n/NAME] [p/PHONE] [e/EMAIL] [g/GENDER] [a/ADDRESS] [t/TAG]… -
Acceptable input:
edit_client 1 n/Aileen e/aileenlam@email.com
-
-
Items with
…after them can be used zero or multiple times.-
Format given:
add_client n/NAME p/PHONE_NUMBER e/EMAIL g/GENDER a/ADDRESS [t/TAG]… -
Acceptable input 1 (no tags):
add_client n/John Doe p/98765432 e/johnd@example.com g/M a/311, Clementi Ave 2, #02-25 -
Acceptable input 2: (two tags):
add_client n/John Doe p/98765432 e/johnd@example.com g/M a/311, Clementi Ave 2, #02-25 t/friends t/owesMoney
-
-
Parameters with prefixes can be supplied in any order.
-
Format given:
add_client n/NAME p/PHONE_NUMBER e/EMAIL g/GENDER a/ADDRESS [t/TAG]… -
Acceptable input 1 (same order as given format):
add_client n/John Doe p/98765432 e/johnd@example.com g/M a/311, Clementi Ave 2, #02-25 t/friends -
Acceptable input 2 (different order as given format):
add_client p/98765432 e/johnd@example.com n/John Doe g/M a/311, Clementi Ave 2, #02-25 t/friends
-
With the above information, you can now move on to Section 3, “Quick Start” to install our application and Section 4, “Features” to learn all the features of the application and start using the commands.
3. Quick Start
To get started with using HairStyleX, you can follow these steps:
-
Ensure you have Java
11or above installed in your Computer. -
Download the latest
HairStyleX.jarfrom here. -
Copy the file to the folder you want to use as the home folder for HairStyleX.
-
Double-click the file to start the app. The GUI similar to the one shown below should appear in a few seconds. Note how the app contains some sample data.
-
At the top of the screen, type the command in the command box and press Enter to execute it. e.g. typing
helpand pressing Enter will open the help window. -
Refer to Section 2.2.3, “Command Syntax and Usage” on how to use commands and Section 4, “Features” below for details of each command.

4. Features
This section contains all the information you need to know about the features of HairStyleX. To use each feature or sub-feature, you will need to enter the command into the Command Box.
![]() Warning about the use of features:
Warning about the use of features:
As you use our features, other files will be created and stored in the folder that contains HairStyleX.jar. These files are created with the purpose of storing your data. Please do not alter or delete any of them, as this might result in permanent loss of data.
![]() Saving the data
Saving the data
All information will be stored automatically after any command that changes the data. There is no need to save manually. This data be automatically loaded upon restart of the application.
![]() Tips for first time users
Tips for first time users
If this is your first time using HairStyleX, you might notice that this application is pre-filled with sample data. To delete all data, use the clear command as elaborated below.
4.1 General commands
(Contributed by Tan Yu Li, James)
The commands in this section allow you to perform operations on the entire system. They include:
- Viewing help
- Clearing all entries
- Exiting from the application
- Exporting entries to CSV
4.1.1 Viewing help : help
You can use this command to view the online user guide, which contains information about all the instructions in HairStyleX.
![]() Ensure that you have a stable internet connection and have a web browser on your computer in order to access the user guide.
Ensure that you have a stable internet connection and have a web browser on your computer in order to access the user guide.
Format:
help
Example:
In this example, you want to view the user guide to get information about the various commands in HairStyleX.
Requesting for help:
- Type
helpinto the Command Box, as illustrated below.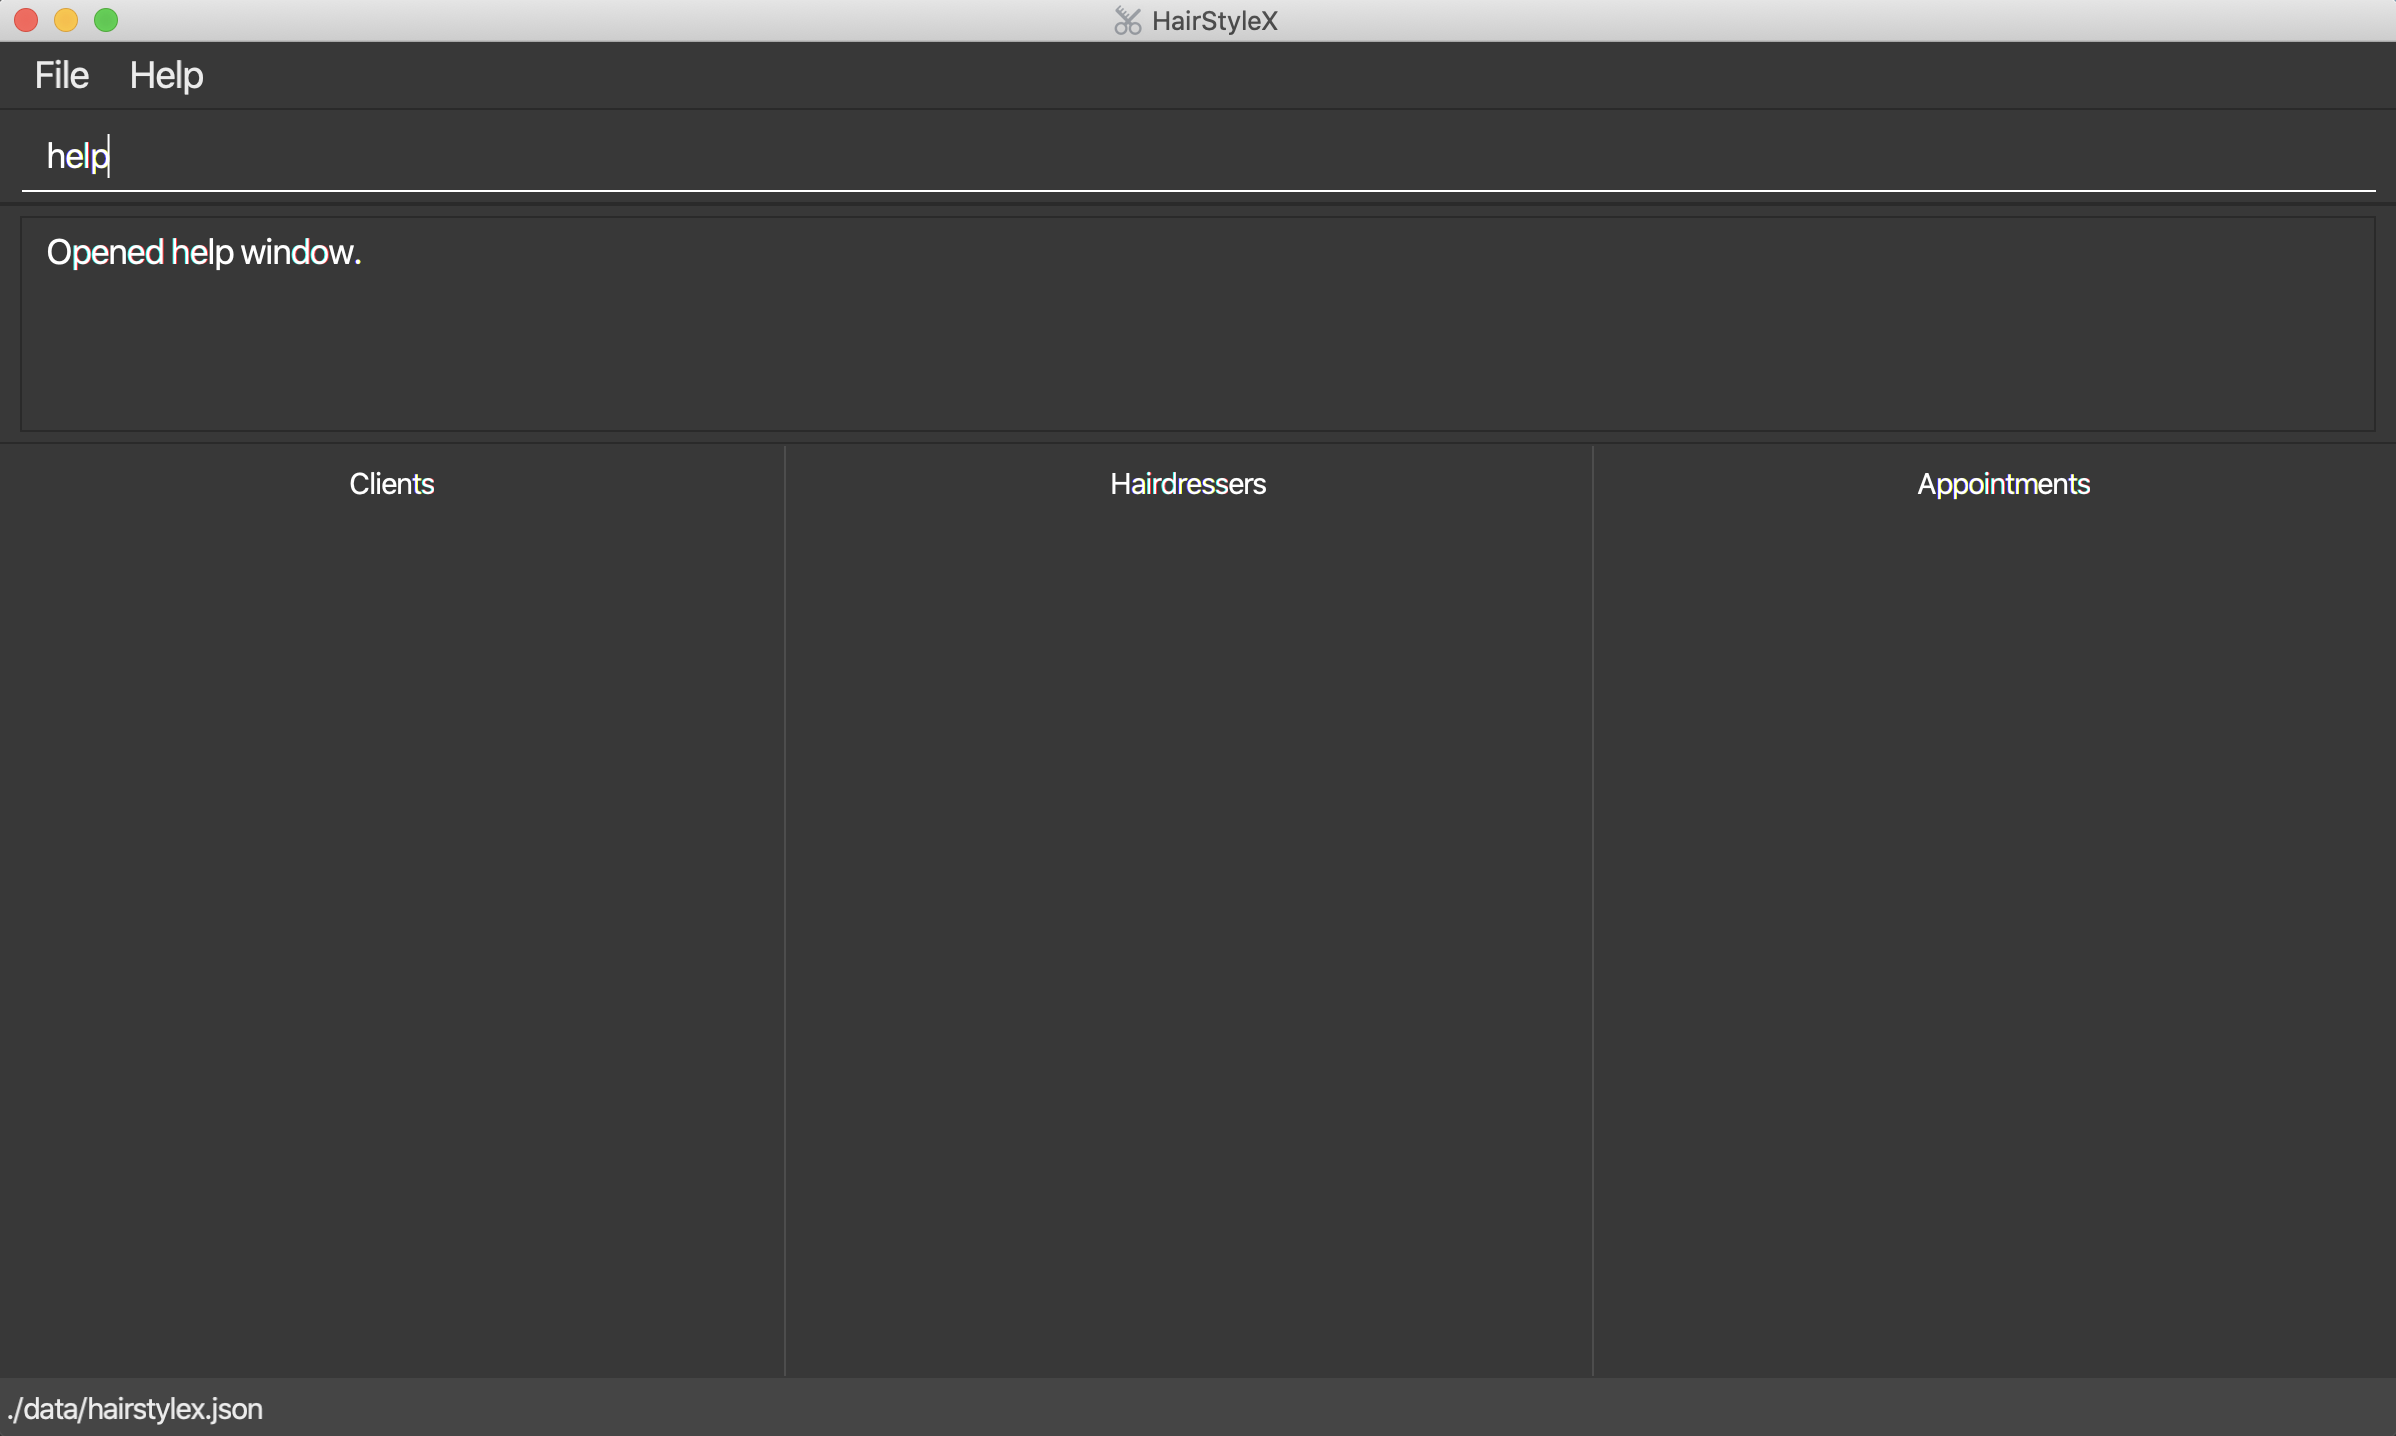
- Press
Enterto execute. - A new window will appear as shown below. Click on the
Copy URLbutton to copy the URL containing the HairStyleX user guide.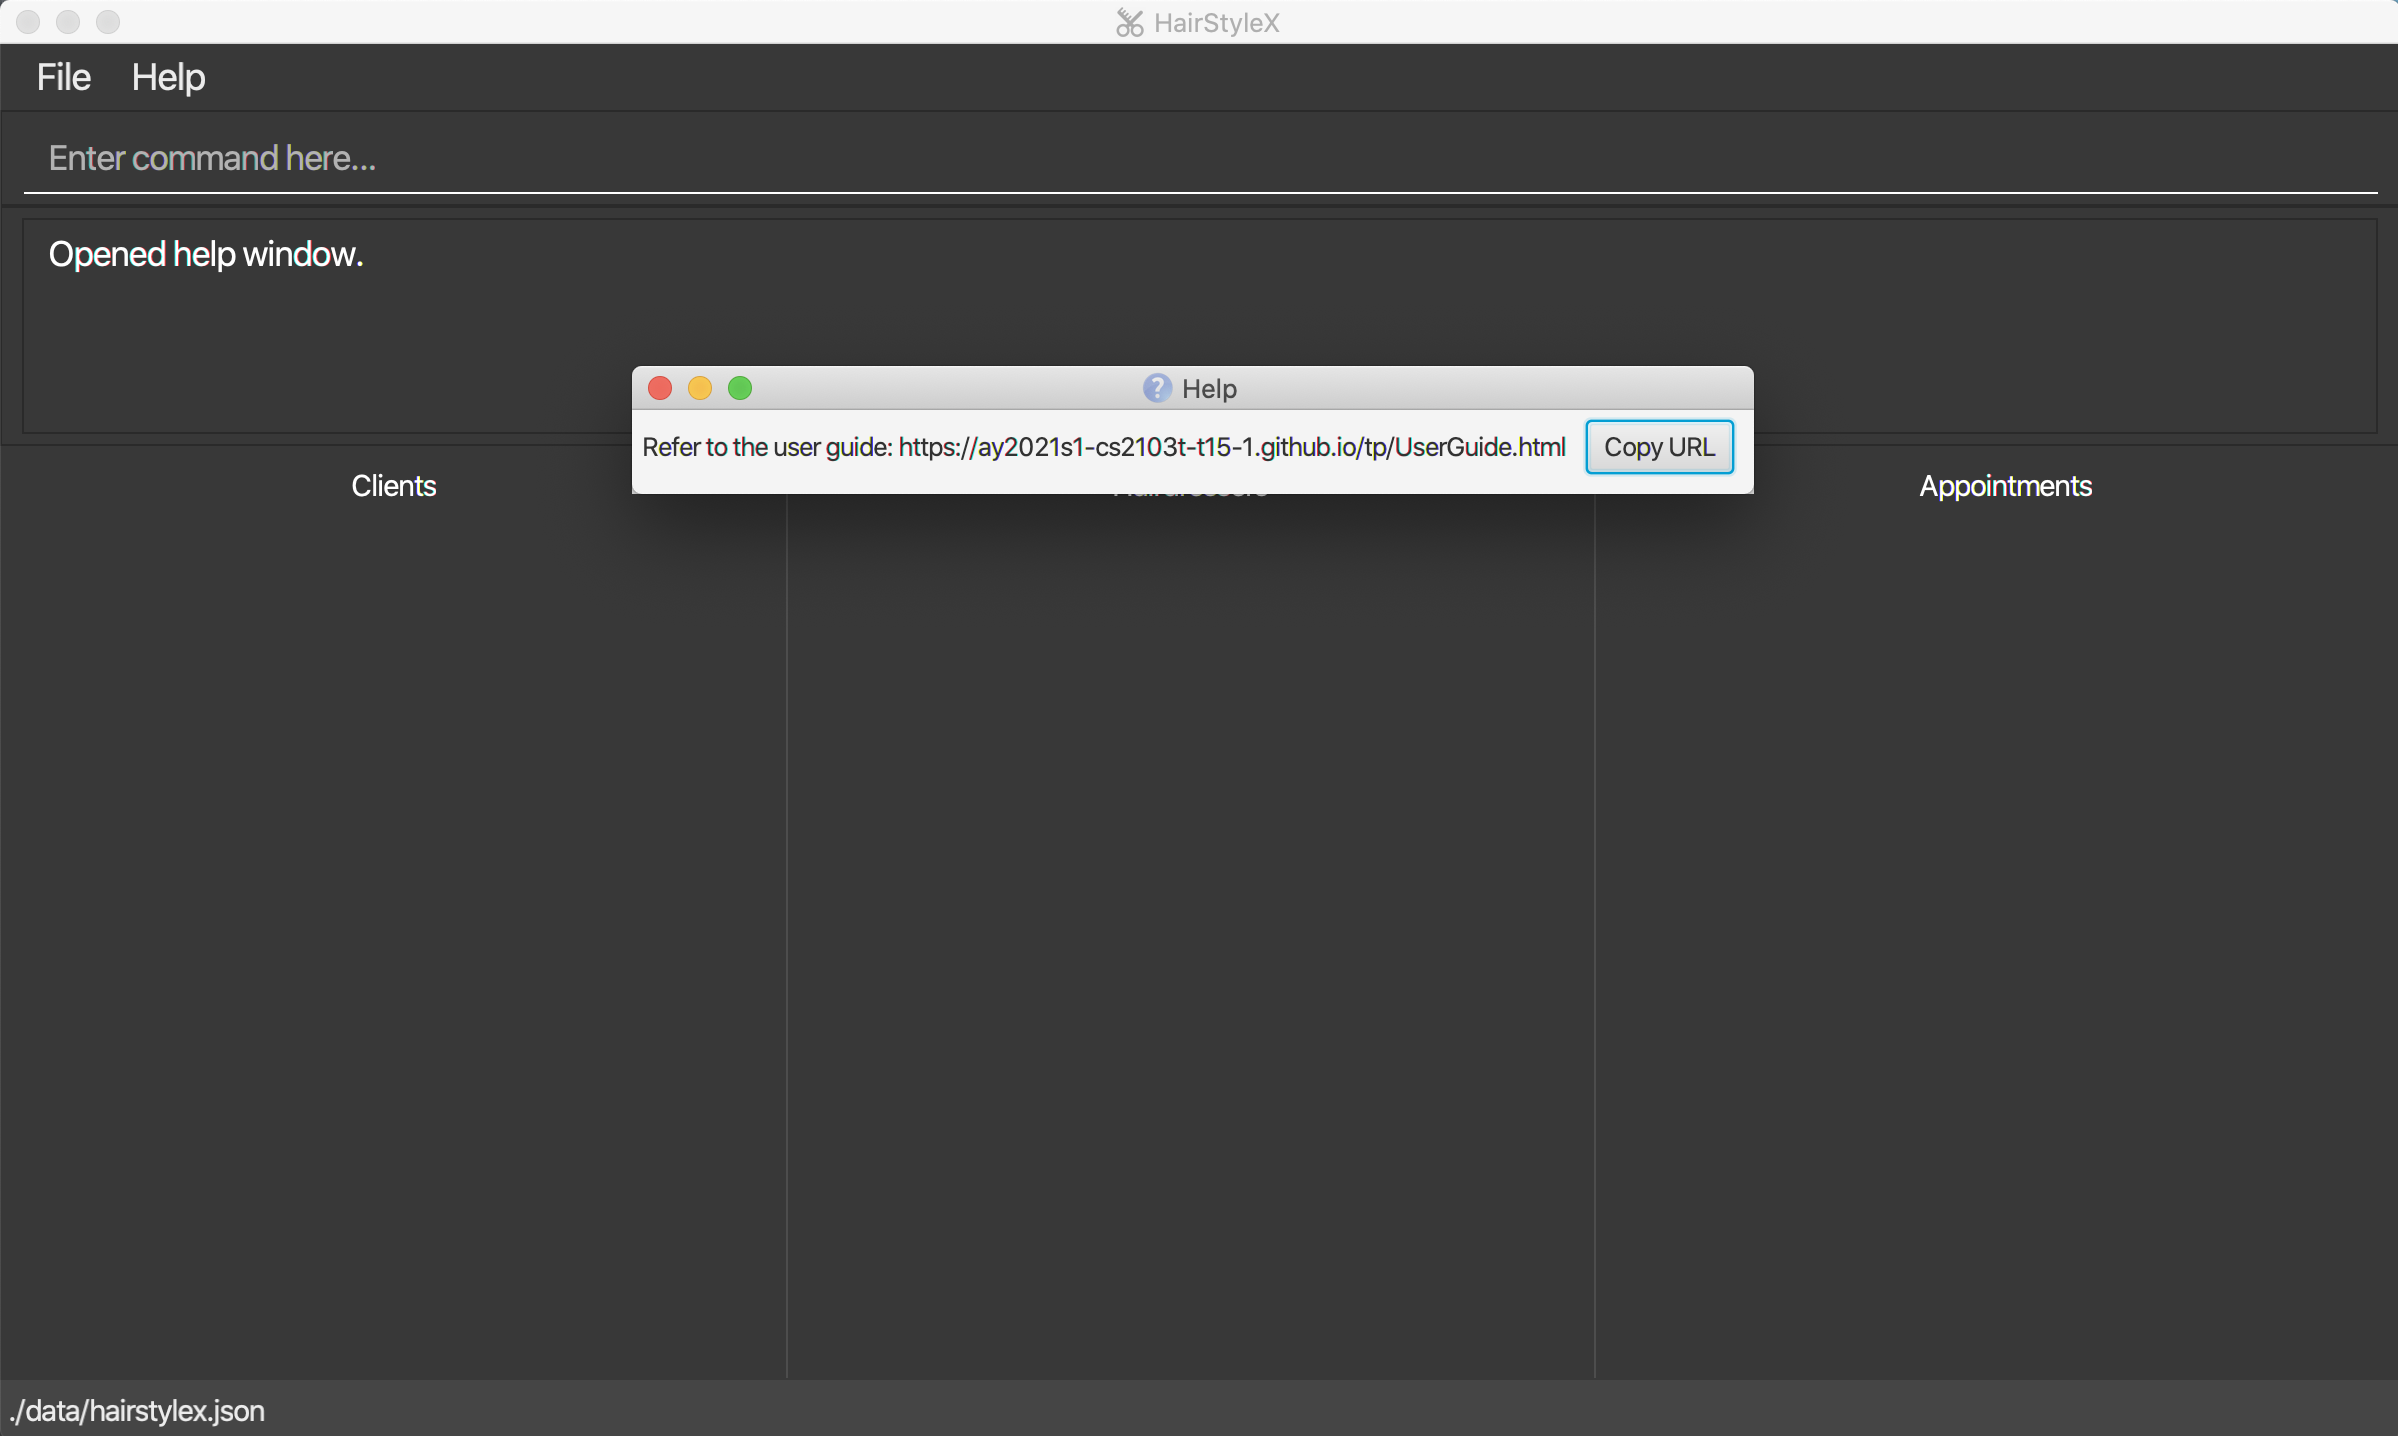
- Open your preferred web browser on your computer and paste the link into the address bar. In the example below, Google Chrome is used. However, this will work in any other web browser.
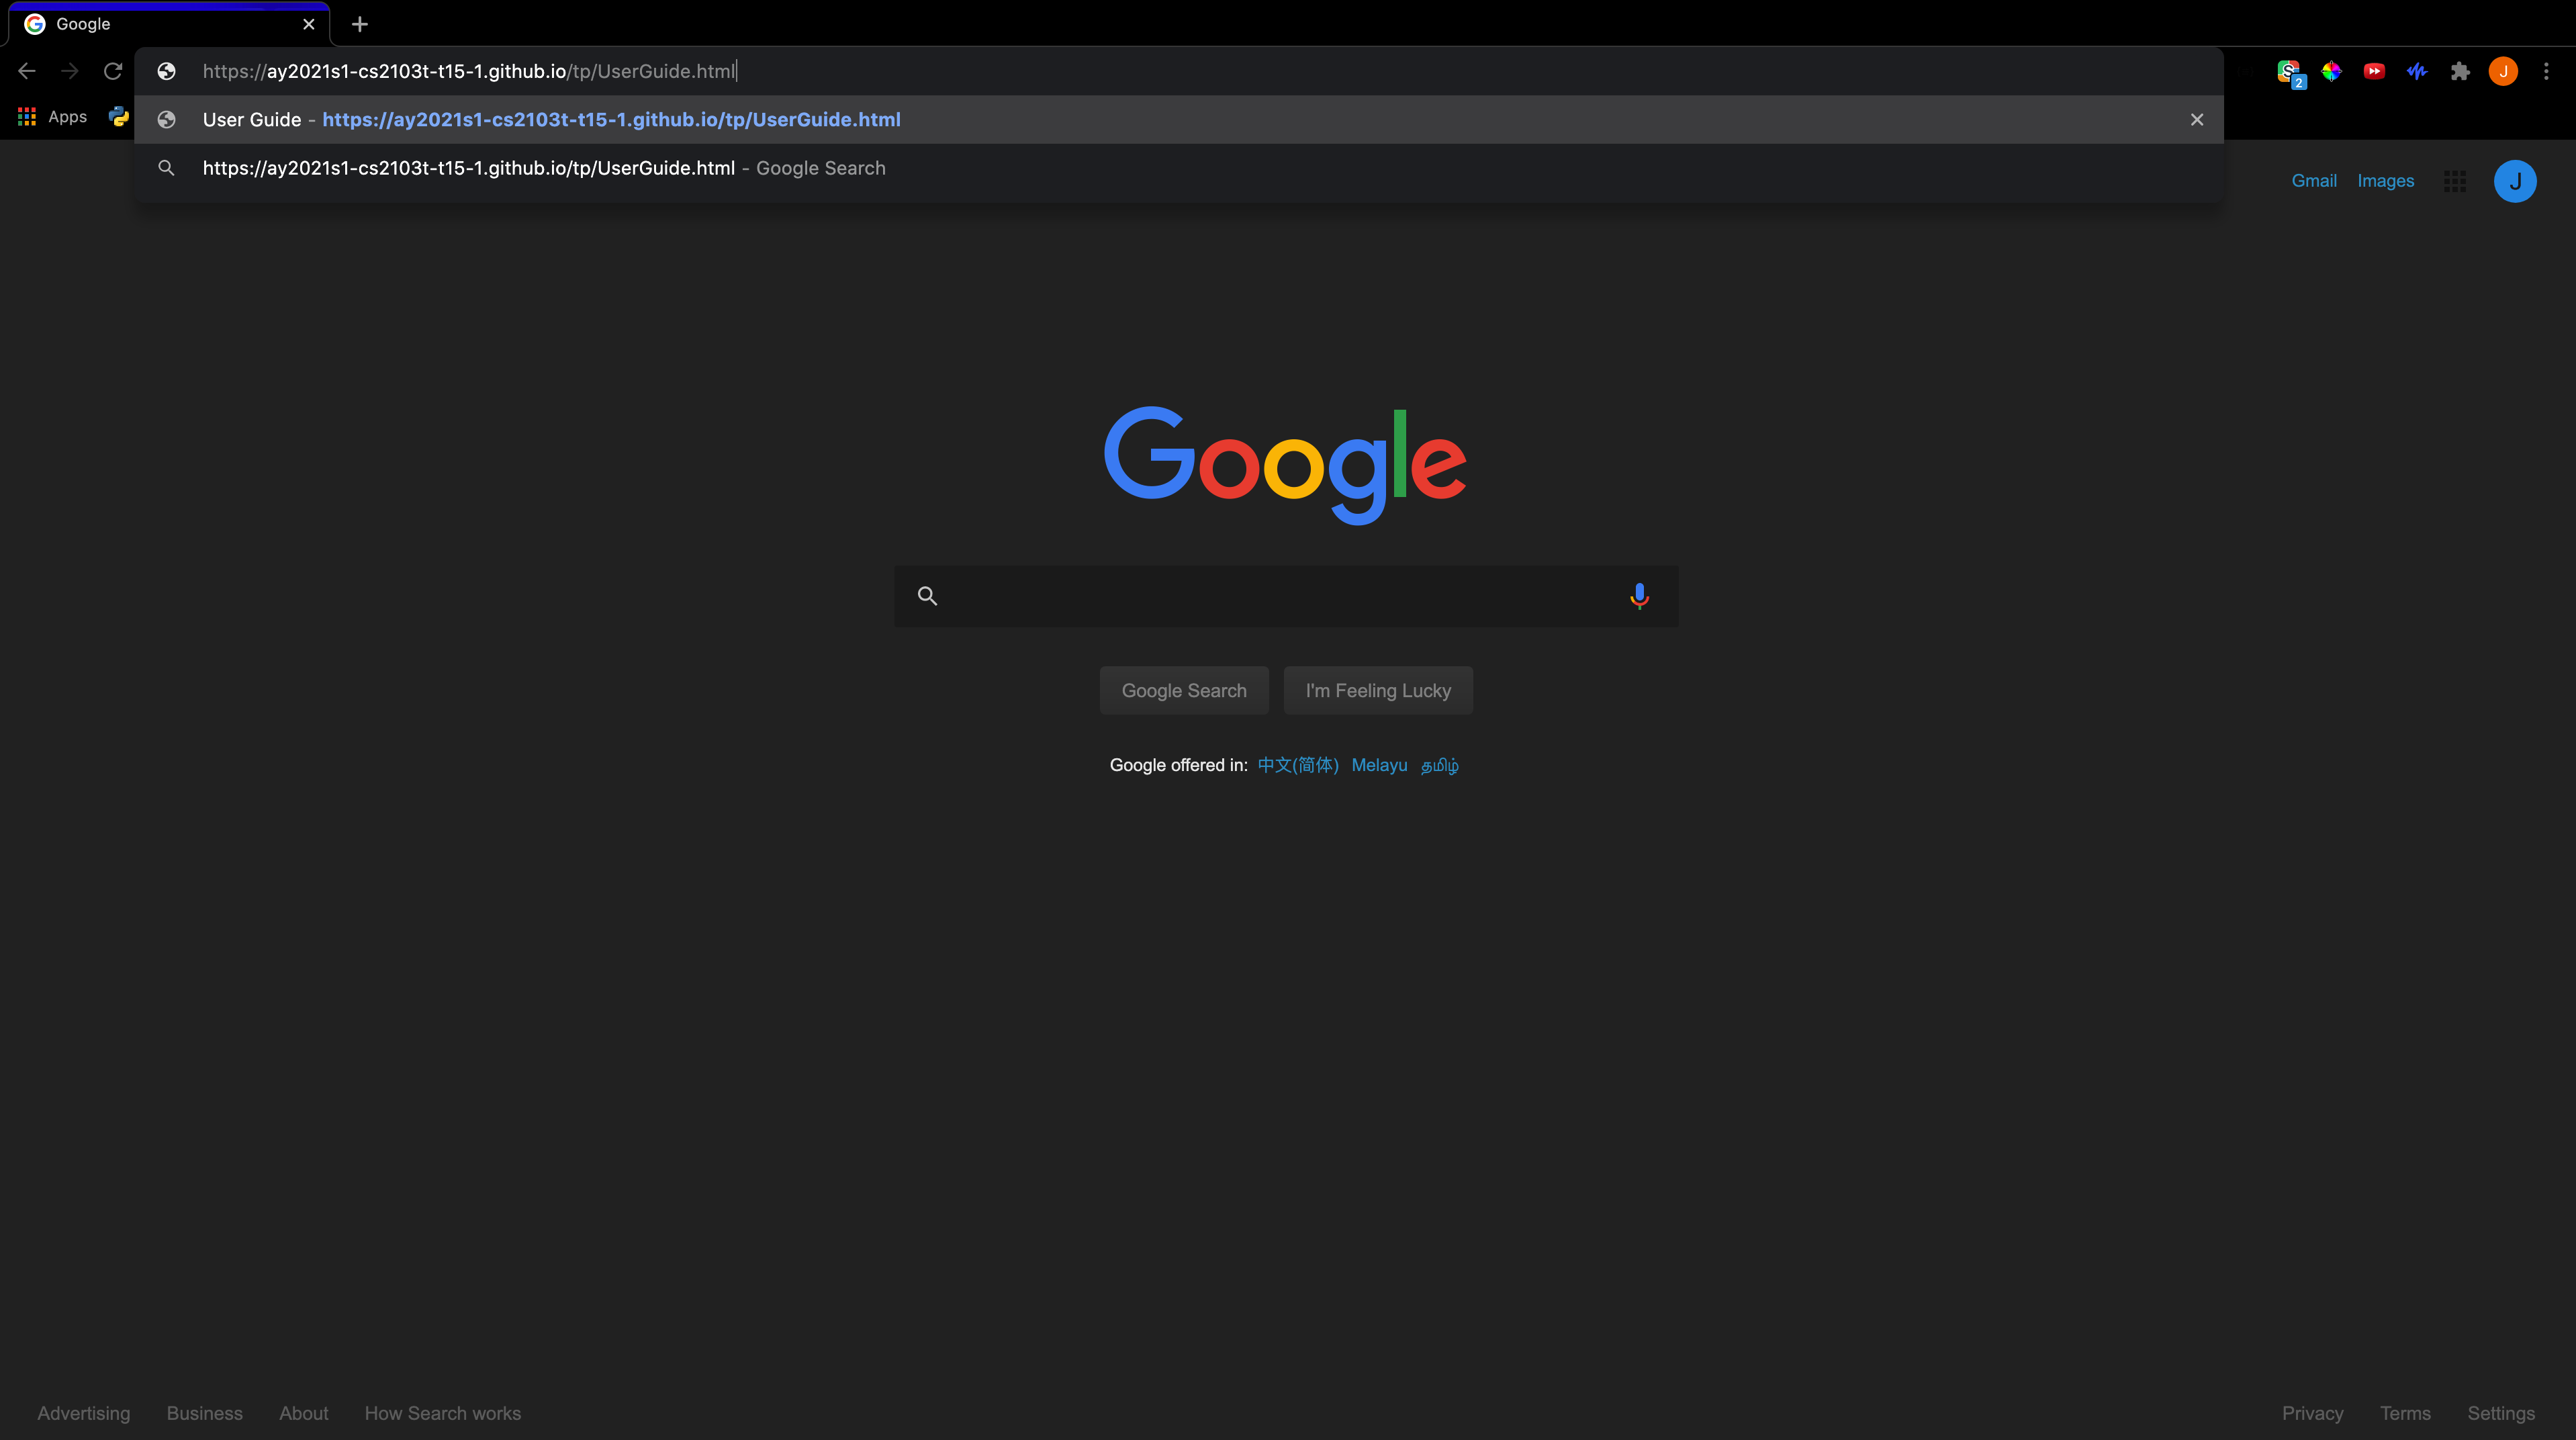
- Press
Enterto load the website.
Outcome:
- Your browser will now show the user guide of HairStyleX.
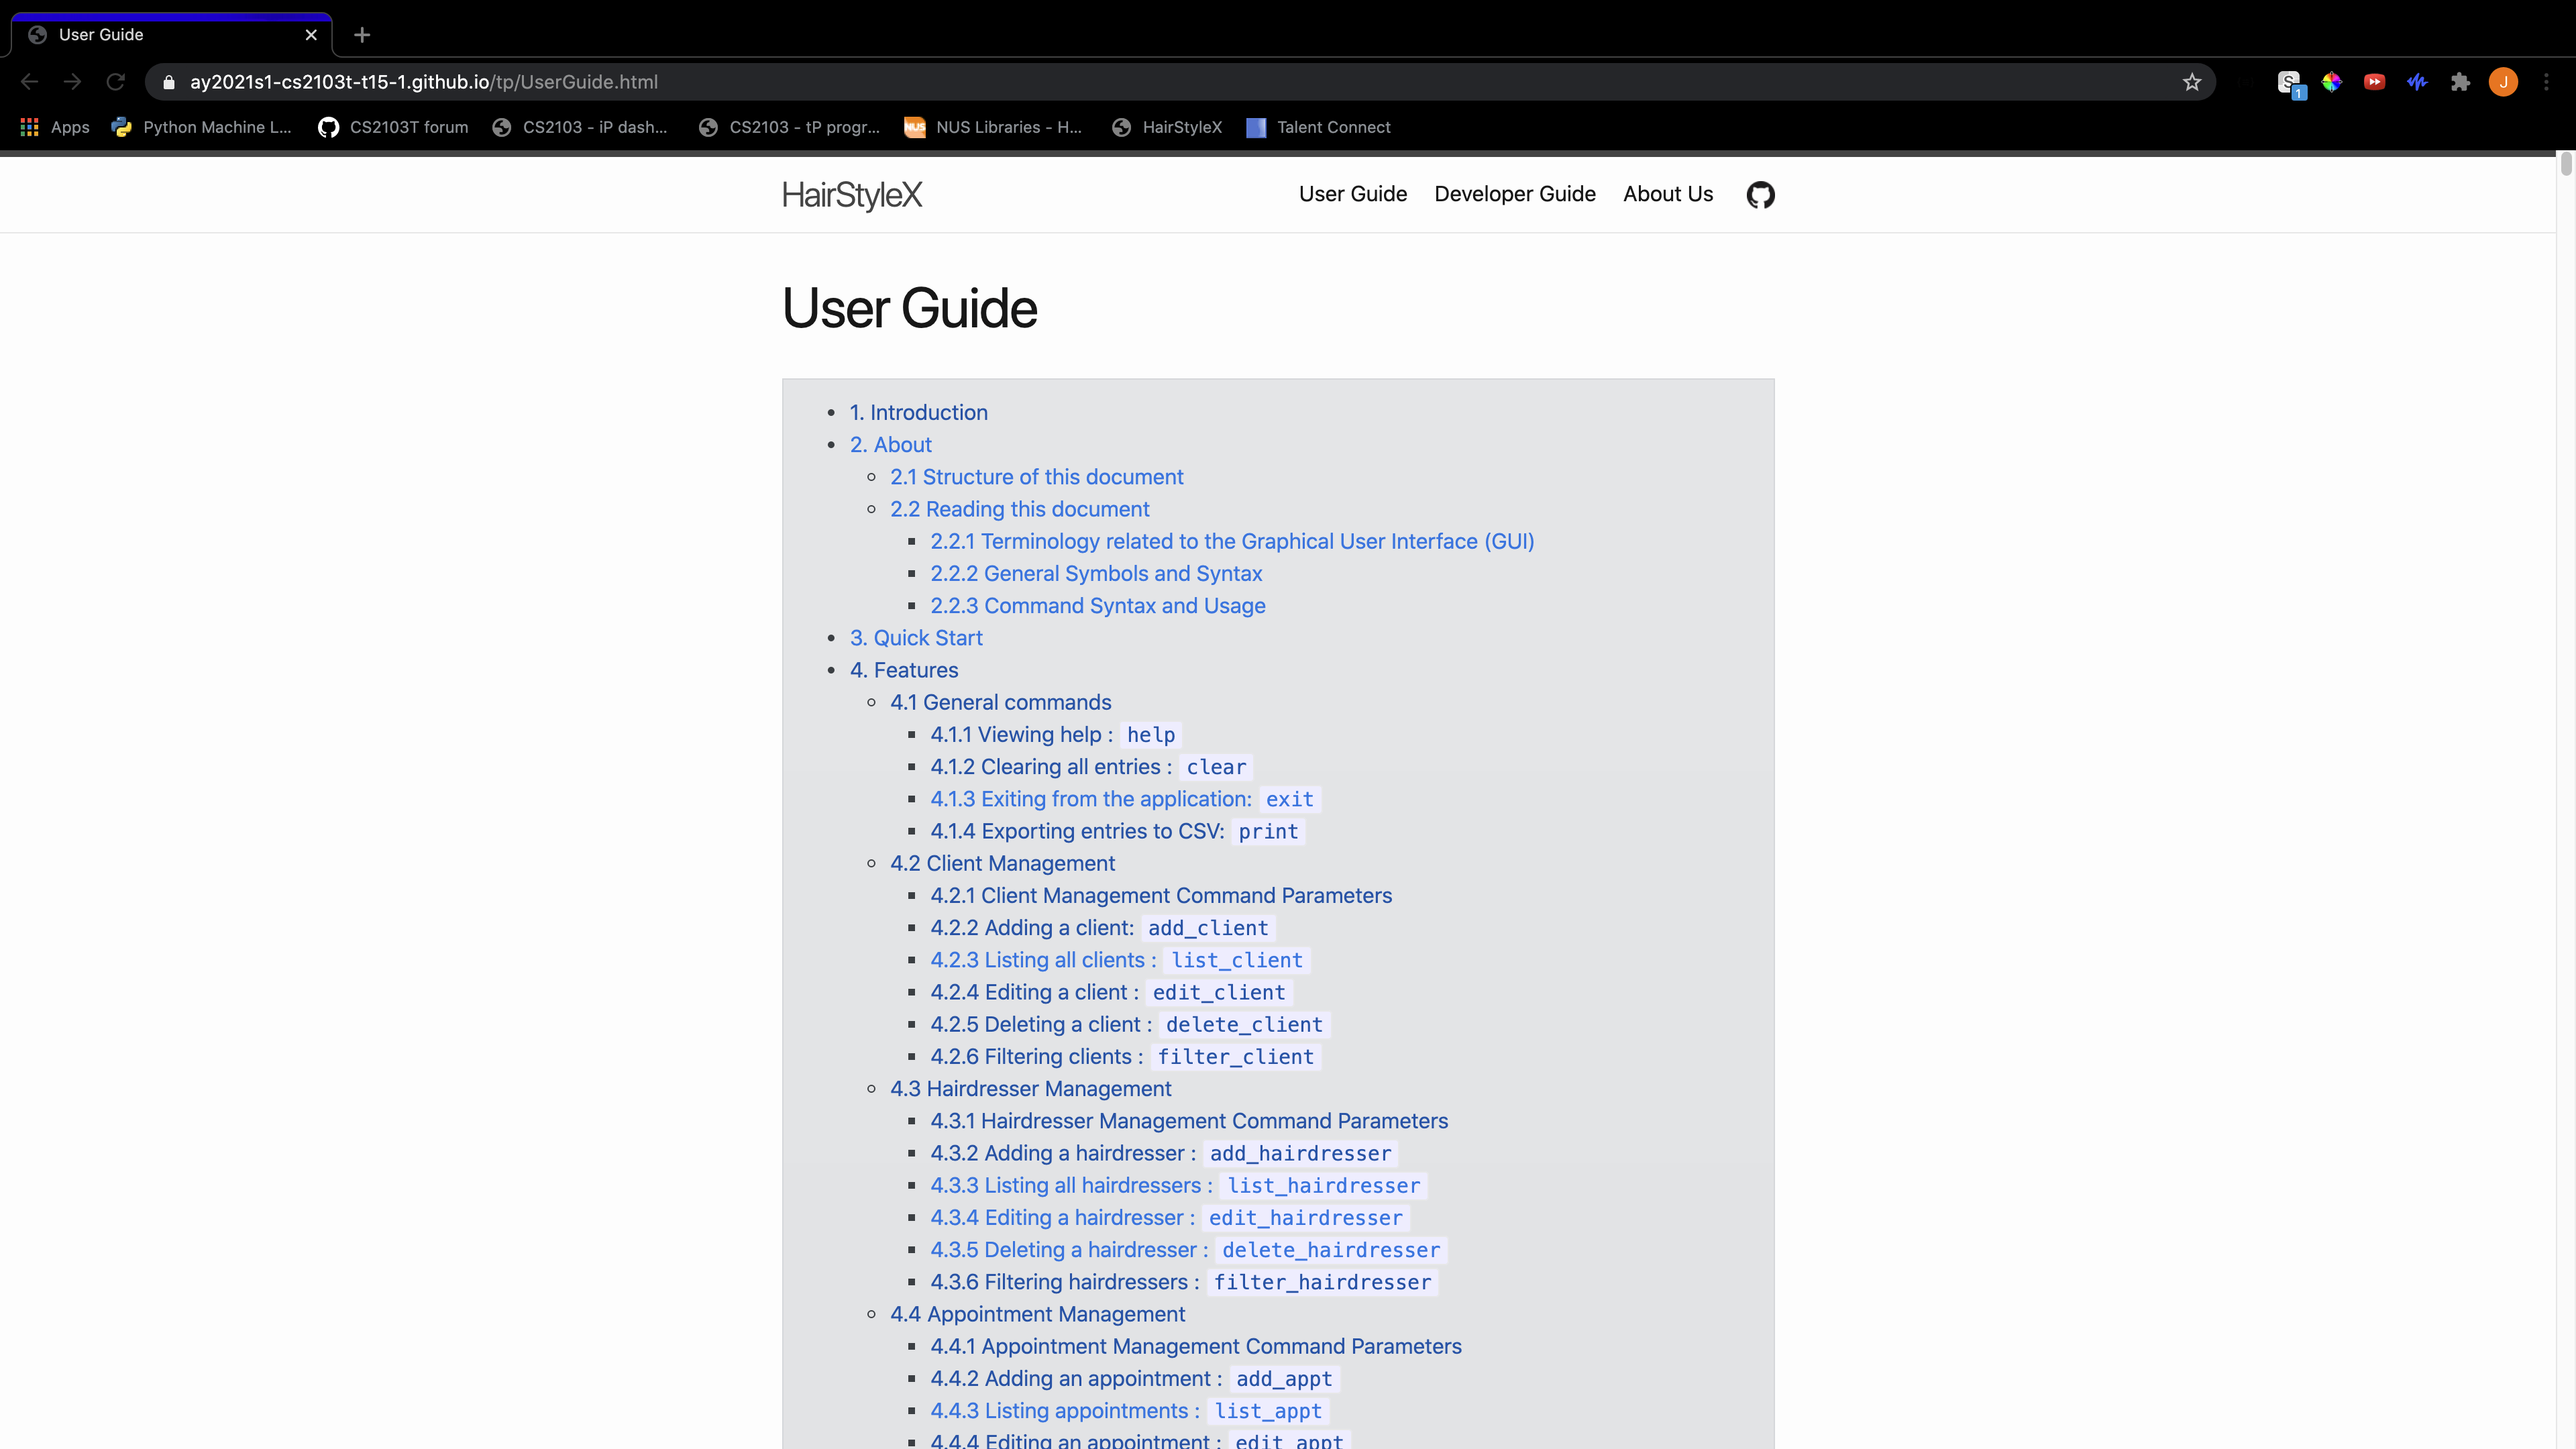
- You can now access information about all commands in HairStyleX via the browser.
4.1.2 Clearing all entries : clear
You can use this command to clear all entries in HairStyleX.
![]() This command will delete all data in HairStyleX permanently. Please proceed with caution.
This command will delete all data in HairStyleX permanently. Please proceed with caution.
Format:
clear
Example:
In this example, you want to clear all current data and start with an empty HairStyleX.
Clearing the data:
- Type
clearinto the Command Box, as illustrated below.
- Press
Enterto execute.
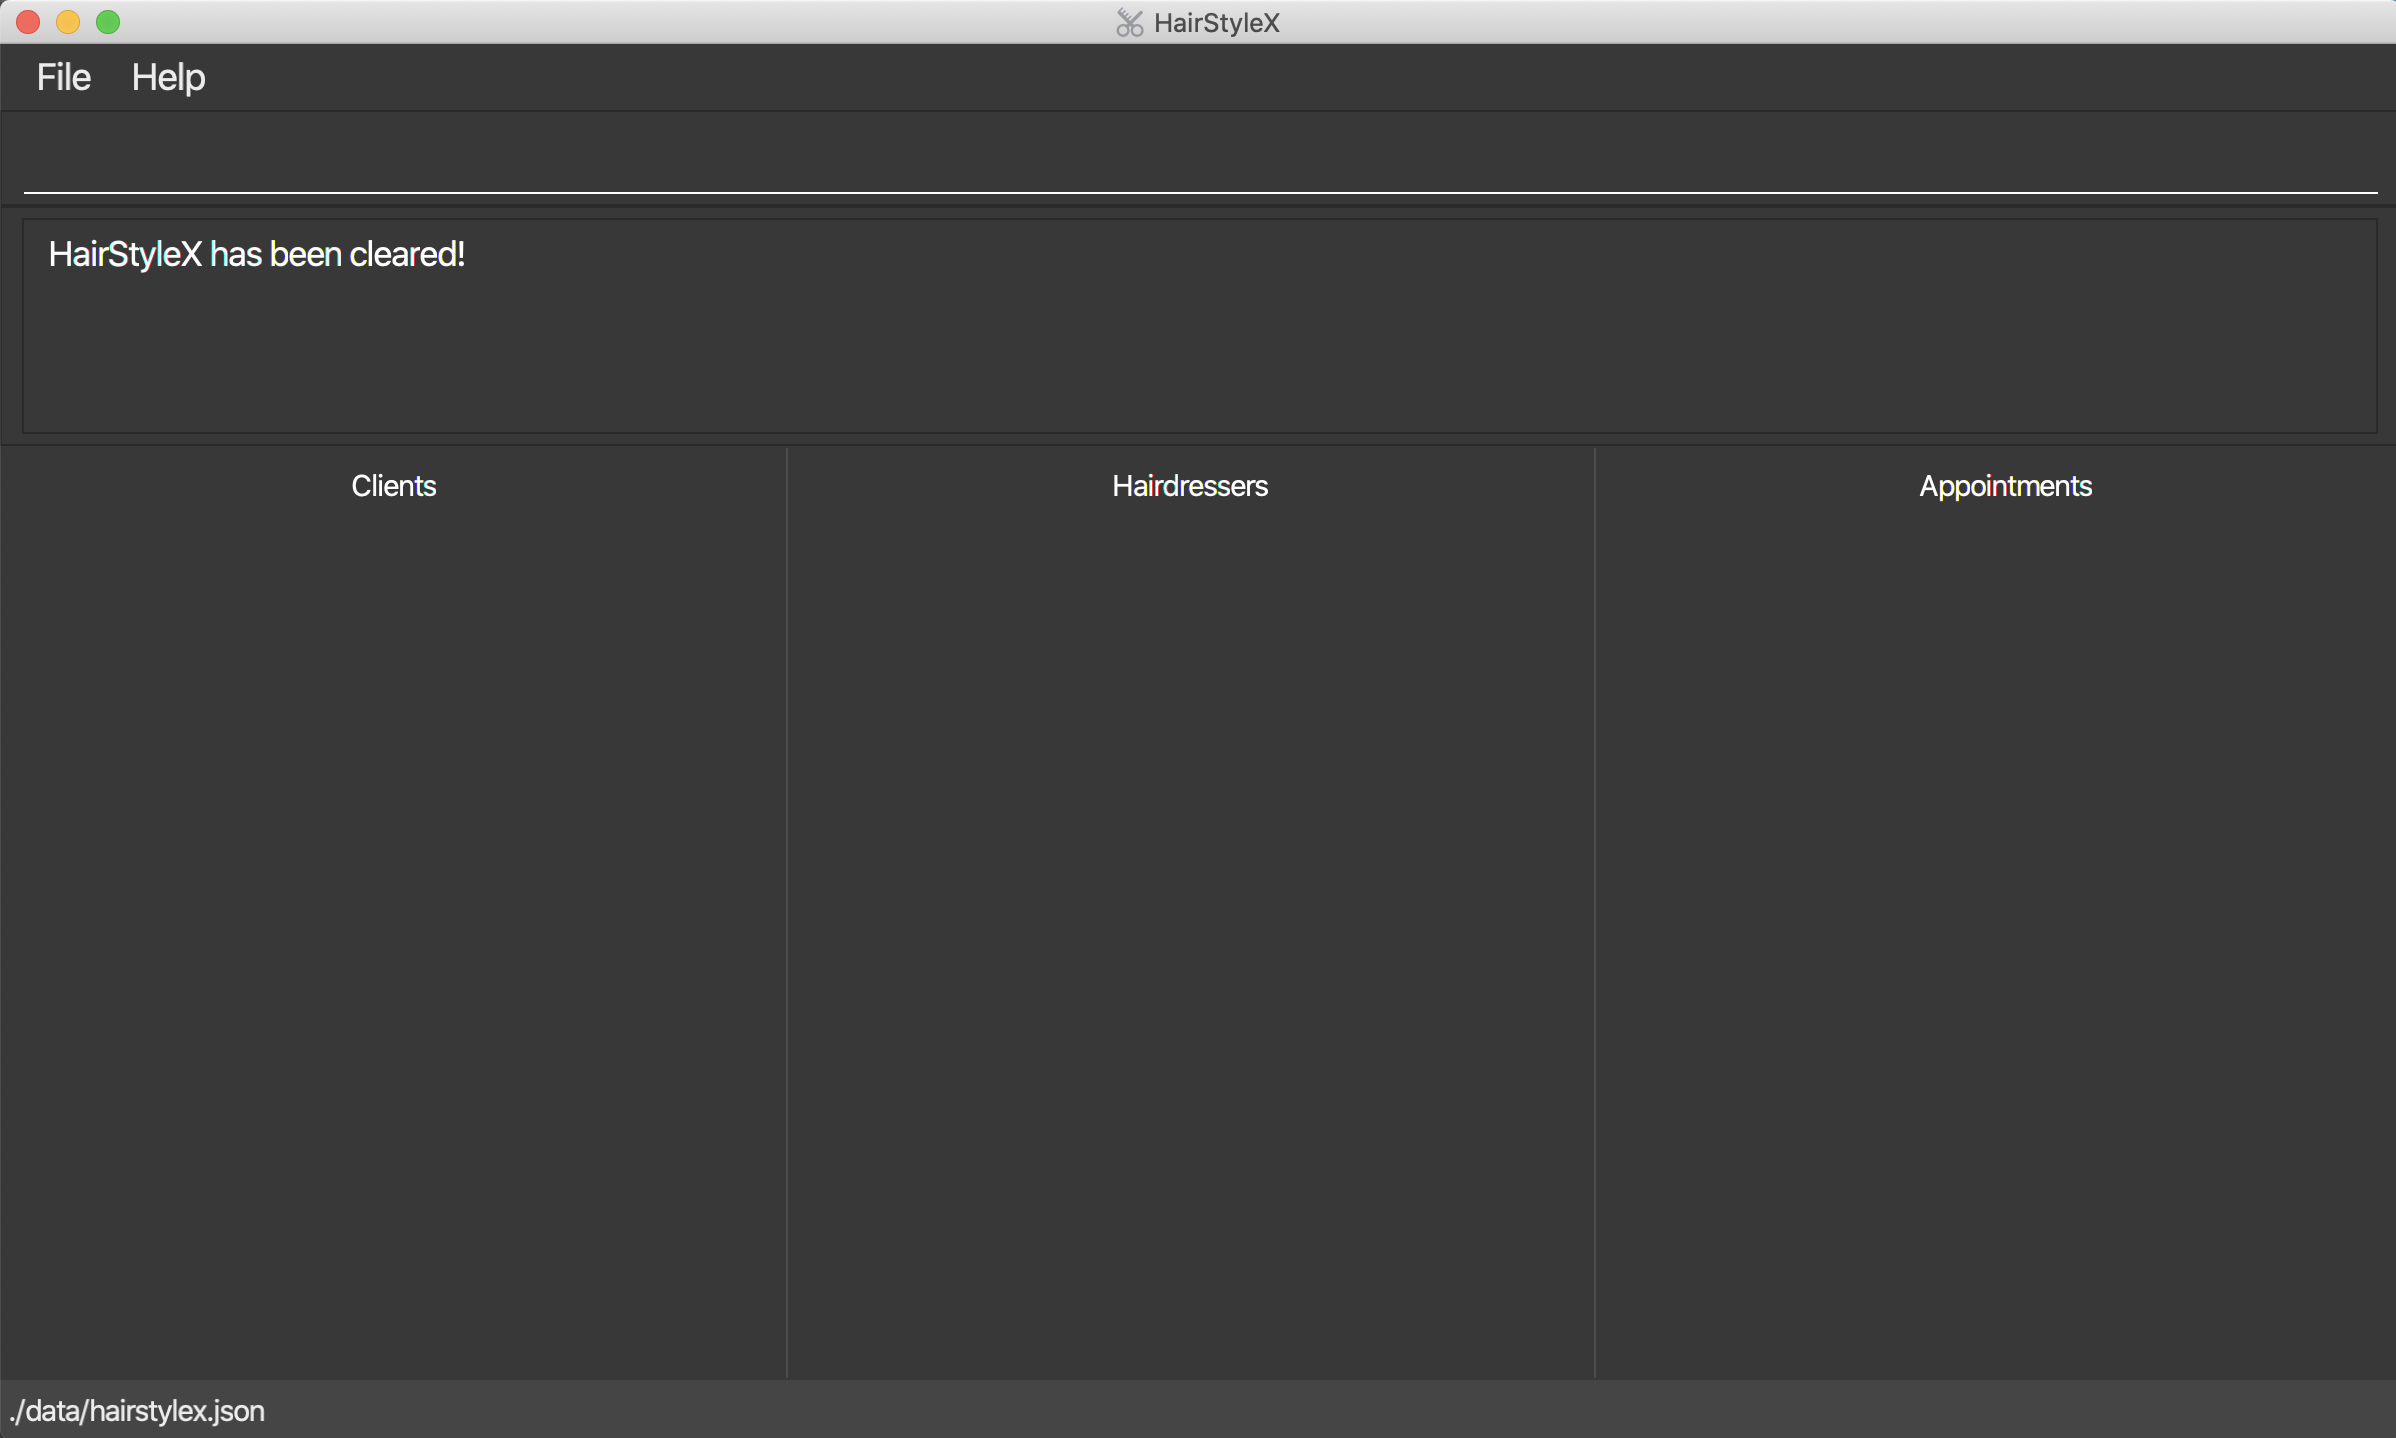
Outcome:
- The
Result Displaywill show a success message. - You will now see that the Clients Panel, Hairdressers Panel, and Appointments Panel are empty.
4.1.3 Exiting from the application: exit
You can use this command to exit HairStyleX.
![]() This command will exit the application immediately. All data is saved automatically and will be reloaded upon restart of the application
This command will exit the application immediately. All data is saved automatically and will be reloaded upon restart of the application
Format:
exit
Example:
In this example, you want to exit HairStyleX.
Exiting the application:
- Type
exitinto the Command Box, as illustrated below.
- Press
Enterto execute.
Outcome:
- The HairStyleX application window is now closed.
4.1.4 Exporting entries to CSV: print
You can use this command to export all hairdressers, clients and appointments from the application to CSV files.
![]() Modifying the CSV files generated will not result in changes to the data in HairStyleX
Modifying the CSV files generated will not result in changes to the data in HairStyleX
Format:
print
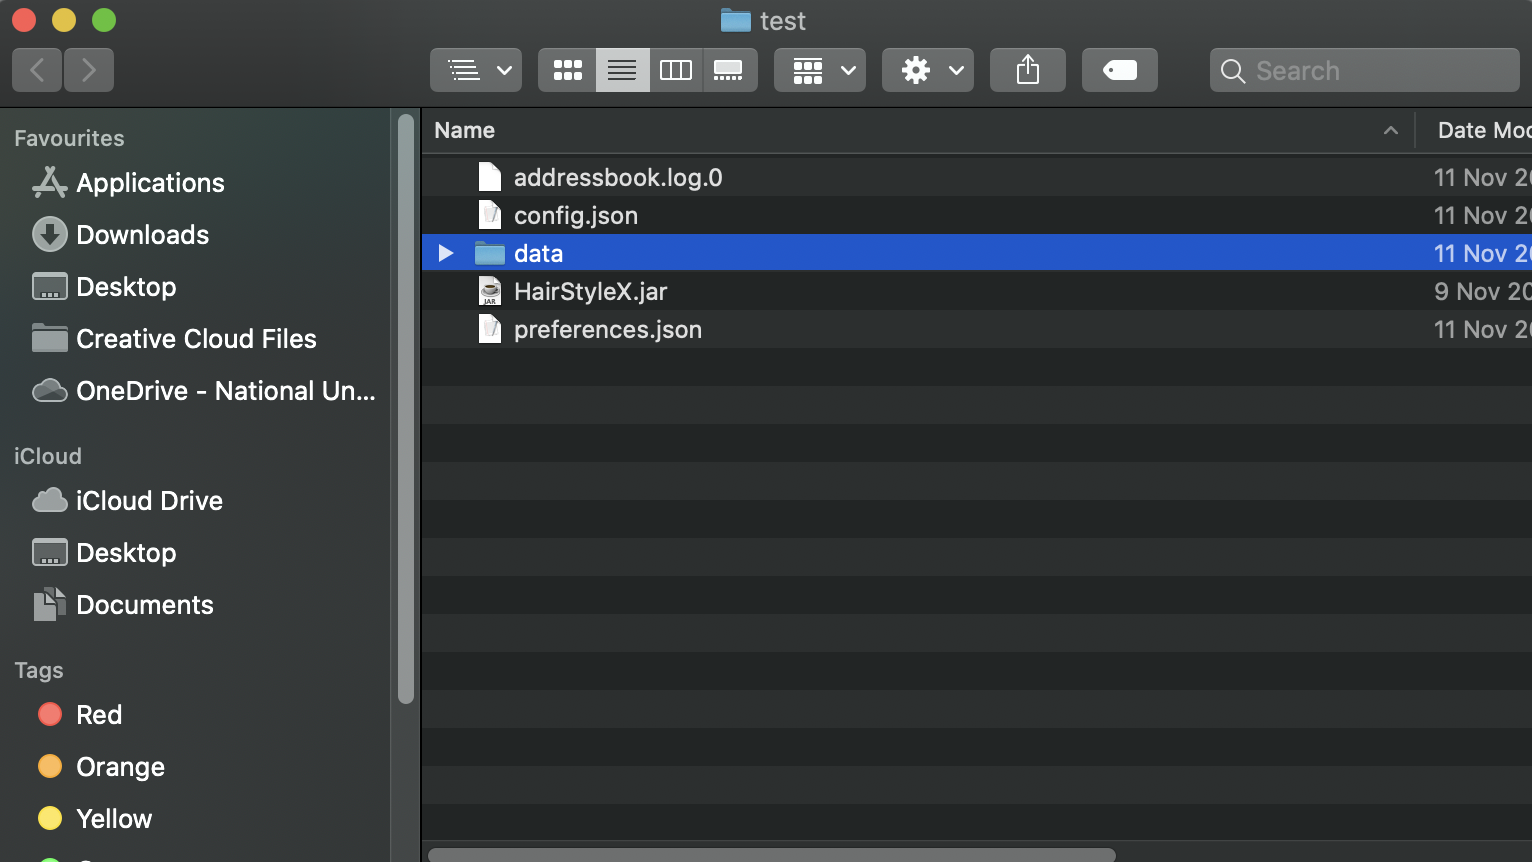
Example:
In this example, you want to export all current data into CSV files. Assume you have HairStyleX.jar currently stored in a folder called test, as illustrated below.
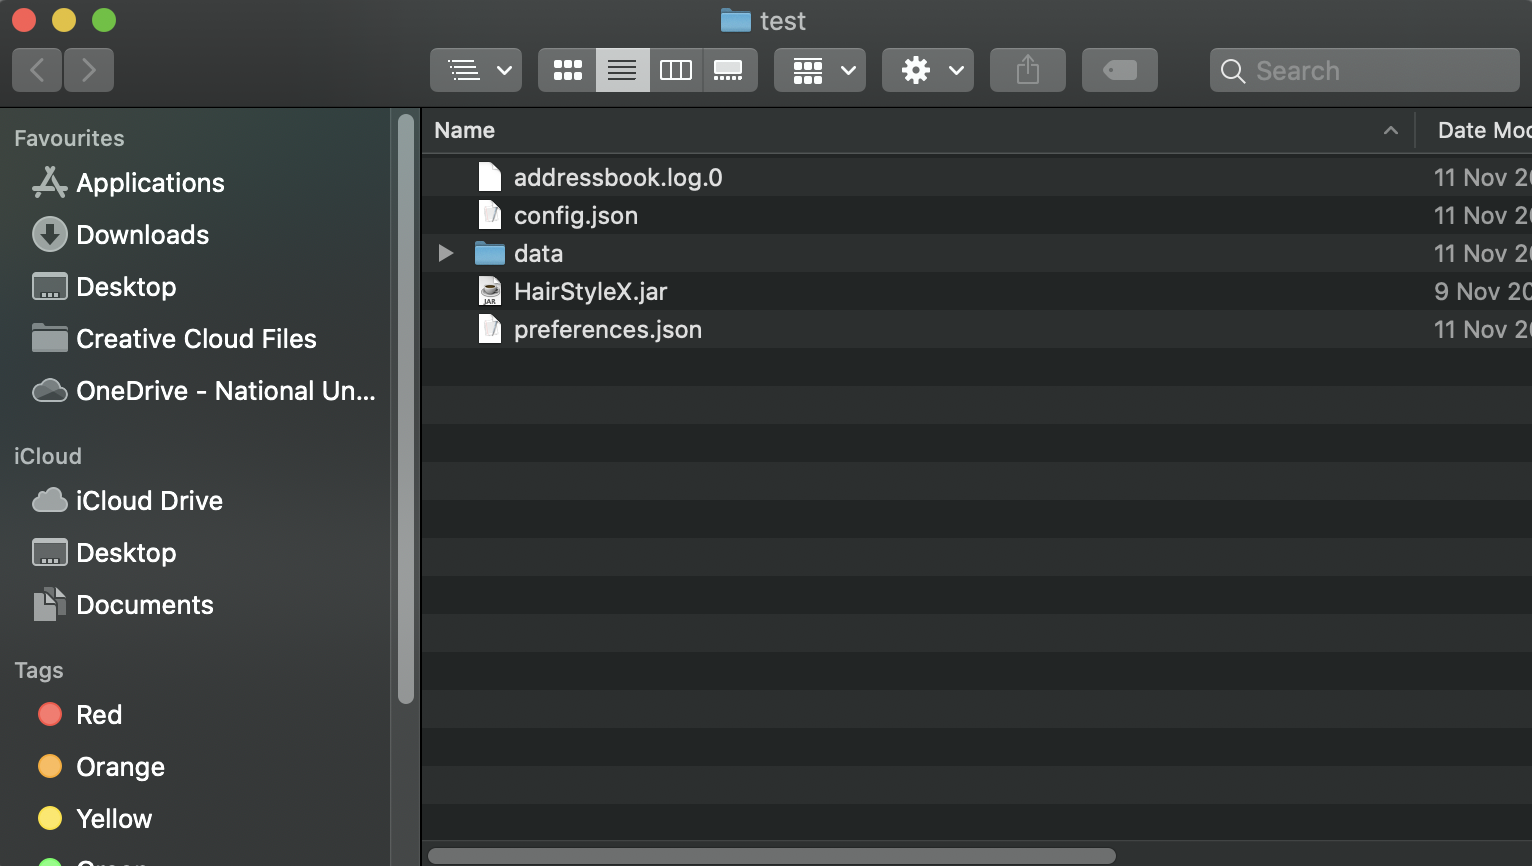
![]() It is perfectly fine if you only have HairStyleX.jar in the test folder above. The other files in the above test folder will be automatically generated for you as you run the application.
It is perfectly fine if you only have HairStyleX.jar in the test folder above. The other files in the above test folder will be automatically generated for you as you run the application.
Exporting to CSV:
- Type
printinto the Command Box, as illustrated below.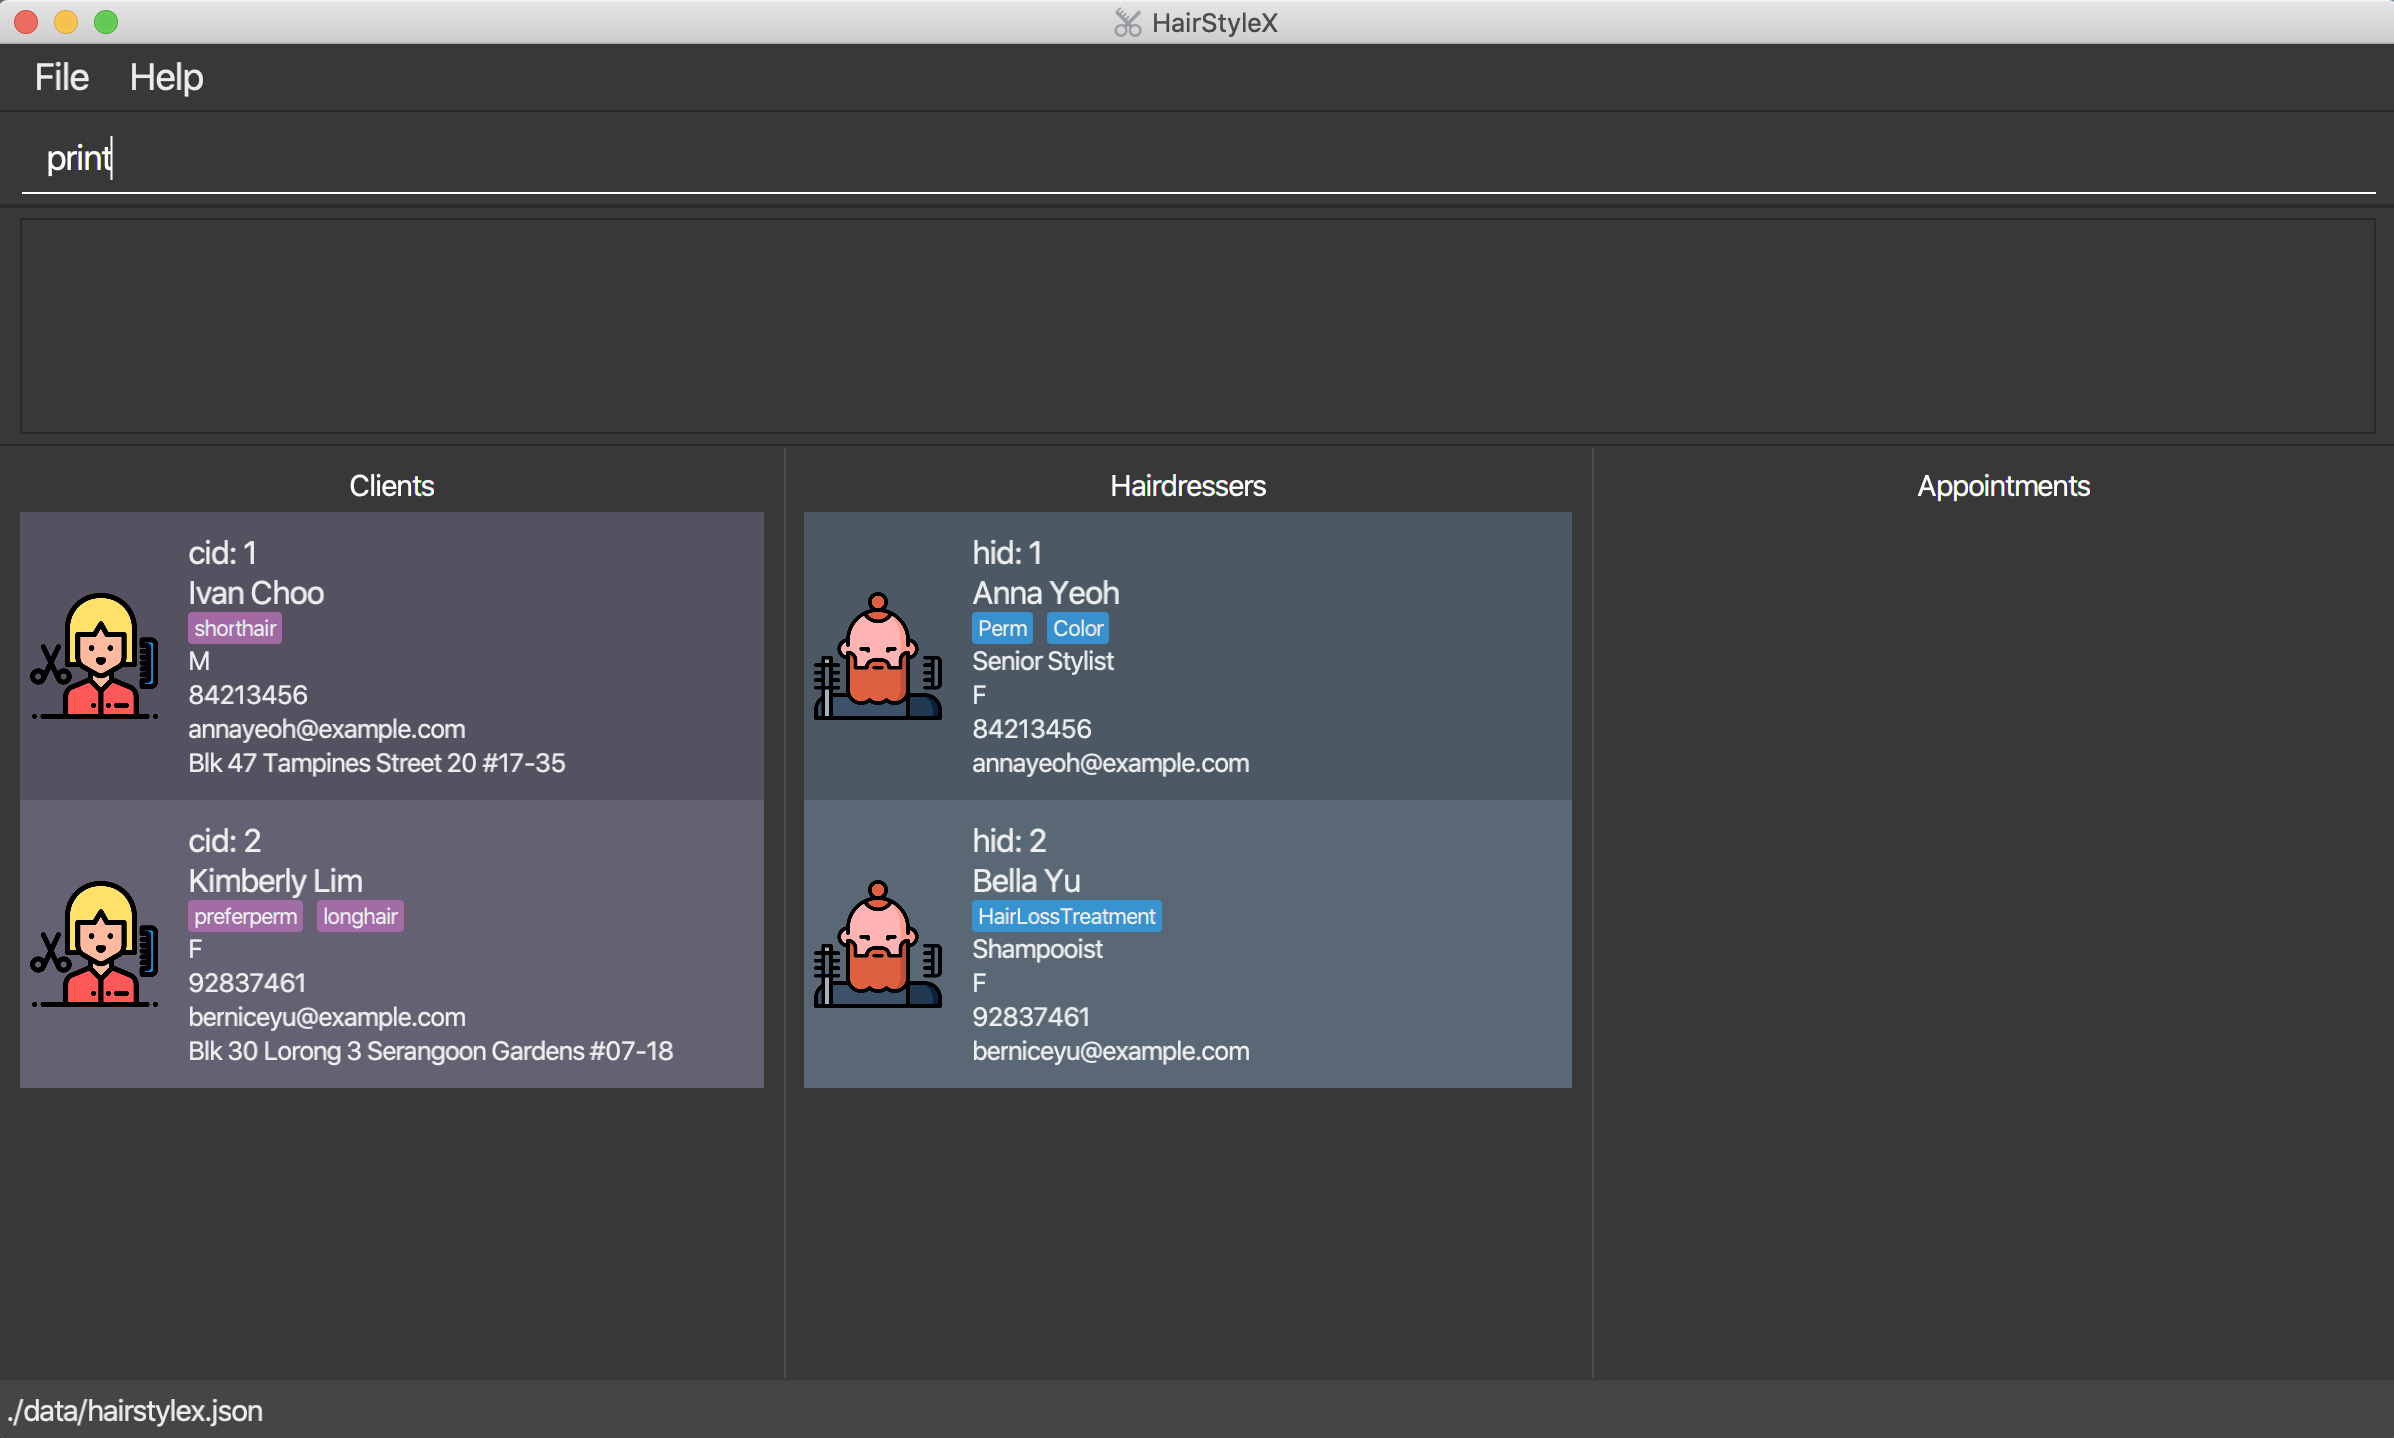
- Press
Enterto execute.
Outcome:
- The
Result Displaywill show a success message.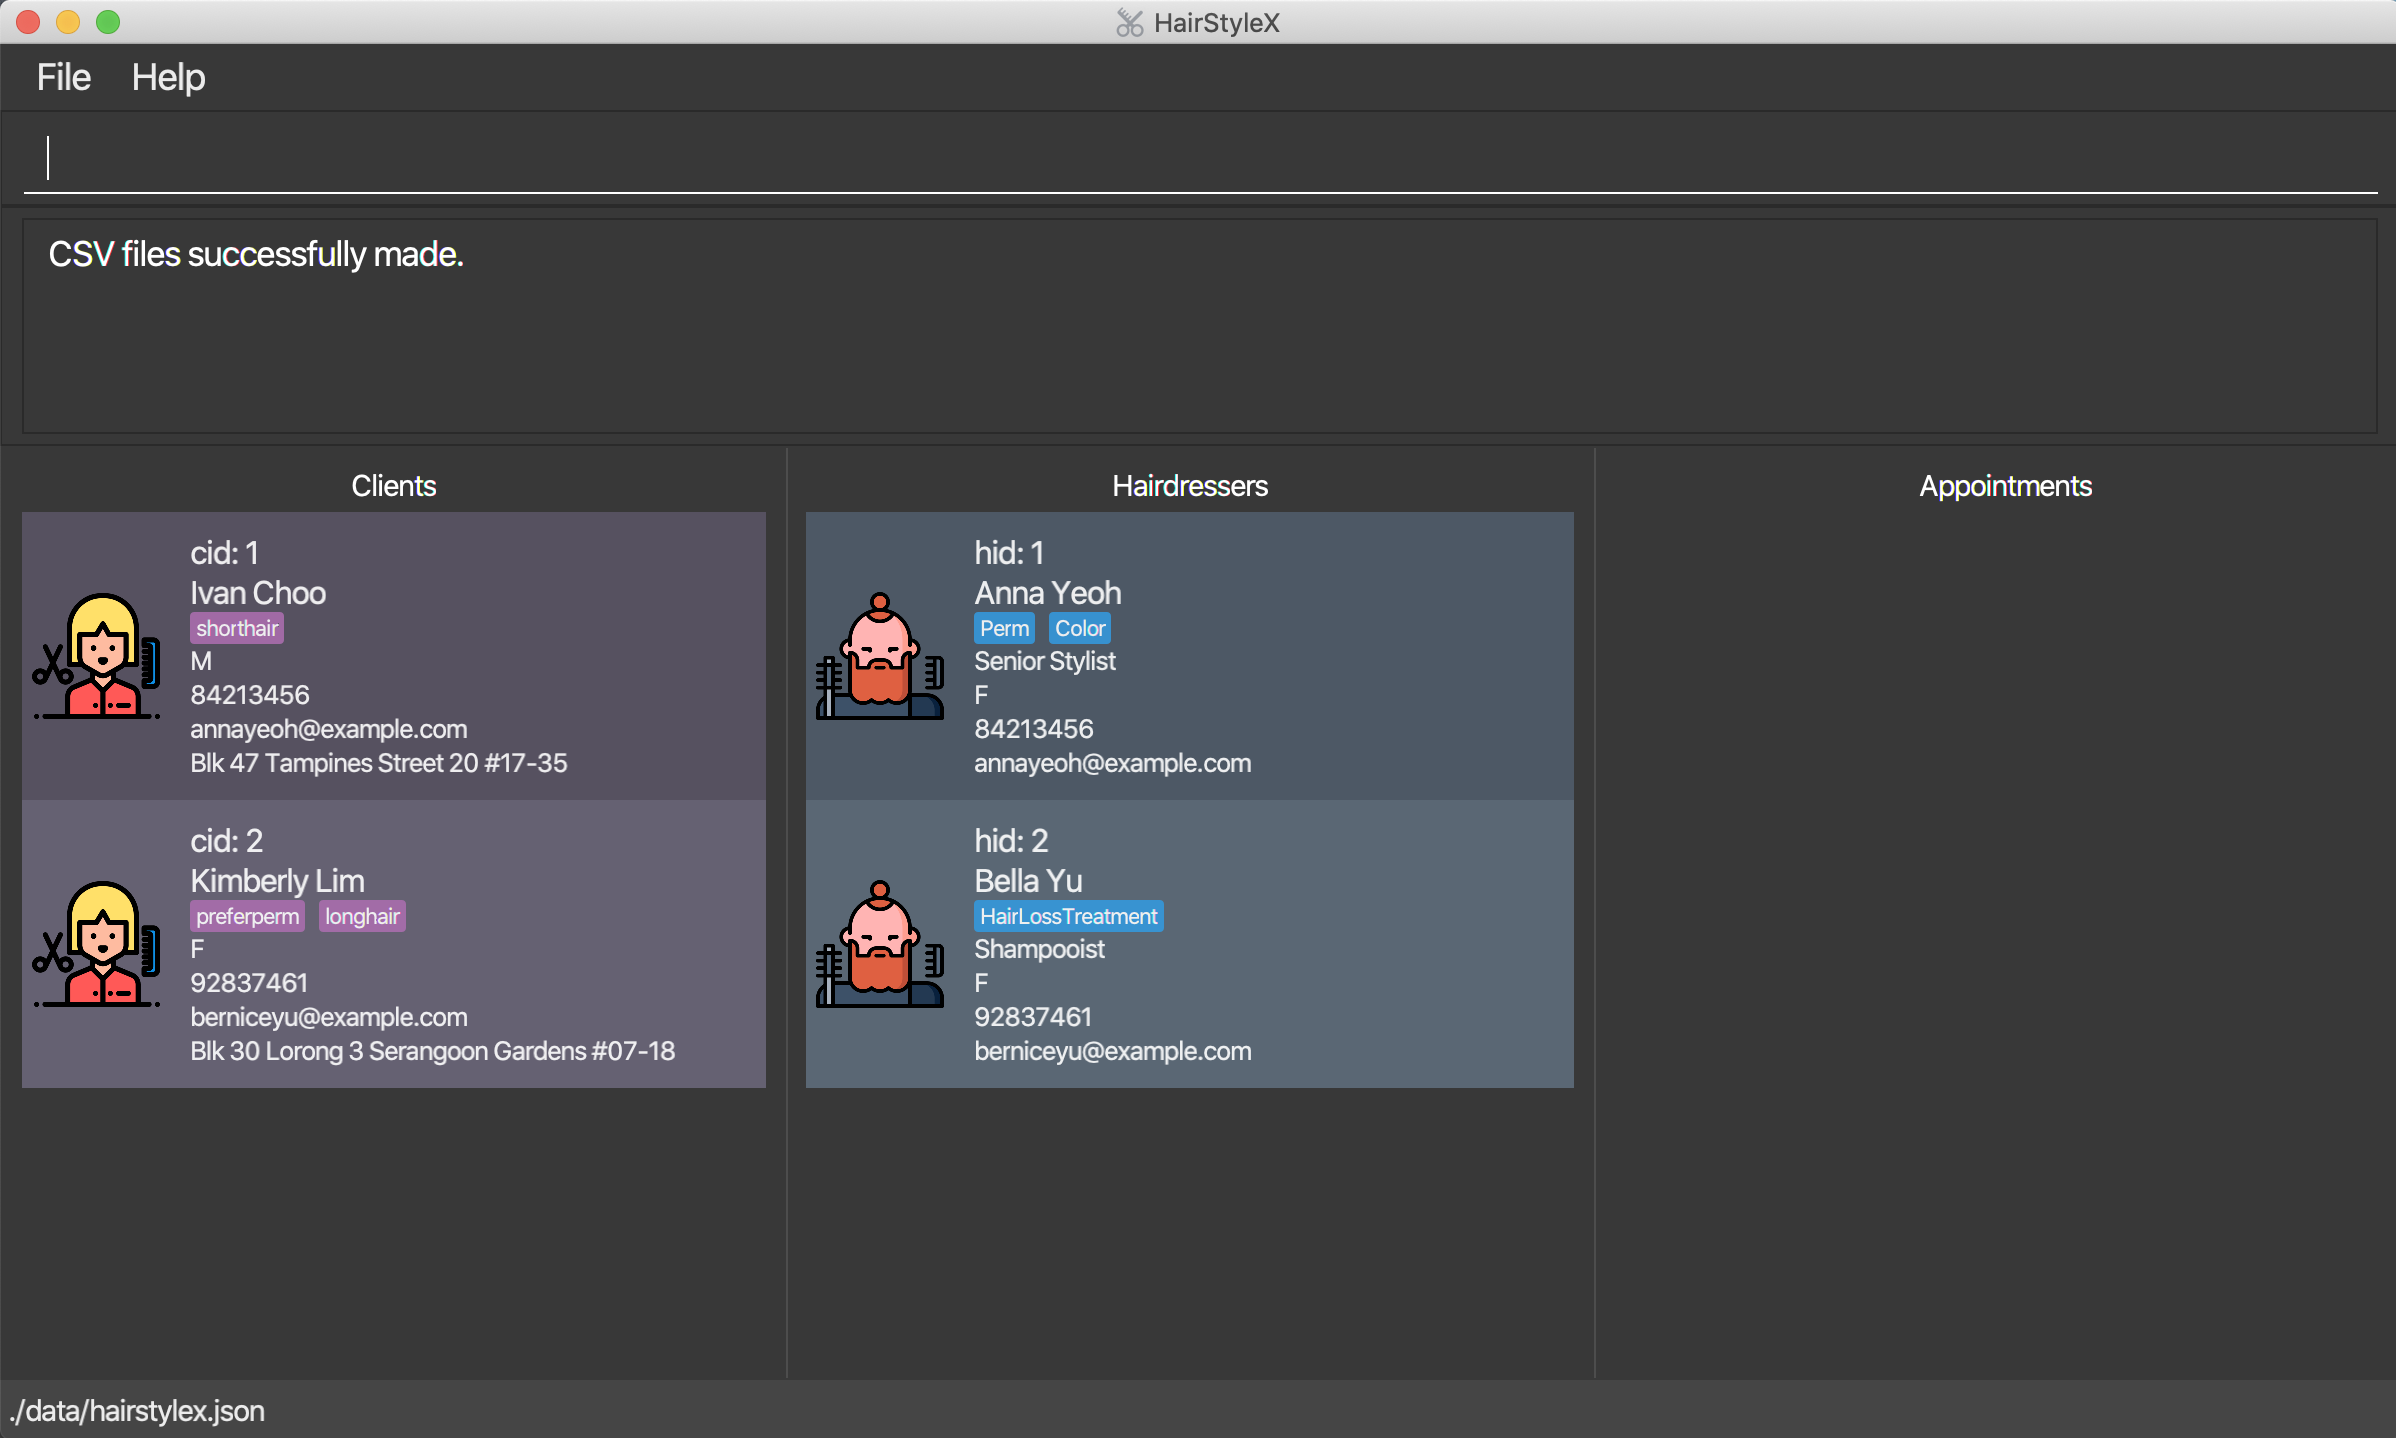
- You can now access the CSV files in the folder data that is in the same directory with HairStyleX.jar, as illustrated below.
- Double click on the folder data, and there will be three CSV files generated. Namely, appointments.csv, clients.csv, hairdressers.csv, as illustrated below.
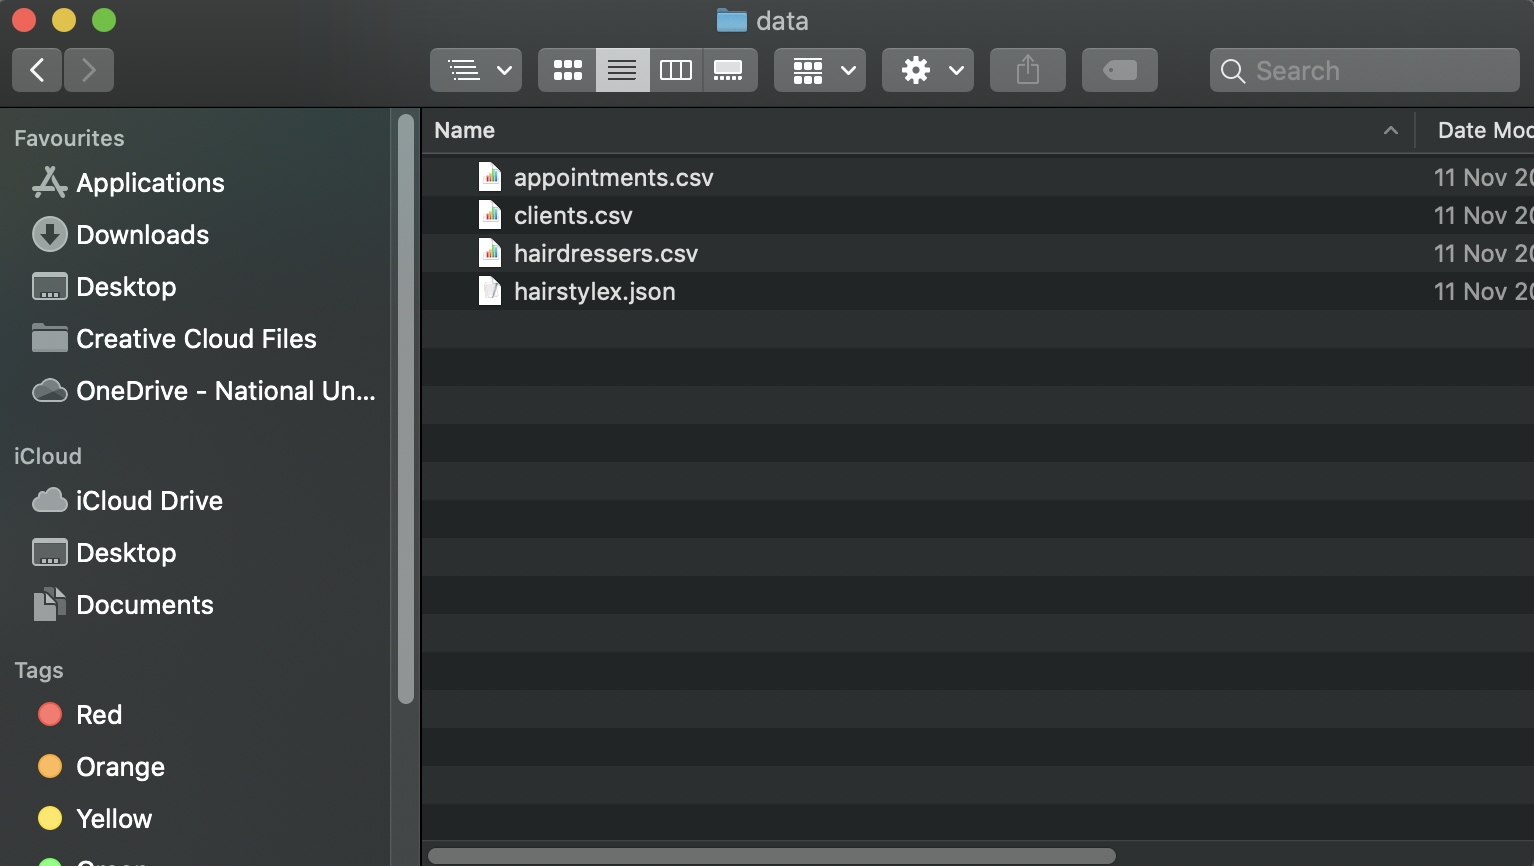
- These files contain the information for
Appointments,Clients, andHairdressers respectively.
4.2 Client Management
(Contributed by Yao Yuan)
This feature allows you to manage the information of clients in your salon. You can record the following information about clients:
- Name
- Gender
- Phone
- Address
- Tags
4.2.1 Client Management Command Parameters
Before you jump right into using this feature, you may want to learn about all the common command parameters used in this feature. The table below shows the list of common command parameters that will be used for this feature.
| Parameter Name | Description |
|---|---|
NAME |
The name of the client. It should only contain at most 50 alphanumeric characters and spaces, and it should not be blank. E.g. Yao Yuan
|
PHONE |
The phone number of the client. It should only contain numbers, should be at least 3 digits long, and should be at most 15 digits E.g. 96757525
|
EMAIL |
The email of the client. Emails should be of the format local-part@domain and adhere to the following constraints: 1. The local-part should only contain alphanumeric characters and these special characters: !#$%&'*+/=?{}~^.- .2. This is followed by a ‘@’ and then a domain name. The domain name must be at least 2 characters long, start and end with alphanumeric characters, consist of alphanumeric characters, a period or a hyphen for the characters in between, if any. The entire email should be at most 50 characters long. E.g. yaoyuan@example.com
|
GENDER |
The gender of the client. Gender should be either F or M or f or m. E.g. F
|
ADDRESS |
The address of the client. It should only contain a maximum of 50 characters E.g. 6 College Avenue East #12-01D
|
TAG |
The tag of the client. A tag can only be one word with no space in between. It should only contain at most 20 alphanumeric characters. It is optional. There can be more than one tag for each client. E.g. shortHair
|
ID |
The unique client ID cid that is assigned to each client. The ID is unique to each client, and the ID will not be assigned to another client even if one is deleted from the database. Thus, the ID displayed in the list may not be sequential. |
KEYWORD |
Keyword for filter_client. It should only contain alphanumeric characters. |
4.2.2 Adding a client: add_client
You can use this command to add a client to the database.
Format:
add_client n/NAME p/PHONE e/EMAIL g/GENDER a/ADDRESS [t/TAG]…
![]() Refer to Section 4.2.1 for more details on each parameter.
Refer to Section 4.2.1 for more details on each parameter.
![]()
-
Clients with the same name and phone number are considered as duplicates.
-
Likewise, a client with the same name and phone number as an existing hairdresser is also considered as a duplicate.
-
You are not allowed to enter duplicates into HairStyleX.
Examples:
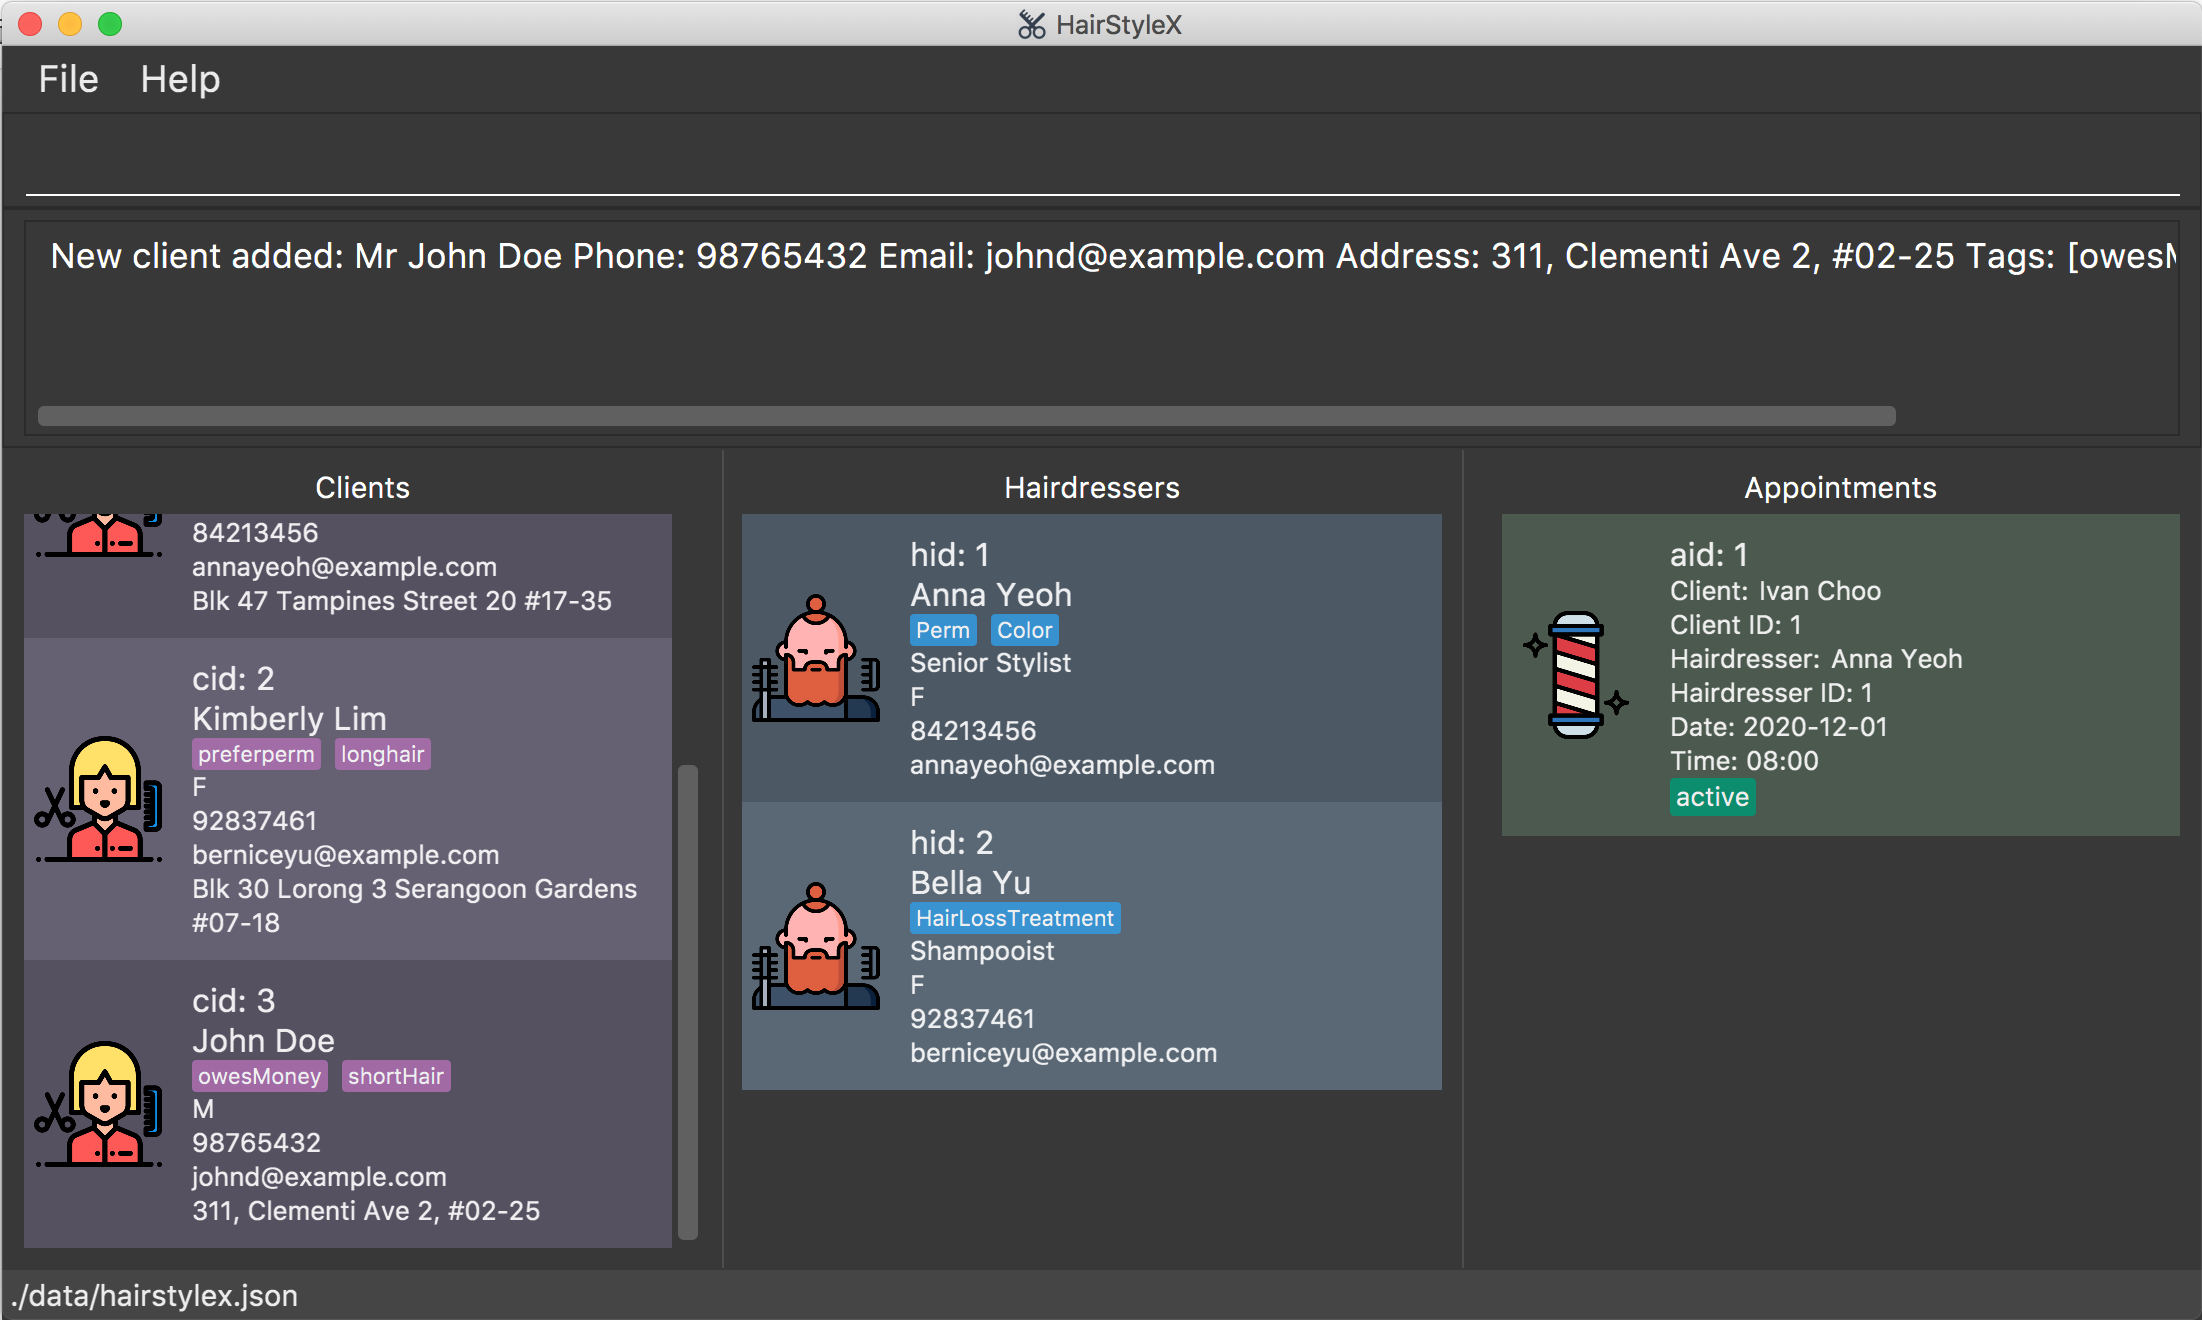
In the example below, you will register a male client called John Doe with phone number 98765432, email johnd@example.com, address 311, Clementi Ave 2, #02-25, who has short hair and owes the salon money, into the HairstyleX.
add_client n/John Doe p/98765432 e/johnd@example.com g/M a/311, Clementi Ave 2, #02-25 t/shortHair t/owesMoney
Adding a new client:
- Type
add_client n/John Doe p/98765432 e/johnd@example.com g/M a/311, Clementi Ave 2, #02-25 t/shortHair t/owesMoneyinto the Command Box. - Press
Enterto execute.
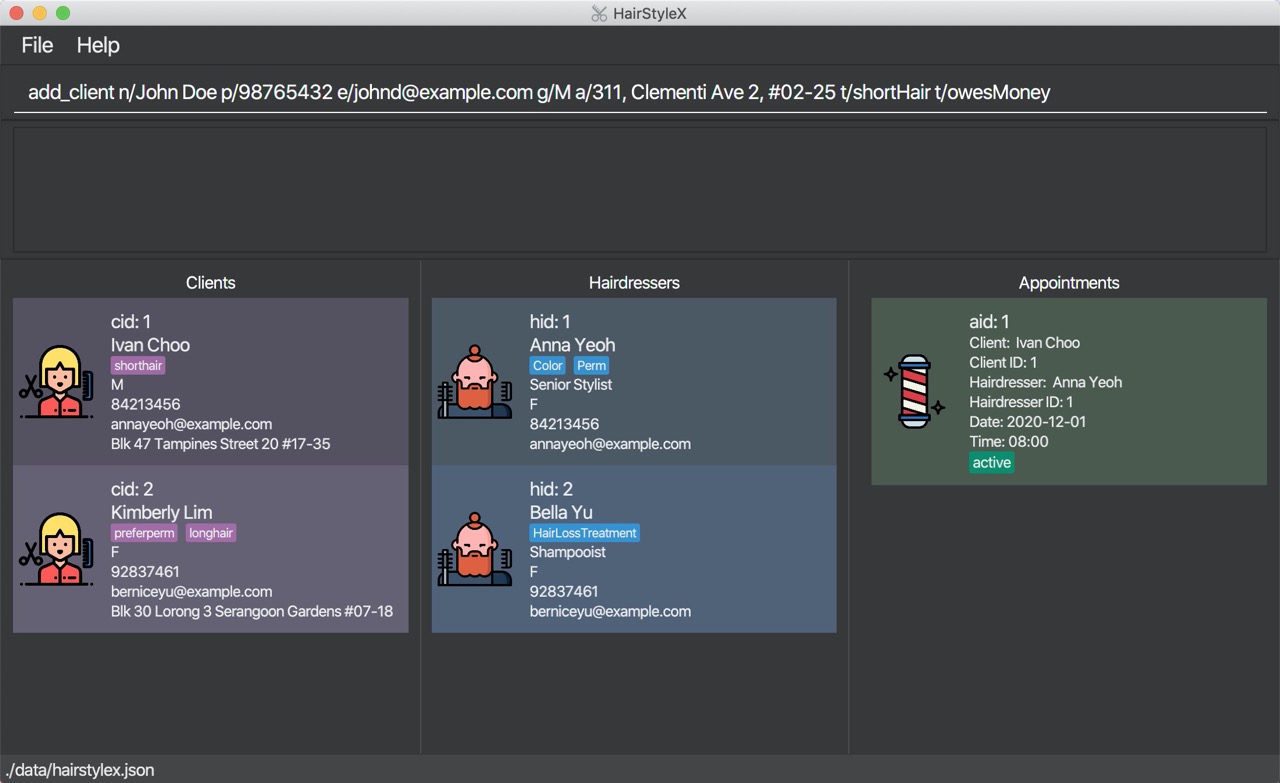
Outcome:
- The
Result Displaywill show a success message. - You can now see the client’s information in the Clients Panel.
4.2.3 Listing all clients : list_client
You can use this command to show a list of all clients in the database. This command is especially useful if you used filter_client command to search for clients- list_client will restore the full list to view.
Format:
list_client
Example:
Listing all your clients:
- Type
list_clientinto the Command Box. - Press
Enterto execute.
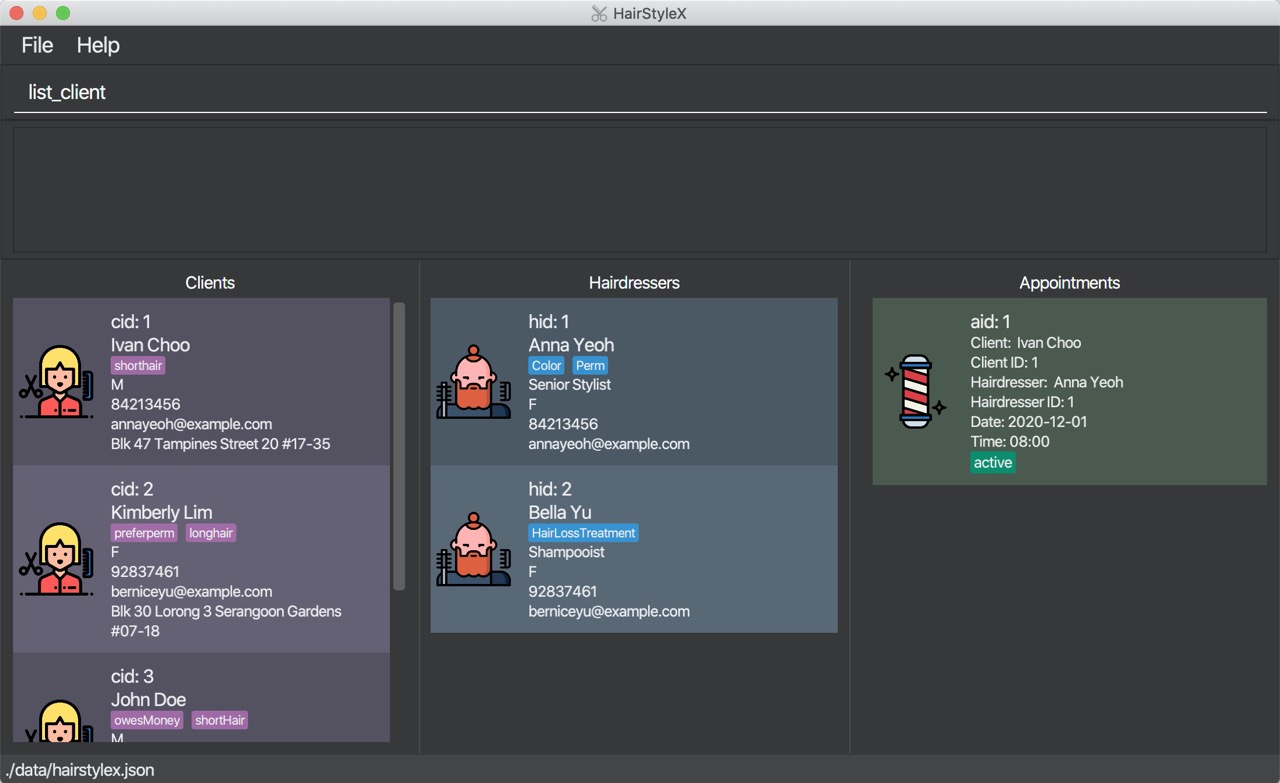
Outcome:
- The Result Display will show a success message.
- You can now see all your clients in the Client Panel.

4.2.4 Editing a client : edit_client
You can use this command to edit an existing client in the database.
Format:
edit_client ID [n/NAME] [p/PHONE] [e/EMAIL] [g/GENDER] [a/ADDRESS] [t/TAG]…
![]()
- Edits the client with the specified
ID. The index refers to the index numbercidshown in the displayed client list. The index must be a positive integer 1, 2, 3, … - At least one of the optional fields must be provided.
- Existing values will be updated to the input values.
- When editing tags, the existing tags of the client will be removed i.e adding of tags is not cumulative.
- You can remove all the client’s tags by typing
t/without specifying any tags after it. - Refer to Section 4.2.1 for more details on each parameter.
![]()
-
Clients with the same name and phone number are considered as duplicates.
-
Likewise, a client with the same name and phone number as an existing hairdresser is also considered as a duplicate.
-
You are not allowed to edit a client such that their updated information results in duplicates in HairStyleX.
Examples:
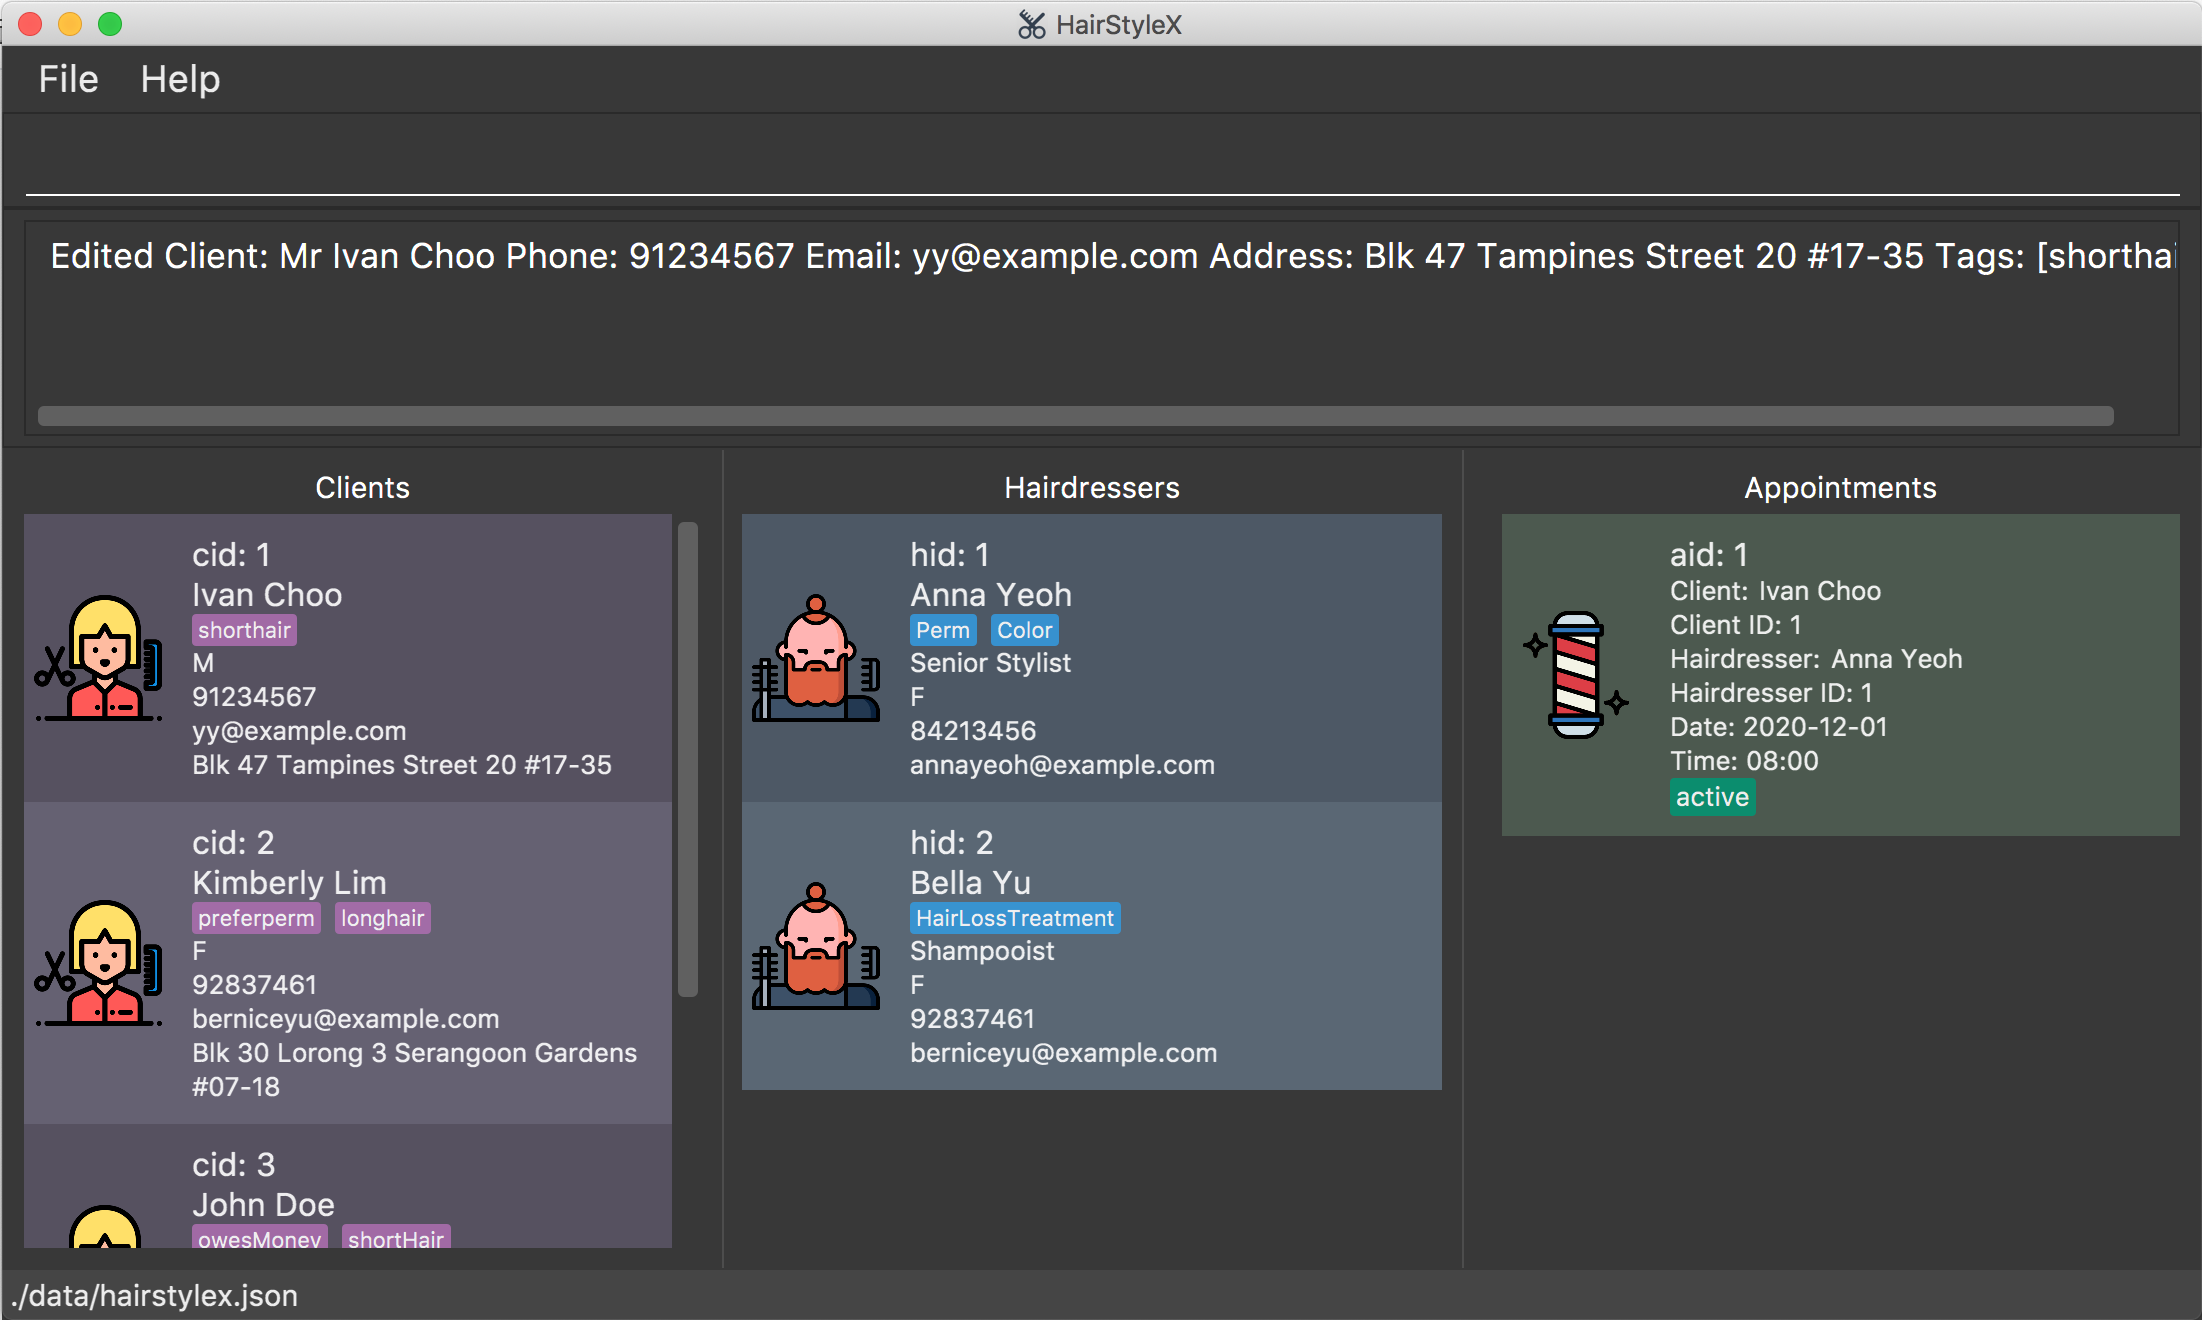
Assume that the client with ID 1 changed his/her phone number and email and you wish to update it in the database. You will perform the following steps:
Editing a new client:
- Type
edit_client 1 p/91234567 e/yy@example.cominto the Command box. - Press
Enterto execute.

Outcome:
- The
Result Displaywill show a success message. - You can now see the updated client’s information in the Clients Panel.
4.2.5 Deleting a client : delete_client
You can use this command to remove a specific client from the database.
Format:
delete_client ID
![]()
- Deletes the client with the specified
ID. - The index refers to the index number
cidshown in the displayed client list. - The index must be a positive integer 1, 2, 3, …
- All appointments with this corresponding client will now show “DELETED” for the client placeholder
- The purpose of deletion is to remove personal information such as name, phone number, and email. Other information such as the
IDand associated appointments may still be preserved.
Example:
Assume that the information of client with ID 2 is no longer needed and you wish to delete him/her from the database. You will perform the following steps:
Delete client:
- Type
delete_client 2into the Command Box. - Press
Enterto execute.
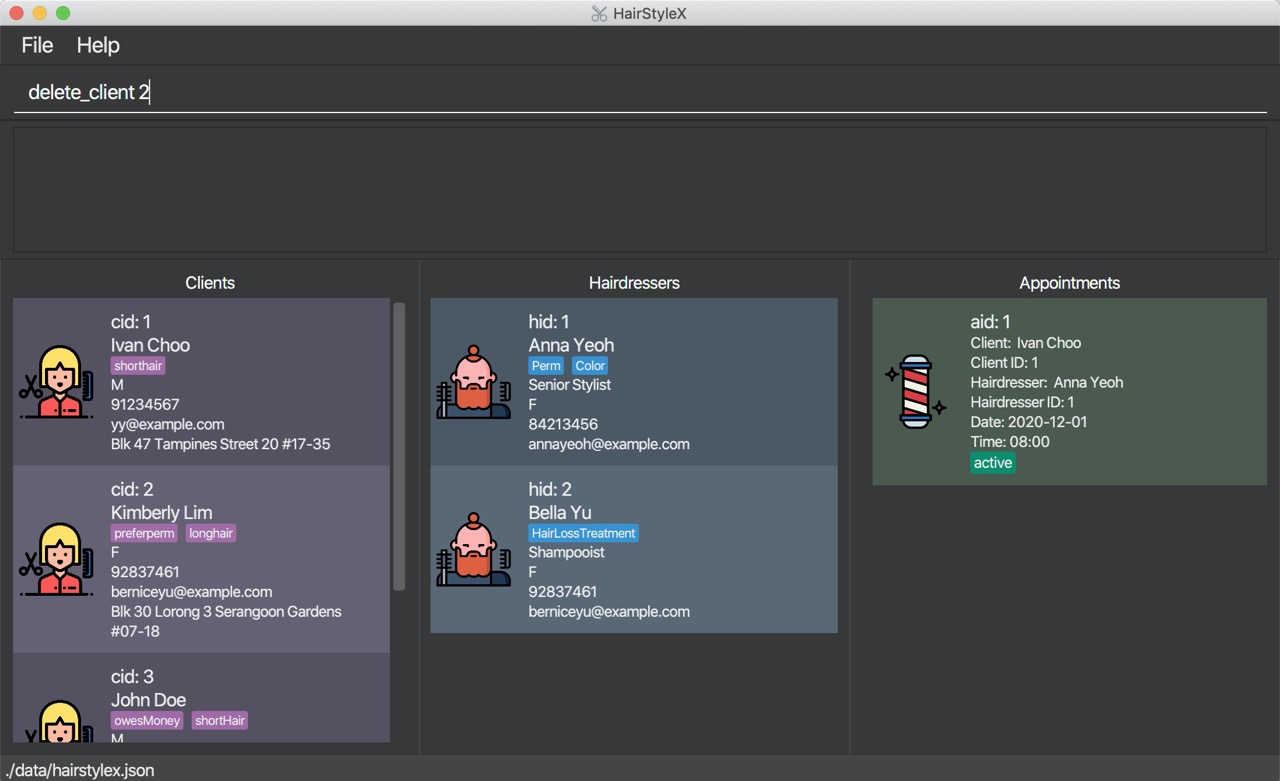
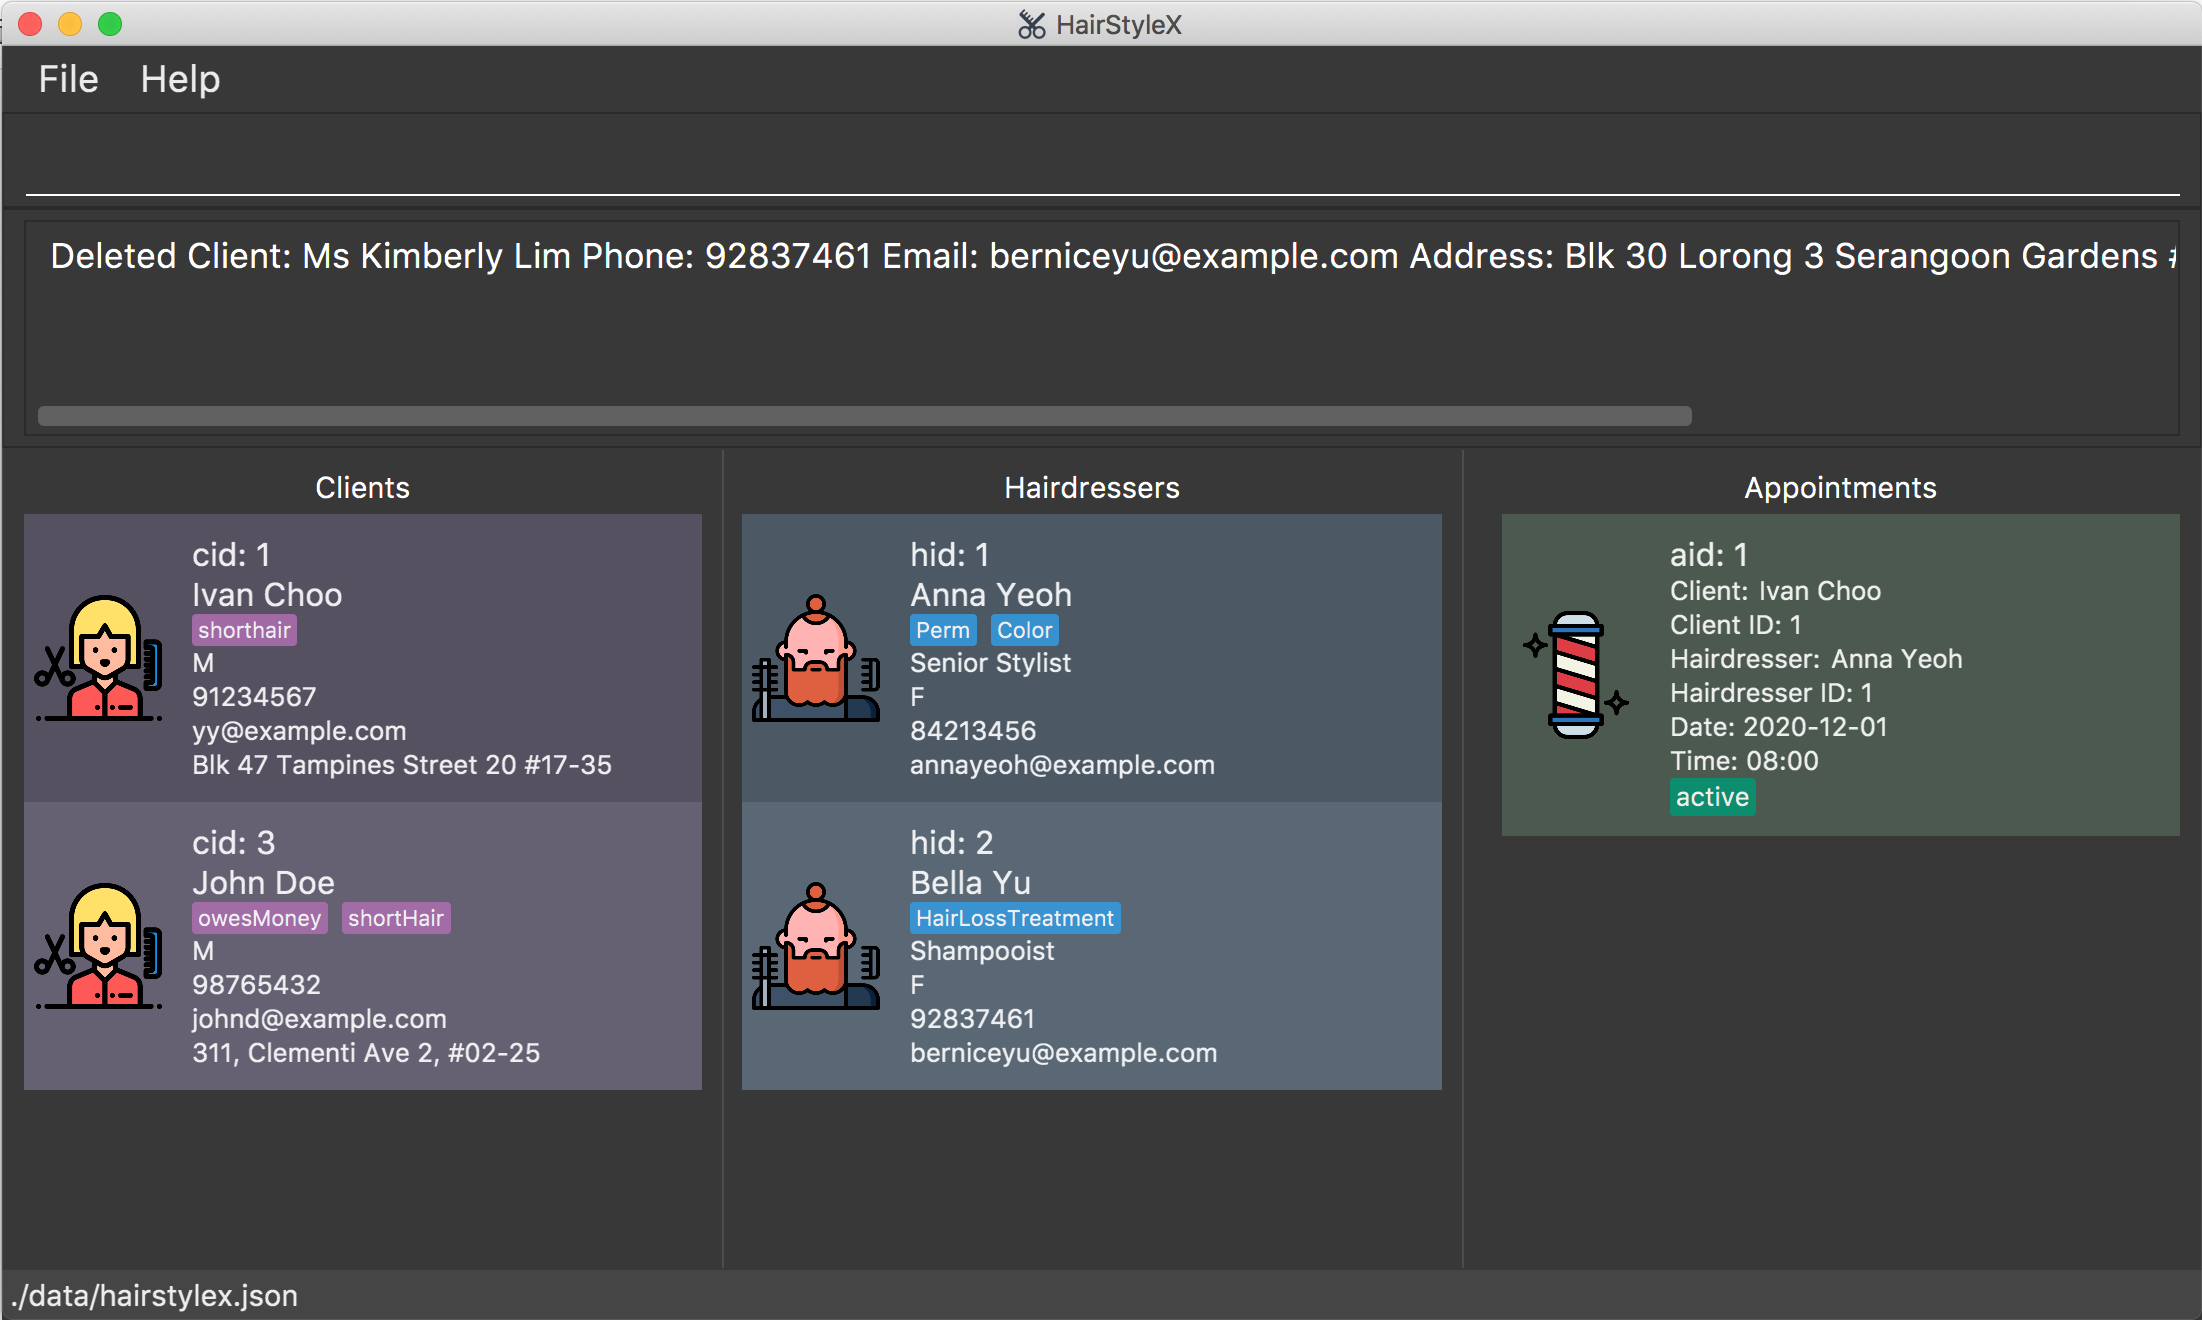
Outcome:
- The
Result Displaywill show a success message.
4.2.6 Filtering clients : filter_client
You can filter the list of clients in the database with a keyword search that matches their names.
Format:
filter_client KEYWORD...
![]()
- The search is case-insensitive. e.g
anna,aNNawill matchAnna. - The order of the keywords does not matter. e.g.
Anna Yeohwill matchYeoh Anna. - Only the name is searched.
- Only full words will be matched e.g.
Annwill not matchAnna. - Persons matching at least one keyword will be returned (i.e.
ORsearch). e.g.Anna Yeohwill returnAnna Cheung,David Yeoh.
Example:
You wish to find the client Ivan from the database and check his phone number. You will perform the following steps:
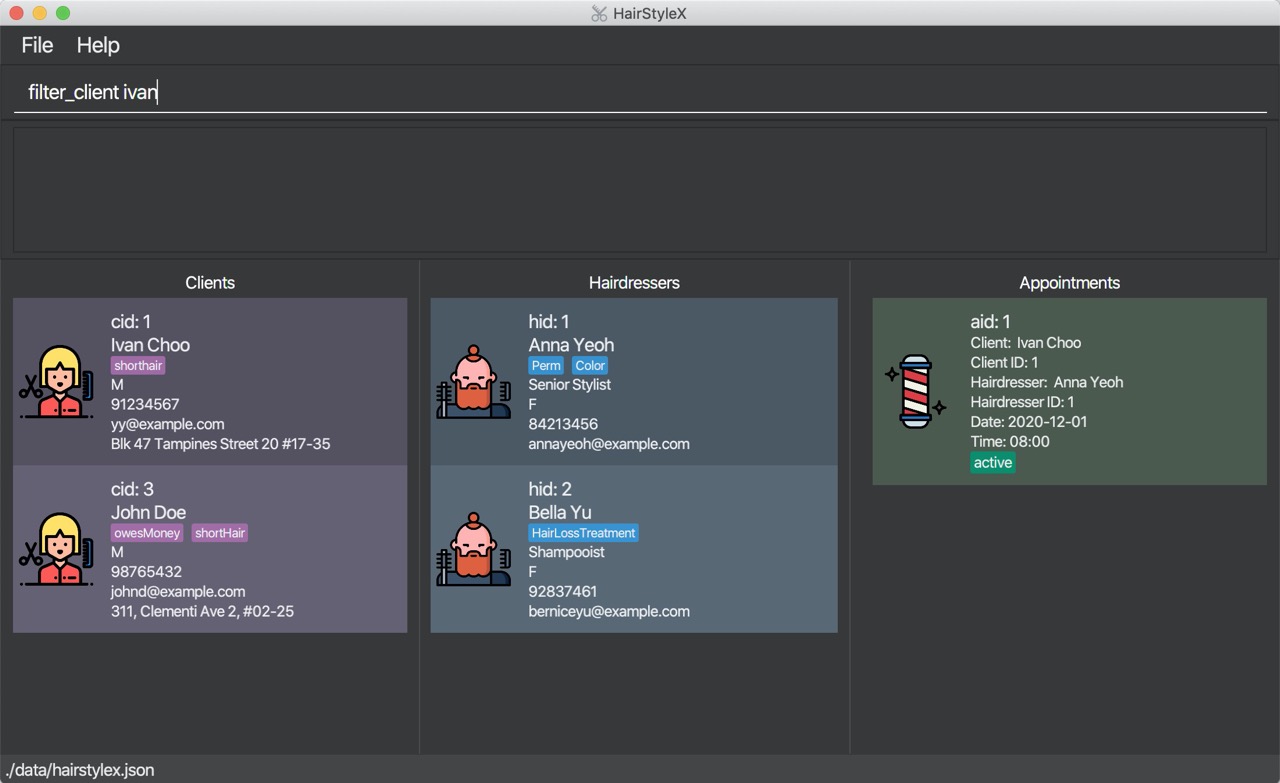
Filter clients:
- Type
filter_client ivaninto the Command Box. - Press
Enterto execute.
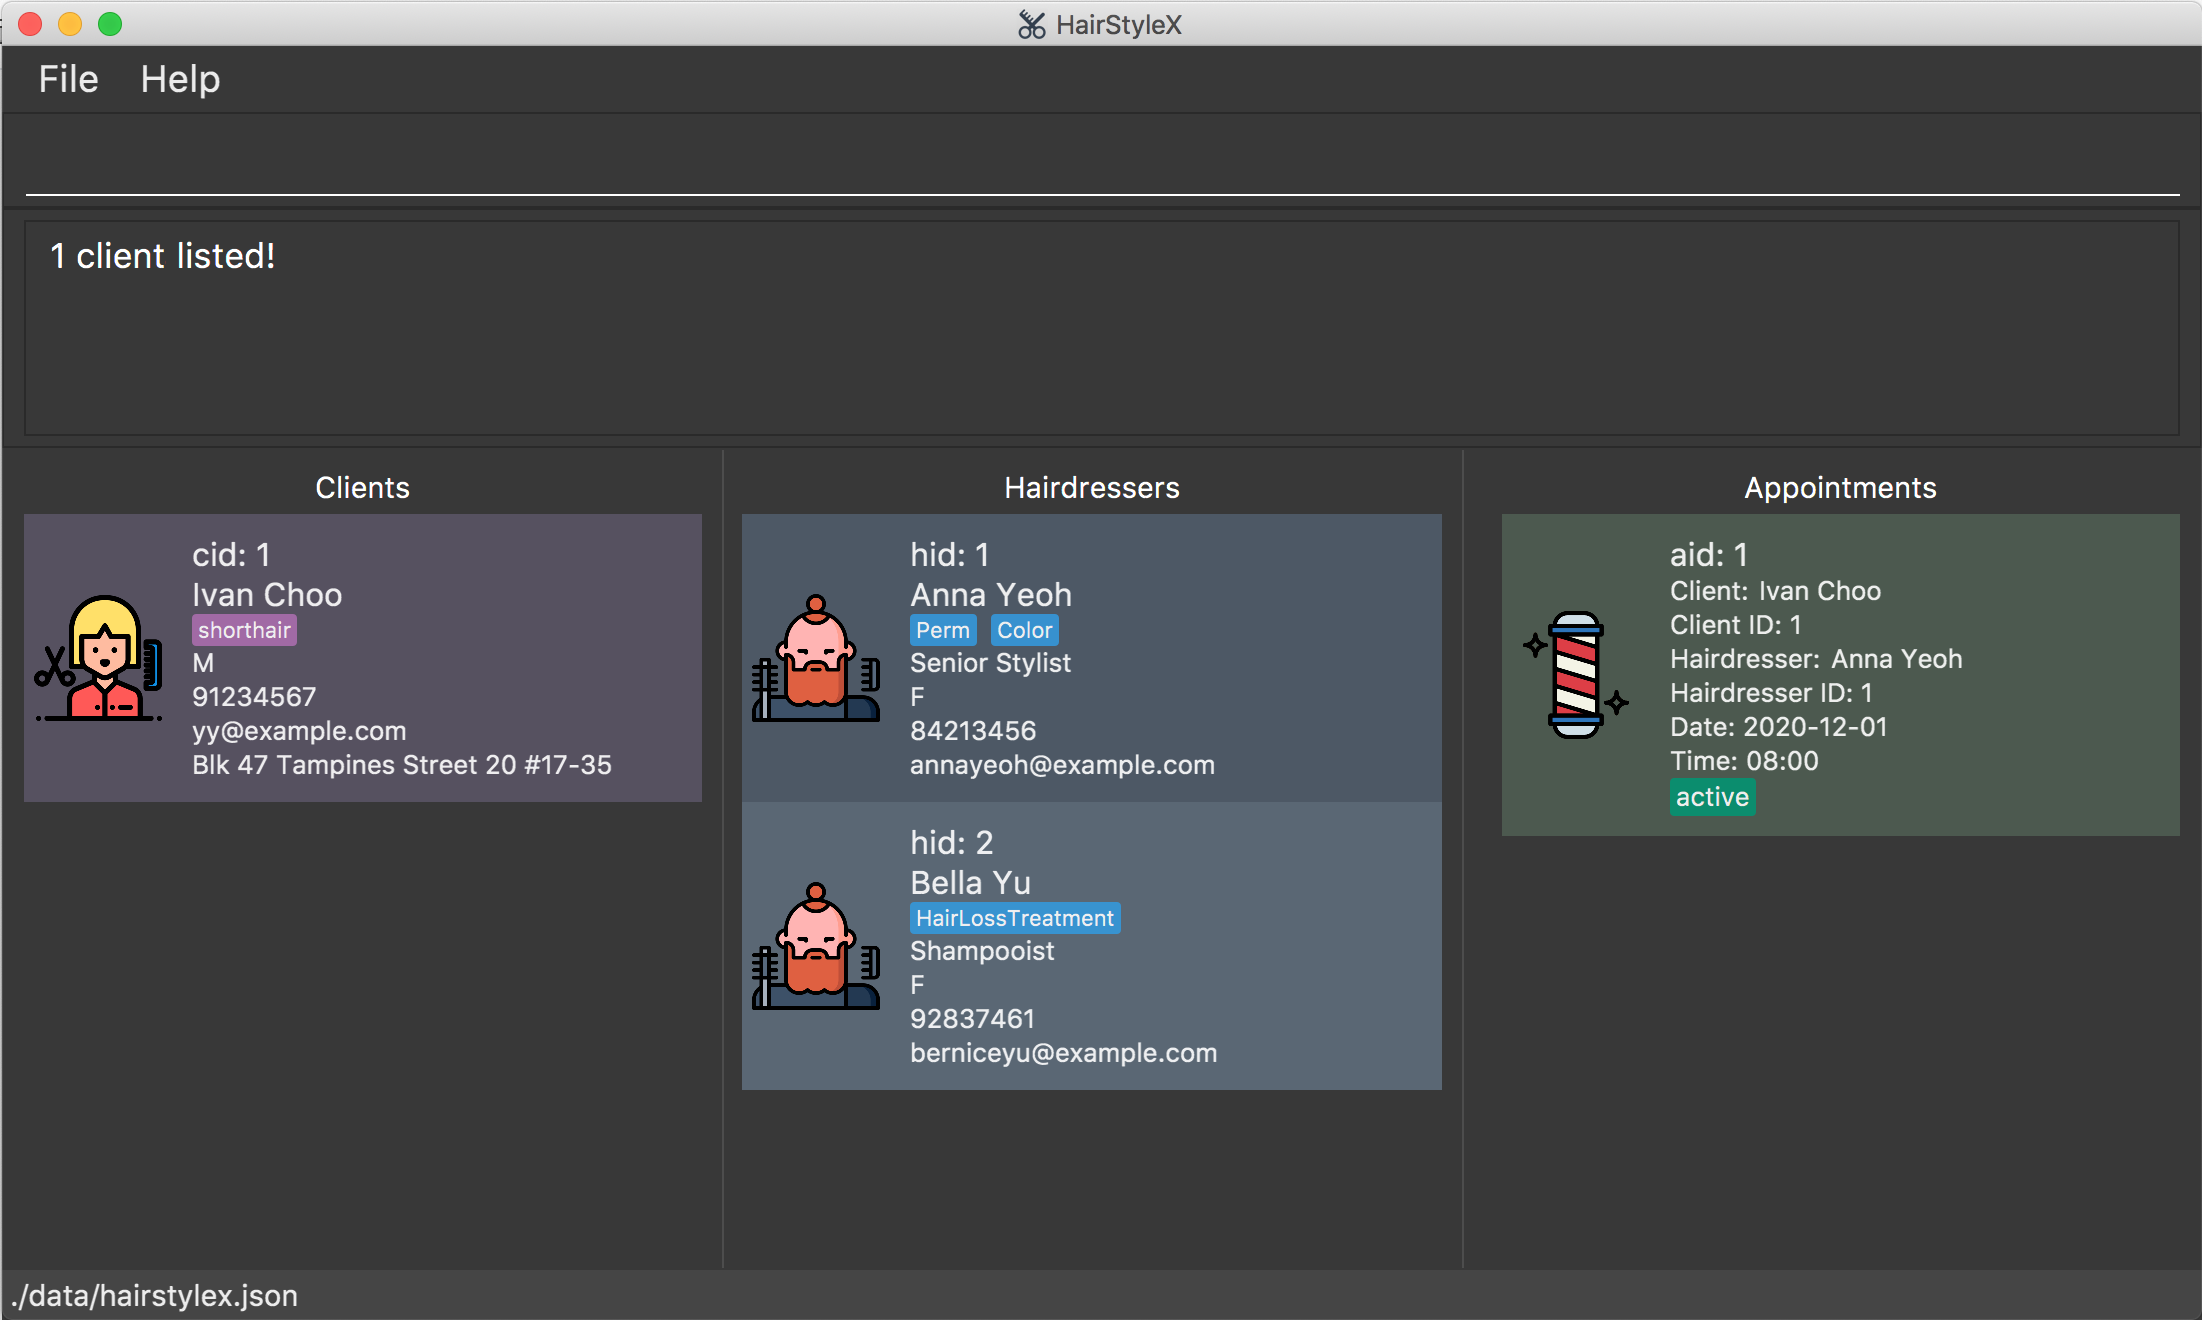
Outcome:
- The
Result Displaywill show a success message. - You can now see the filtered client’s information in the Clients Panel, with clients named
Ivandisplayed in the list.
4.3 Hairdresser Management
(contributed by Zhang Yifan)
This feature allows you to manage the information of hairdressers in your salon. You can record the following information about hairdressers:
- Name
- Title
- Gender
- Phone
- Specialisations
4.3.1 Hairdresser Management Command Parameters
| Parameter Name | Description |
|---|---|
NAME |
The name of the hairdresser. It should only contain at most 50 alphanumeric characters and spaces, and it should not be blank. E.g. Anna Sue
|
TITLE |
The title of the hairdresser. It should only contain at most 20 alphanumeric characters and spaces, and it should not be blank. E.g. Senior Stylist
|
GENDER |
The gender of the hairdresser. Gender should be either F or M or f or m. E.g. F
|
PHONE |
The phone number of the hairdresser. Phone numbers should only contain numbers, should be at least 3 digits long, and should be at most 15 digits long. E.g. 81526354
|
EMAIL |
The email of the hairdresser. Emails should be of the format local-part@domain and adhere to the following constraints: 1. The local-part should only contain alphanumeric characters and these special characters: !#$%&'*+/=?{}~^.- .2. This is followed by a ‘@’ and then a domain name. The domain name must be at least 2 characters long, start and end with alphanumeric characters, consist of alphanumeric characters, a period or a hyphen for the characters in between, if any. The entire email should be at most 50 characters long. E.g. johnd@example.com
|
SPECIALISATION |
The specialisation of the hairdresser. Specialisations should be one of the following options and are case-sensitive: Color, Perm, HairExtension, Styling, HairConditioning, Straightening, ScalpTreatment, HairLossTreatment.E.g. Color
|
ID |
The unique hairdresser ID hid that is assigned to each hairdresser. The ID is unique to each hairdresser, and the ID will not be assigned to another hairdresser even if one is deleted from the database. Thus, the ID displayed in the list may not be sequential. |
KEYWORD |
Keyword for filter_hairdresser. It should only contain alphanumeric characters. |
4.3.2 Adding a hairdresser : add_hairdresser
You can use this command to add a hairdresser to the database.
Format:
add_hairdresser n/NAME p/PHONE e/EMAIL g/GENDER ti/TITLE [s/SPECIALISATION]…
![]() Refer to Section 4.3.1 for more details on each parameter.
Refer to Section 4.3.1 for more details on each parameter.
![]()
-
Hairdressers with the same name and phone number are considered as duplicates.
-
Likewise, a hairdresser with the same name and phone number as an existing client is also considered as a duplicate.
-
You are not allowed to enter duplicates in HairStyleX.
Example:
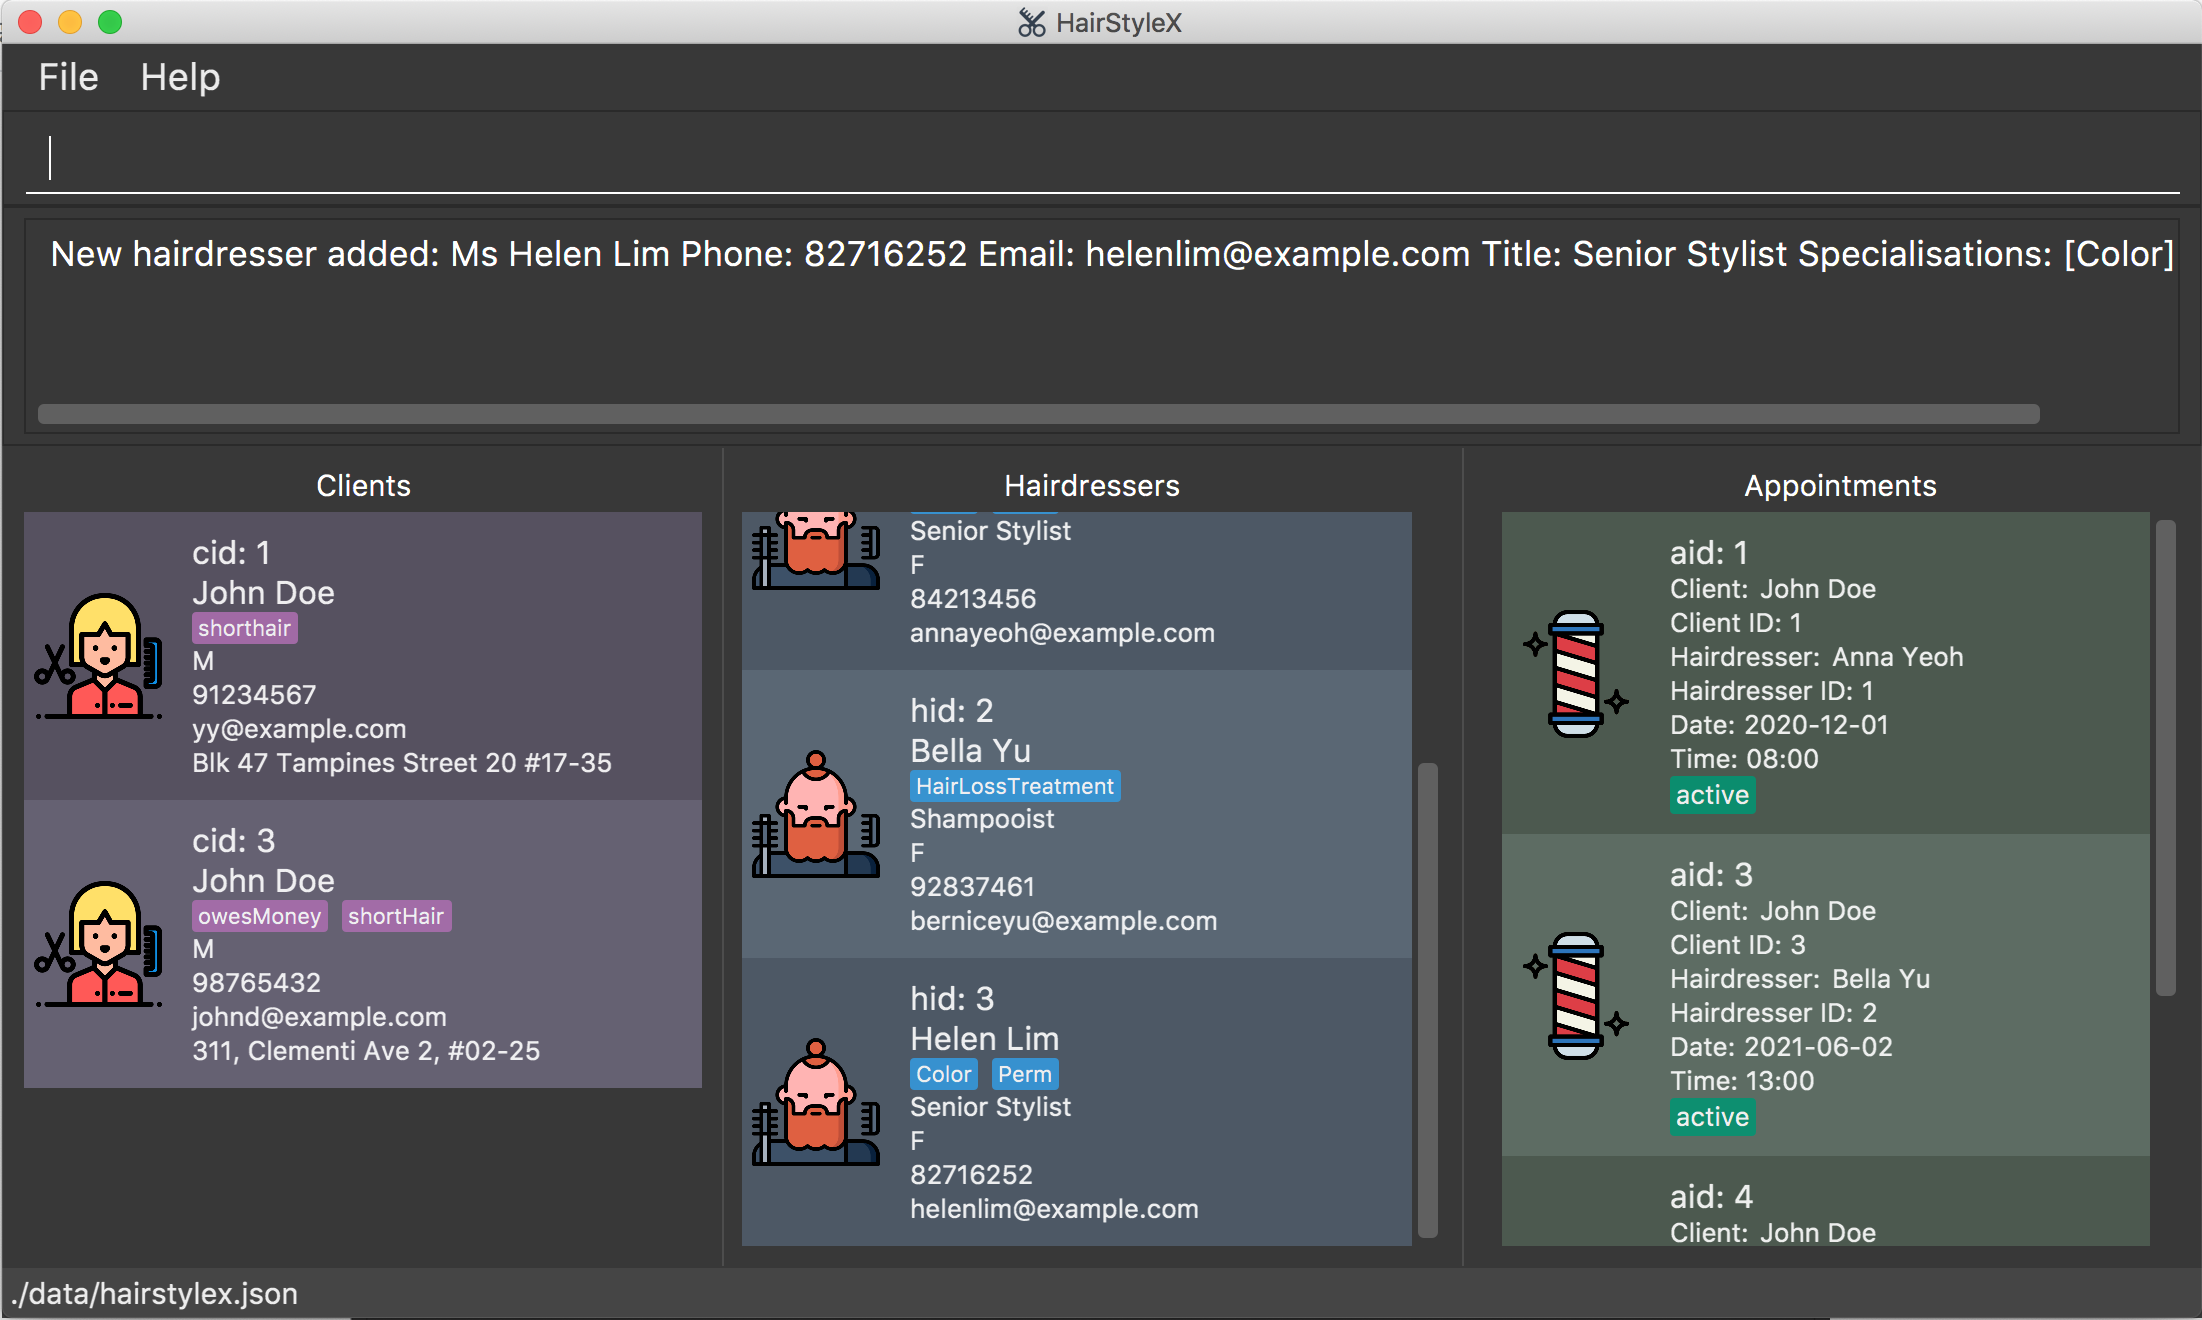
In the example below, you will register a female Senior Stylist called Helen Lim with phone number 82716252, email helenlim@example.com, who is specialised in Perm and Color, into the HairstyleX.
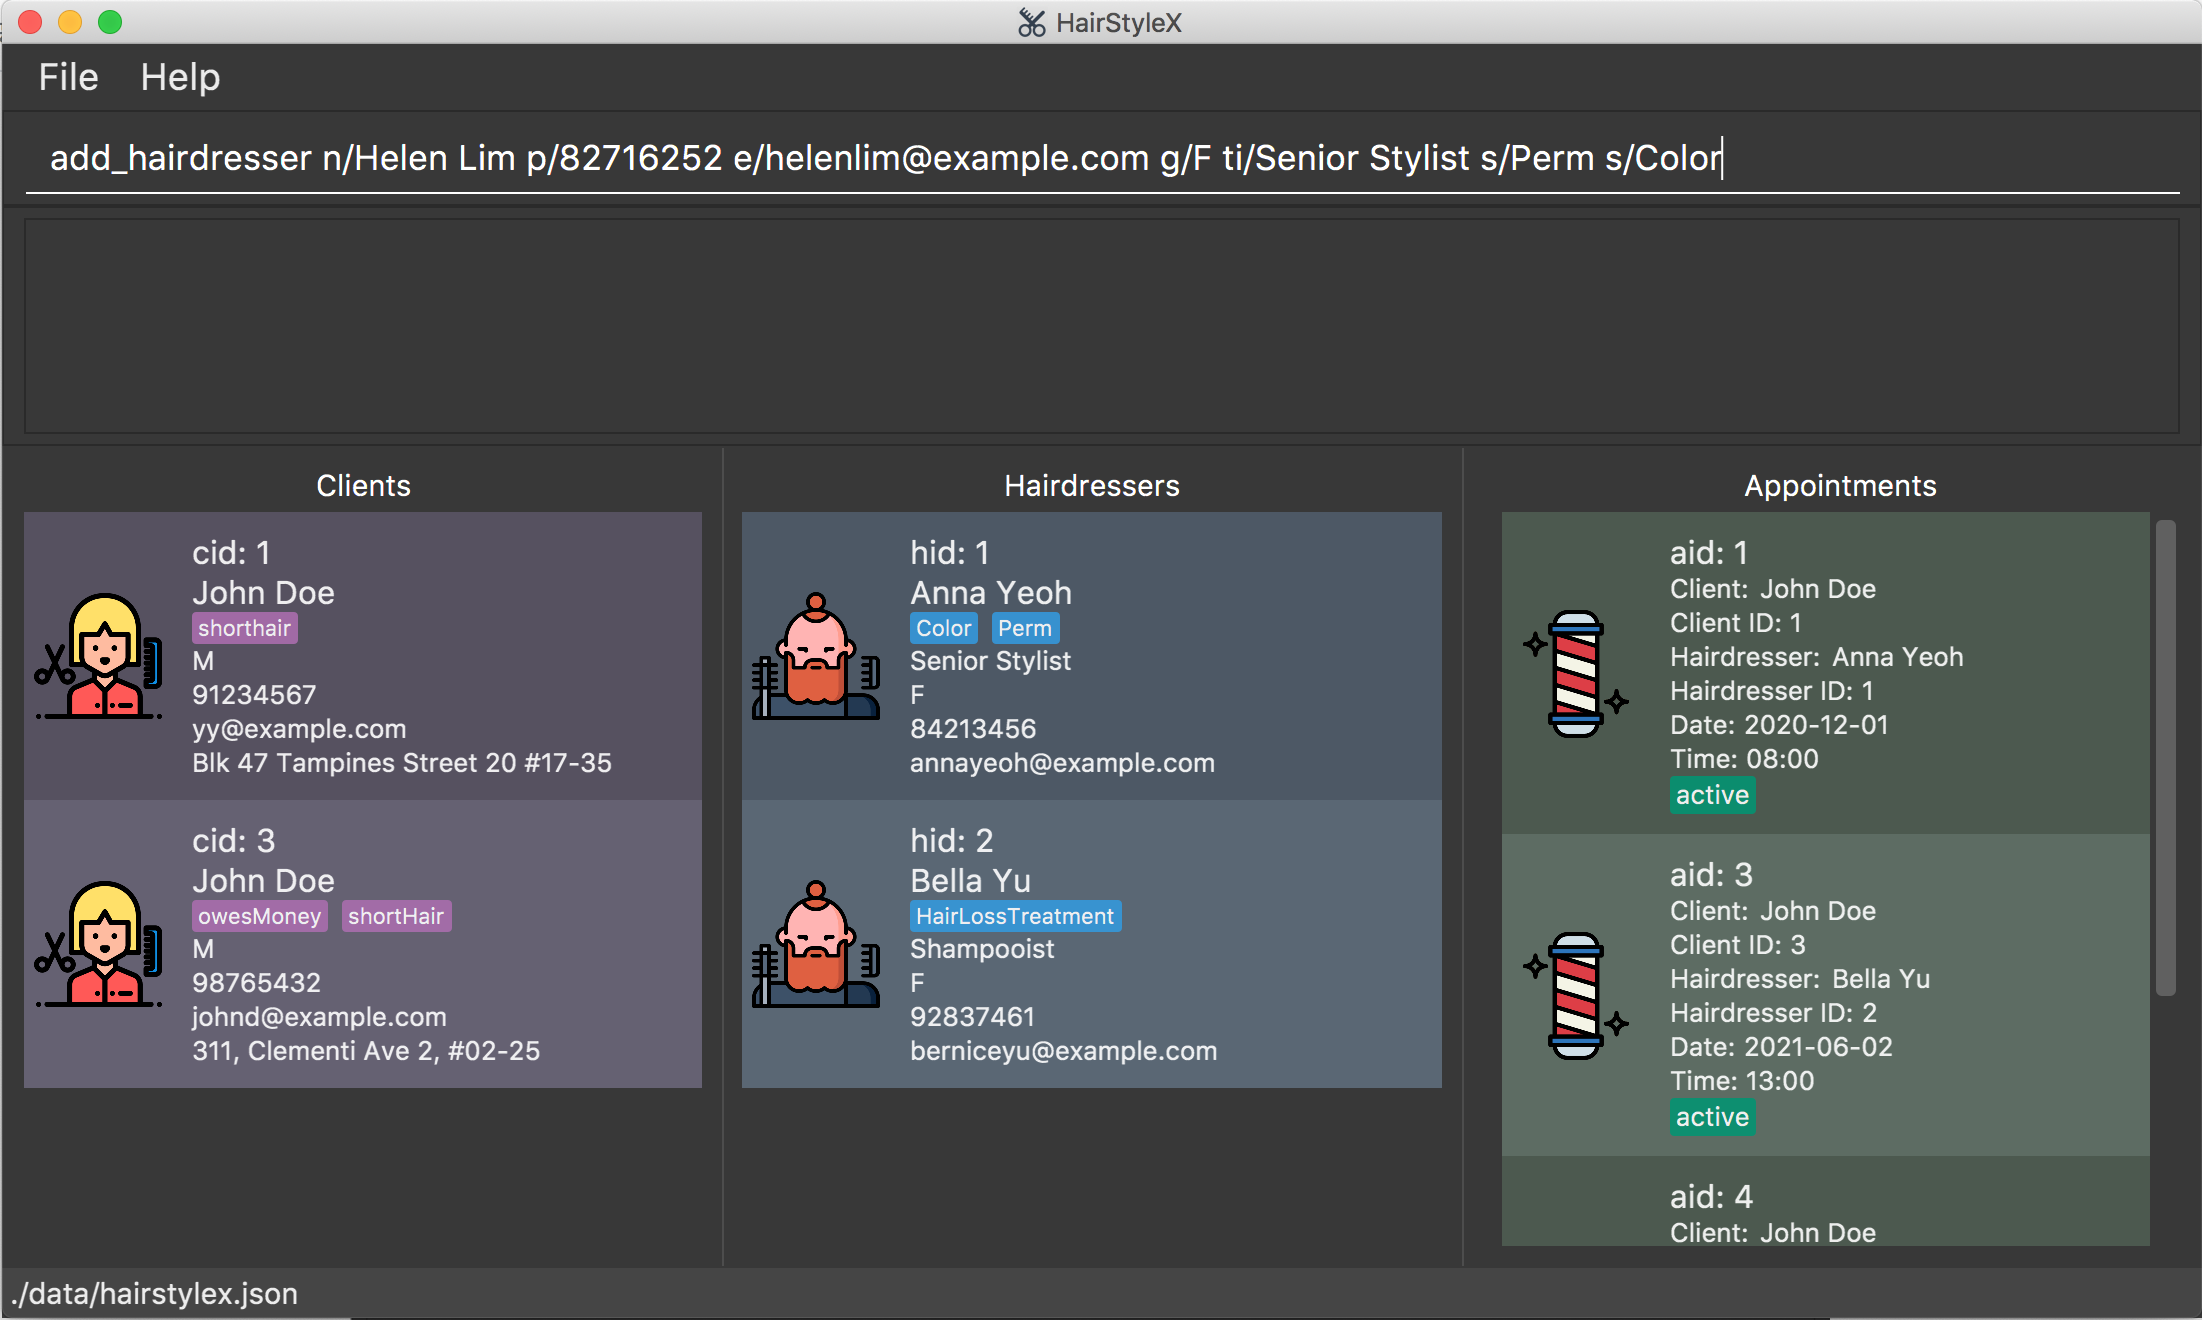
Adding a new hairdresser:
- Type
add_hairdresser n/Helen Lim p/82716252 e/helenlim@example.com g/F ti/Senior Stylist s/Perm s/Colorinto the Command Box. - Press
Enterto execute.
Outcome:
- The
Result Displaywill show a success message. - You can now see the hairdresser’s information in the Hairdressers Panel.
4.3.3 Listing all hairdressers : list_hairdresser
You can use this command to show a list of all hairdressers in the database. This command is especially useful if you used filter_hairdresser command to search for hairdressers- list_hairdresser will restore the full list to view.
Format:
list_hairdresser
Example:
Listing all hairdressers:
- Type
list_hairdresserinto the Command Box. - Press
Enterto execute.
Outcome:
- The
Result Displaywill show a success message. - You can now see a list of all hairdresser’s information in the Hairdressers Panel.
4.3.4 Editing a hairdresser : edit_hairdresser
You can use this command to edit an existing hairdresser in the database.
Format:
edit_hairdresser ID [n/NAME] [p/PHONE] [e/EMAIL] [g/GENDER] [ti/TITLE] [s/SPECIALISATION]…
![]()
- Edits the hairdresser with the specified
ID. The index refers to the index numberhidshown in the displayed hairdresser list. The index must be a positive integer 1, 2, 3, … - At least one of the optional fields must be provided.
- Existing values will be updated to the input values.
- When editing specialisations, the existing specialisations of the hairdresser will be removed i.e adding of specialisations is not cumulative.
- You can remove all the hairdresser’s tags by typing
s/without specifying any specialisations after it. - Refer to Section 4.3.1 for more details on each parameter.
![]()
-
Hairdressers with the same name and phone number are considered as duplicates.
-
Likewise, a hairdresser with the same name and phone number as an existing client is also considered as a duplicate.
-
You are not allowed to edit a hairdresser such that their updated information results in duplicates in HairStyleX.
Example:
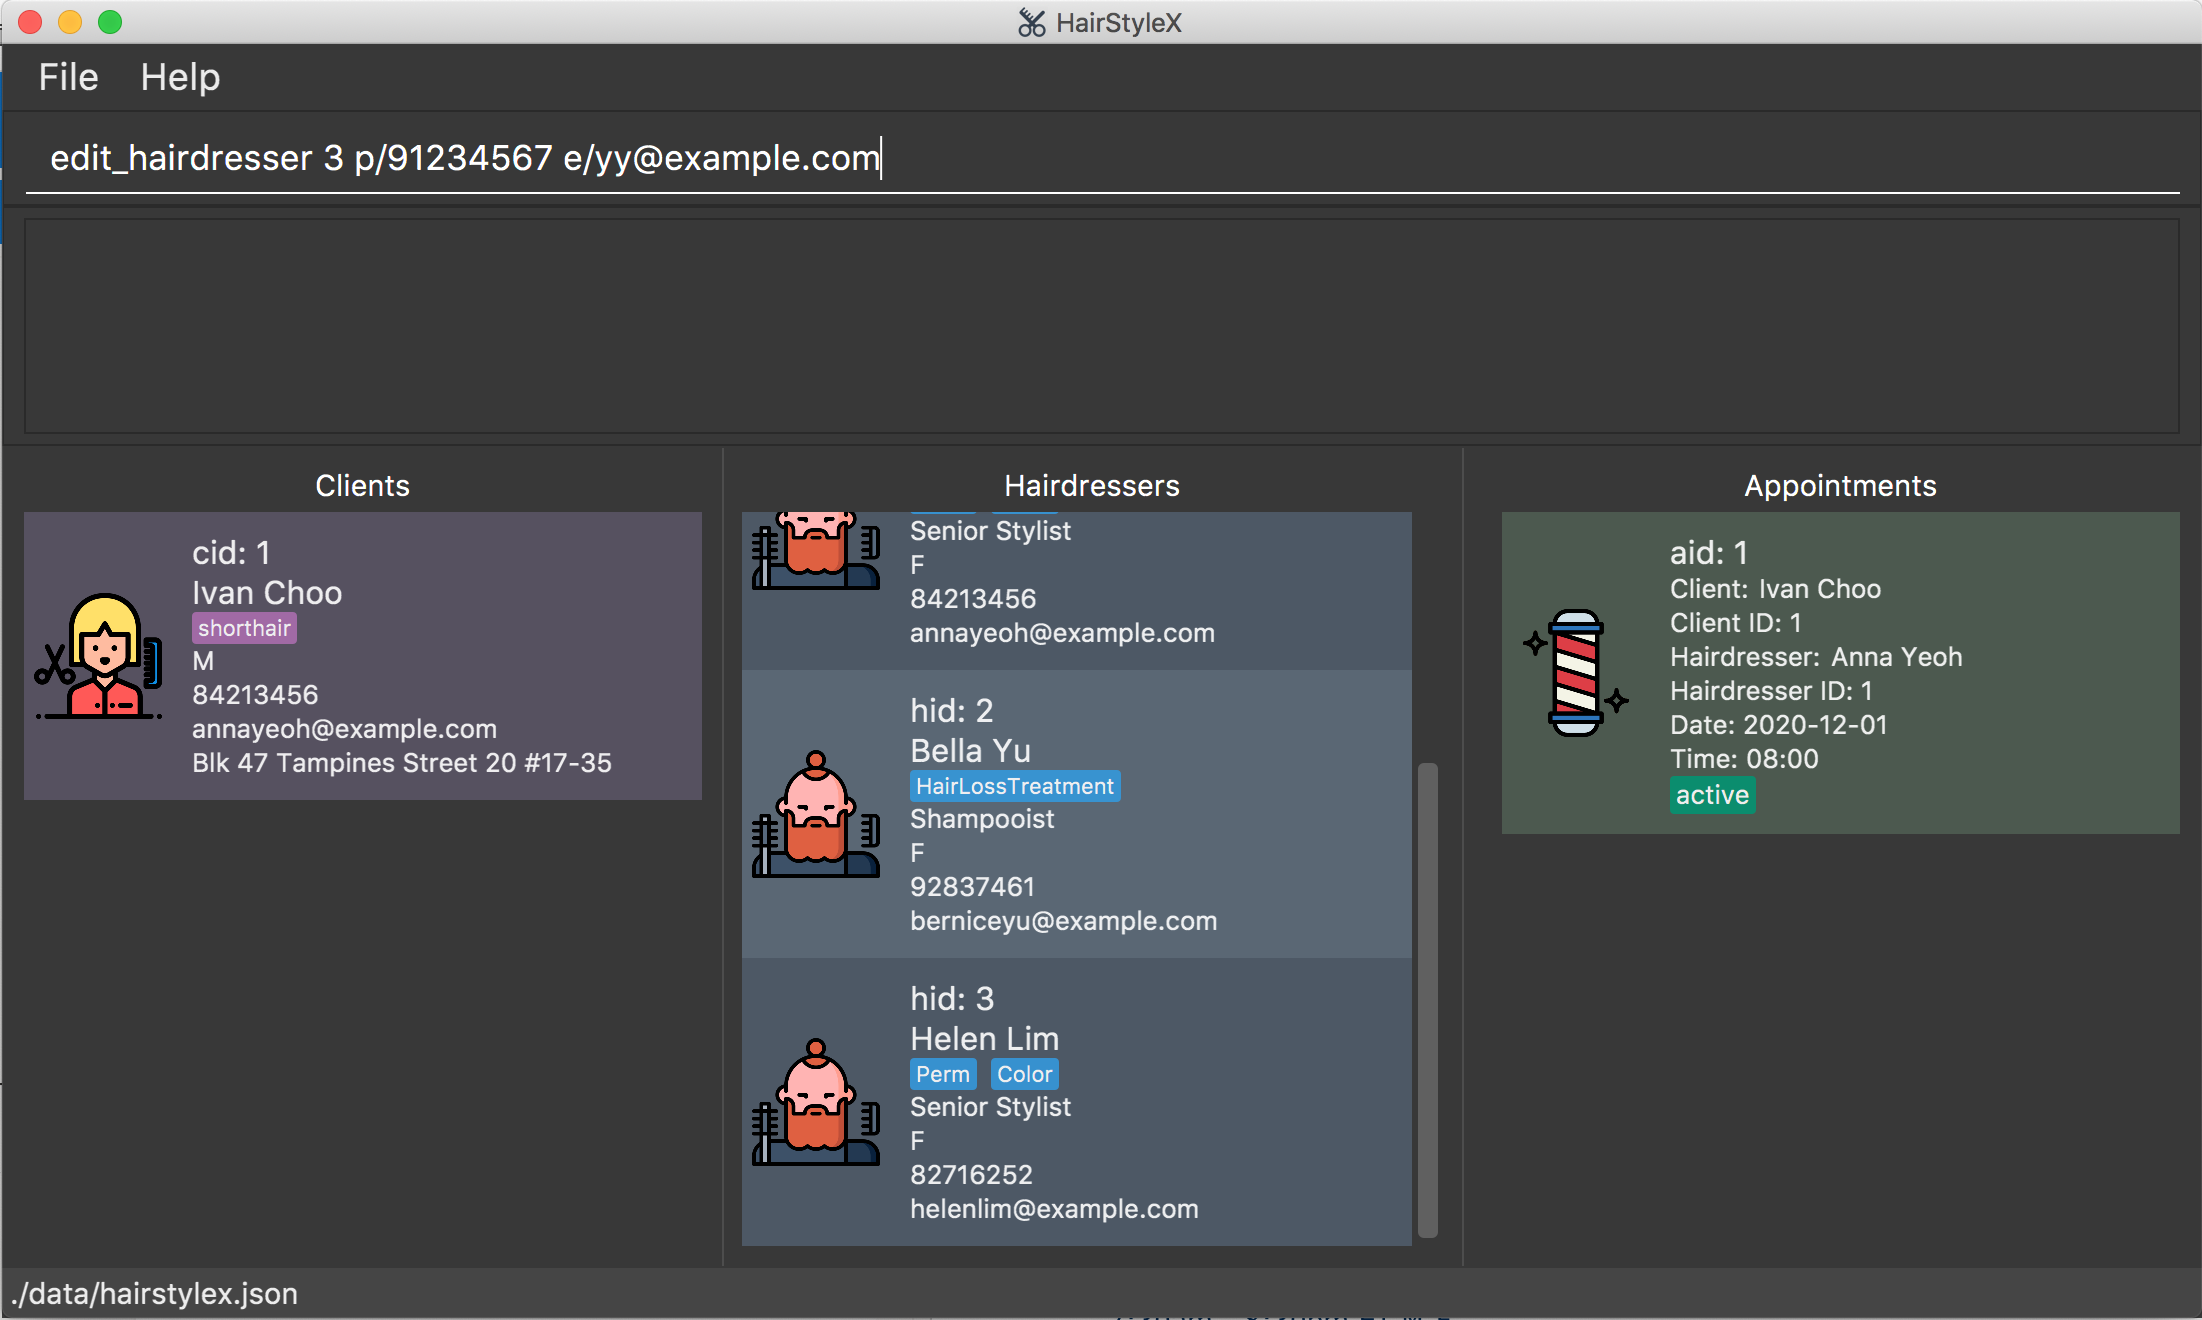
Assume that the hairdresser with ID 3 changed his/her contact details and you wish to change them in the database. You will perform the following steps:
Editing a new hairdresser:
- Type
edit_hairdresser 3 p/91234567 e/yy@example.cominto the Command Box. - Press
Enterto execute.
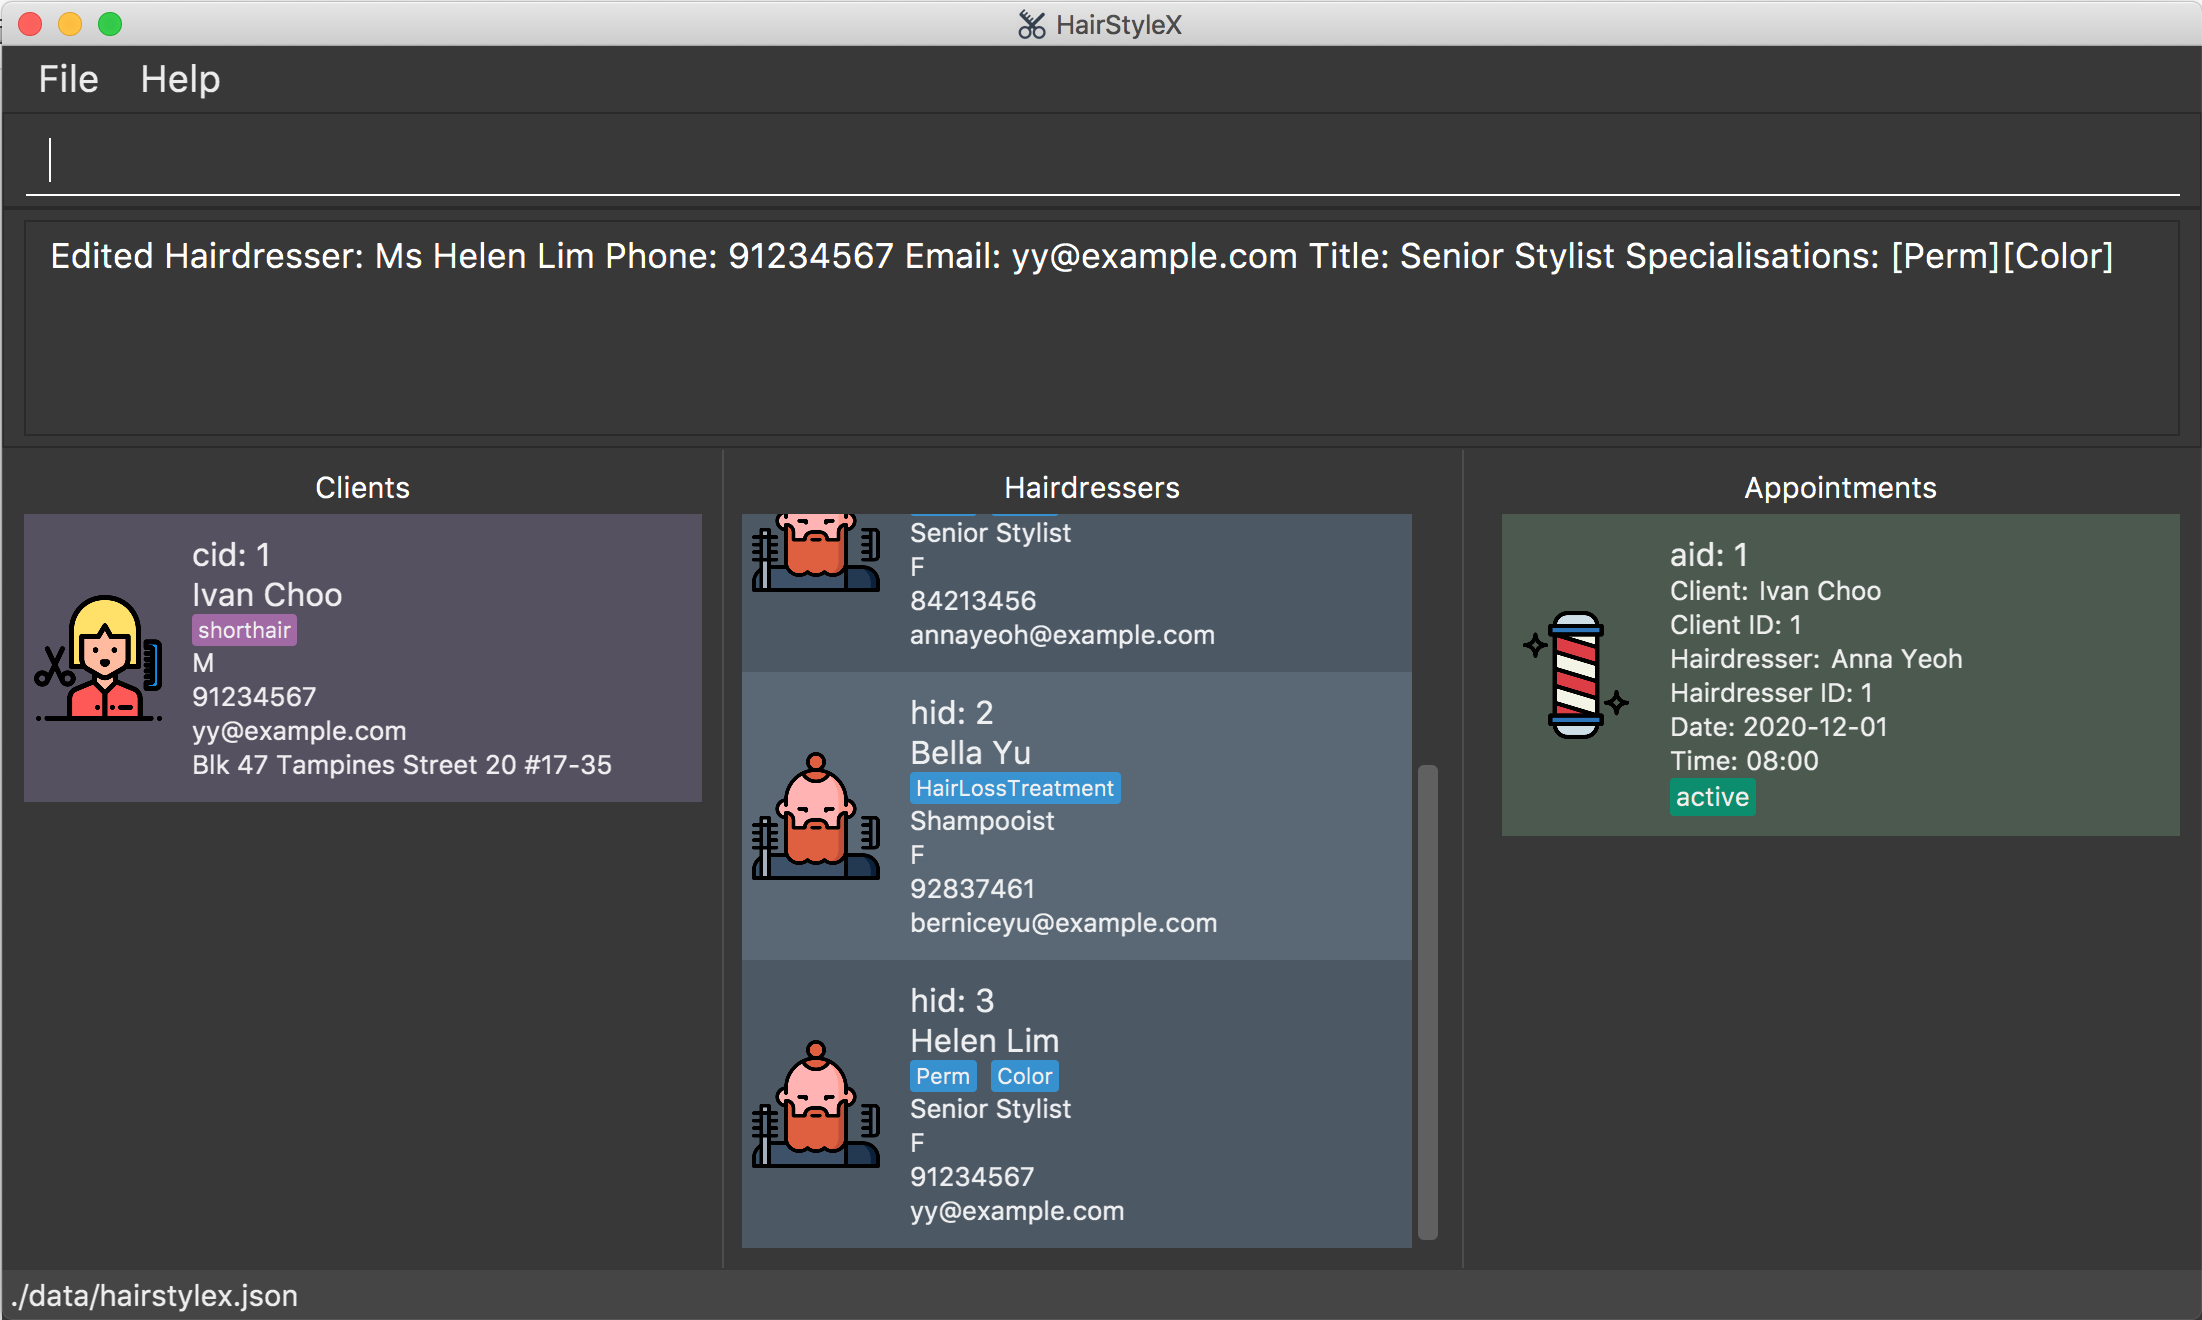
Outcome:
- The
Result Displaywill show a success message. - You can now see the updated hairdresser’s information in the Hairdressers Panel.
4.3.5 Deleting a hairdresser : delete_hairdresser
Removes a specific hairdresser from the database.
Format:
delete_hairdresser ID
![]()
- Deletes the hairdresser with the specified
ID. - The index refers to the index number
hidshown in the displayed hairdresser list. - The index must be a positive integer 1, 2, 3, …
- All appointments with this corresponding hairdresser will now show “DELETED” for the hairdresser placeholder
- The purpose of deletion is to remove personal information such as name, phone number, and email. Other information such as the
IDand associated appointments may still be preserved.
Example:
Assume that the hairdresser with ID 3 left the salon and you wish to delete him/her from the database. You will perform the following steps:
Delete hairdresser:
- Type
delete_hairdresser 3into the Command Box. - Press
Enterto execute.

Outcome:
- The
Result Displaywill show a success message.

4.3.6 Filtering hairdressers : filter_hairdresser
You can filter the list of hairdressers in the database with a keyword search that matches their names.
Format:
filter_hairdresser KEYWORD...
![]()
- The search is case-insensitive. e.g
anna,aNNawill matchAnna. - The order of the keywords does not matter. e.g.
Anna Yeohwill matchYeoh Anna. - Only the name is searched.
- Only full words will be matched e.g.
Annwill not matchAnna. - Persons matching at least one keyword will be returned (i.e.
ORsearch). e.g.Anna Yeohwill returnAnna Cheung,David Yeoh.
Example:
You wish to find the hairdresser Bella from the database and check her full name and specialisations. You will perform the following steps:
Filter hairdresser:
- Type
filter_hairdresser bellainto the Command Box. - Press
Enterto execute.
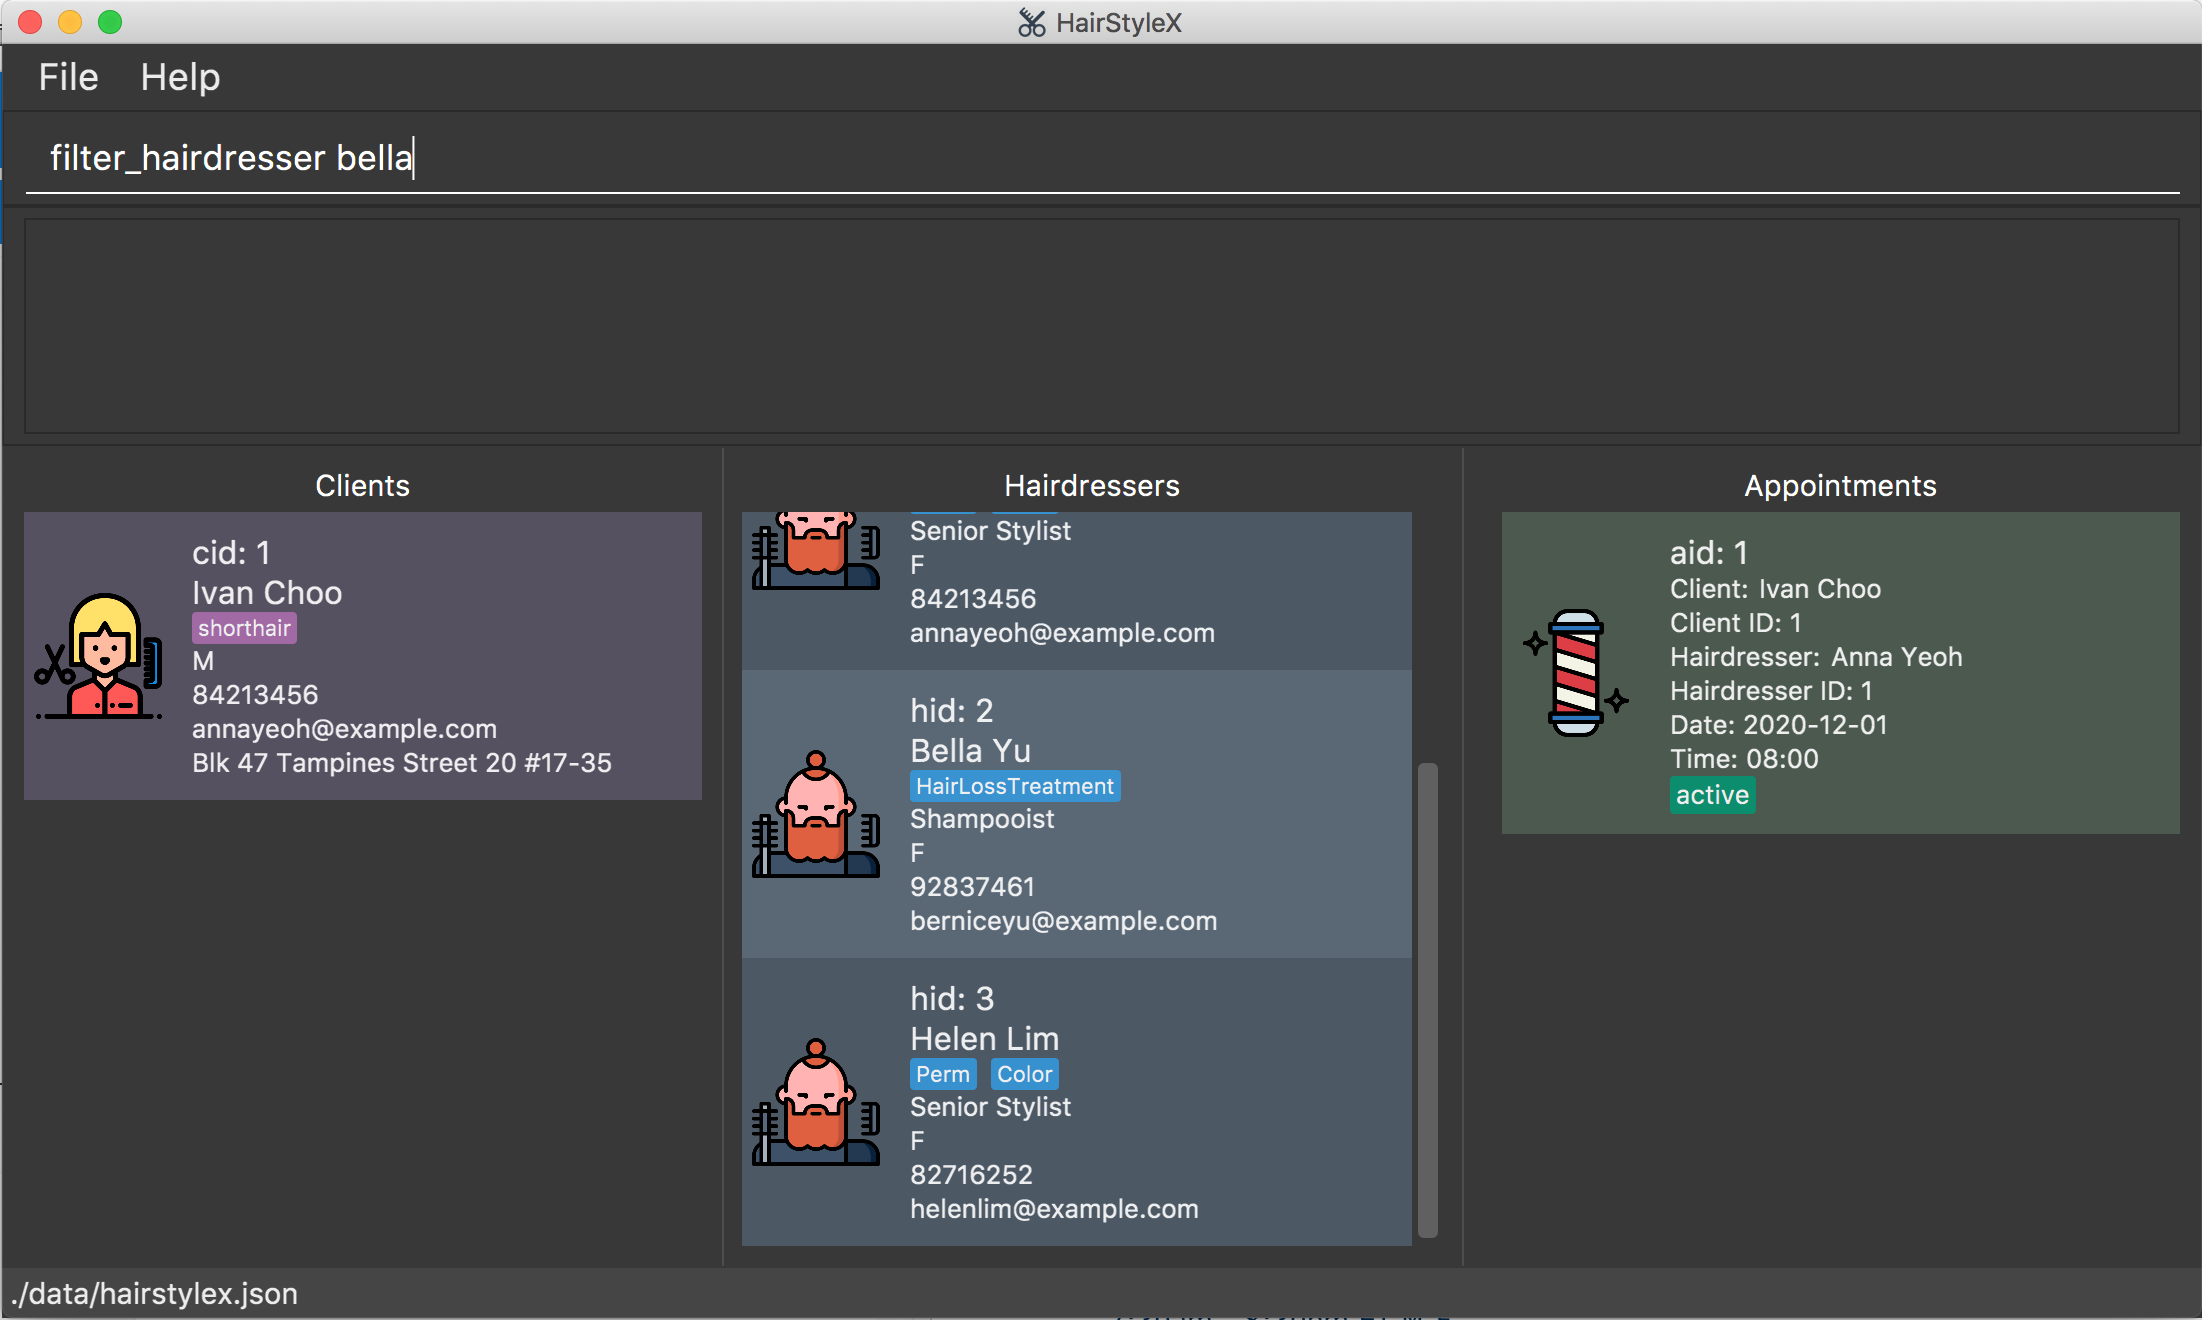
Outcome:
- The
Result Displaywill show a success message. - You can now see the filtered hairdresser’s information in the Hairdressers Panel, with hairdressers named
belladisplayed in the list.
4.4 Appointment Management
(contributed by Nicholas Toh)
This feature allows you to manage appointments between hairdressers and clients. You can record the following information about appointments:
- Client
- Hairdresser
- Date
- Time
- Status
4.4.1 Appointment Management Command Parameters
| Parameter Name | Description |
|---|---|
CLIENT_ID |
The ID of the client cid
|
HAIRDRESSER_ID |
The ID of the hairdresser hid
|
DATE |
The date of the appointment. It must be in the format of YYYY-MM-DD, following the ISO8601 standard.E.g. 2020-12-13 This example means 13th December 2020. |
TIME |
The time of the appointment. It must be in the format of HH:MM.E.g. 17:30 This example means 5.30 pm. |
STATUS |
The status of the appointment, which can be ACTIVE, COMPLETED, or MISSED
|
ID |
The appointment ID aid that represents the appointment. |
4.4.2 Adding an appointment : add_appt
You can use this command to add an appointment to the database.
Format: add_appt cid/CLIENT_ID hid/HAIRDRESSER_ID d/DATE t/TIME
-
CLIENT_IDmust be a valid client ID (cid) -
HAIRDRESSER_IDmust be a valid hairdresser ID (hid) -
DATEmust be entered in YYYY-MM-DD format -
TIMEmust be entered in 24 Hour HH:MM format
![]() Notes about creating appointments
Notes about creating appointments
-
All appointments are active by default.
-
All appointments have a duration of 2 hours. Hence the end time of an appointment is implicitly two hours after the start time. This is because two hours is a reasonable time period required for any hair treatment. If an appointment is completed earlier, the hairdresser can take charge of walk in customers.
-
Appointments involving the same persons (hairdresser or client) should not overlap in time. Equivalently, no person should be simultaneously involved in two appointments.
-
Appointments should only be created in the future.
-
Appointment IDs may not be in order.
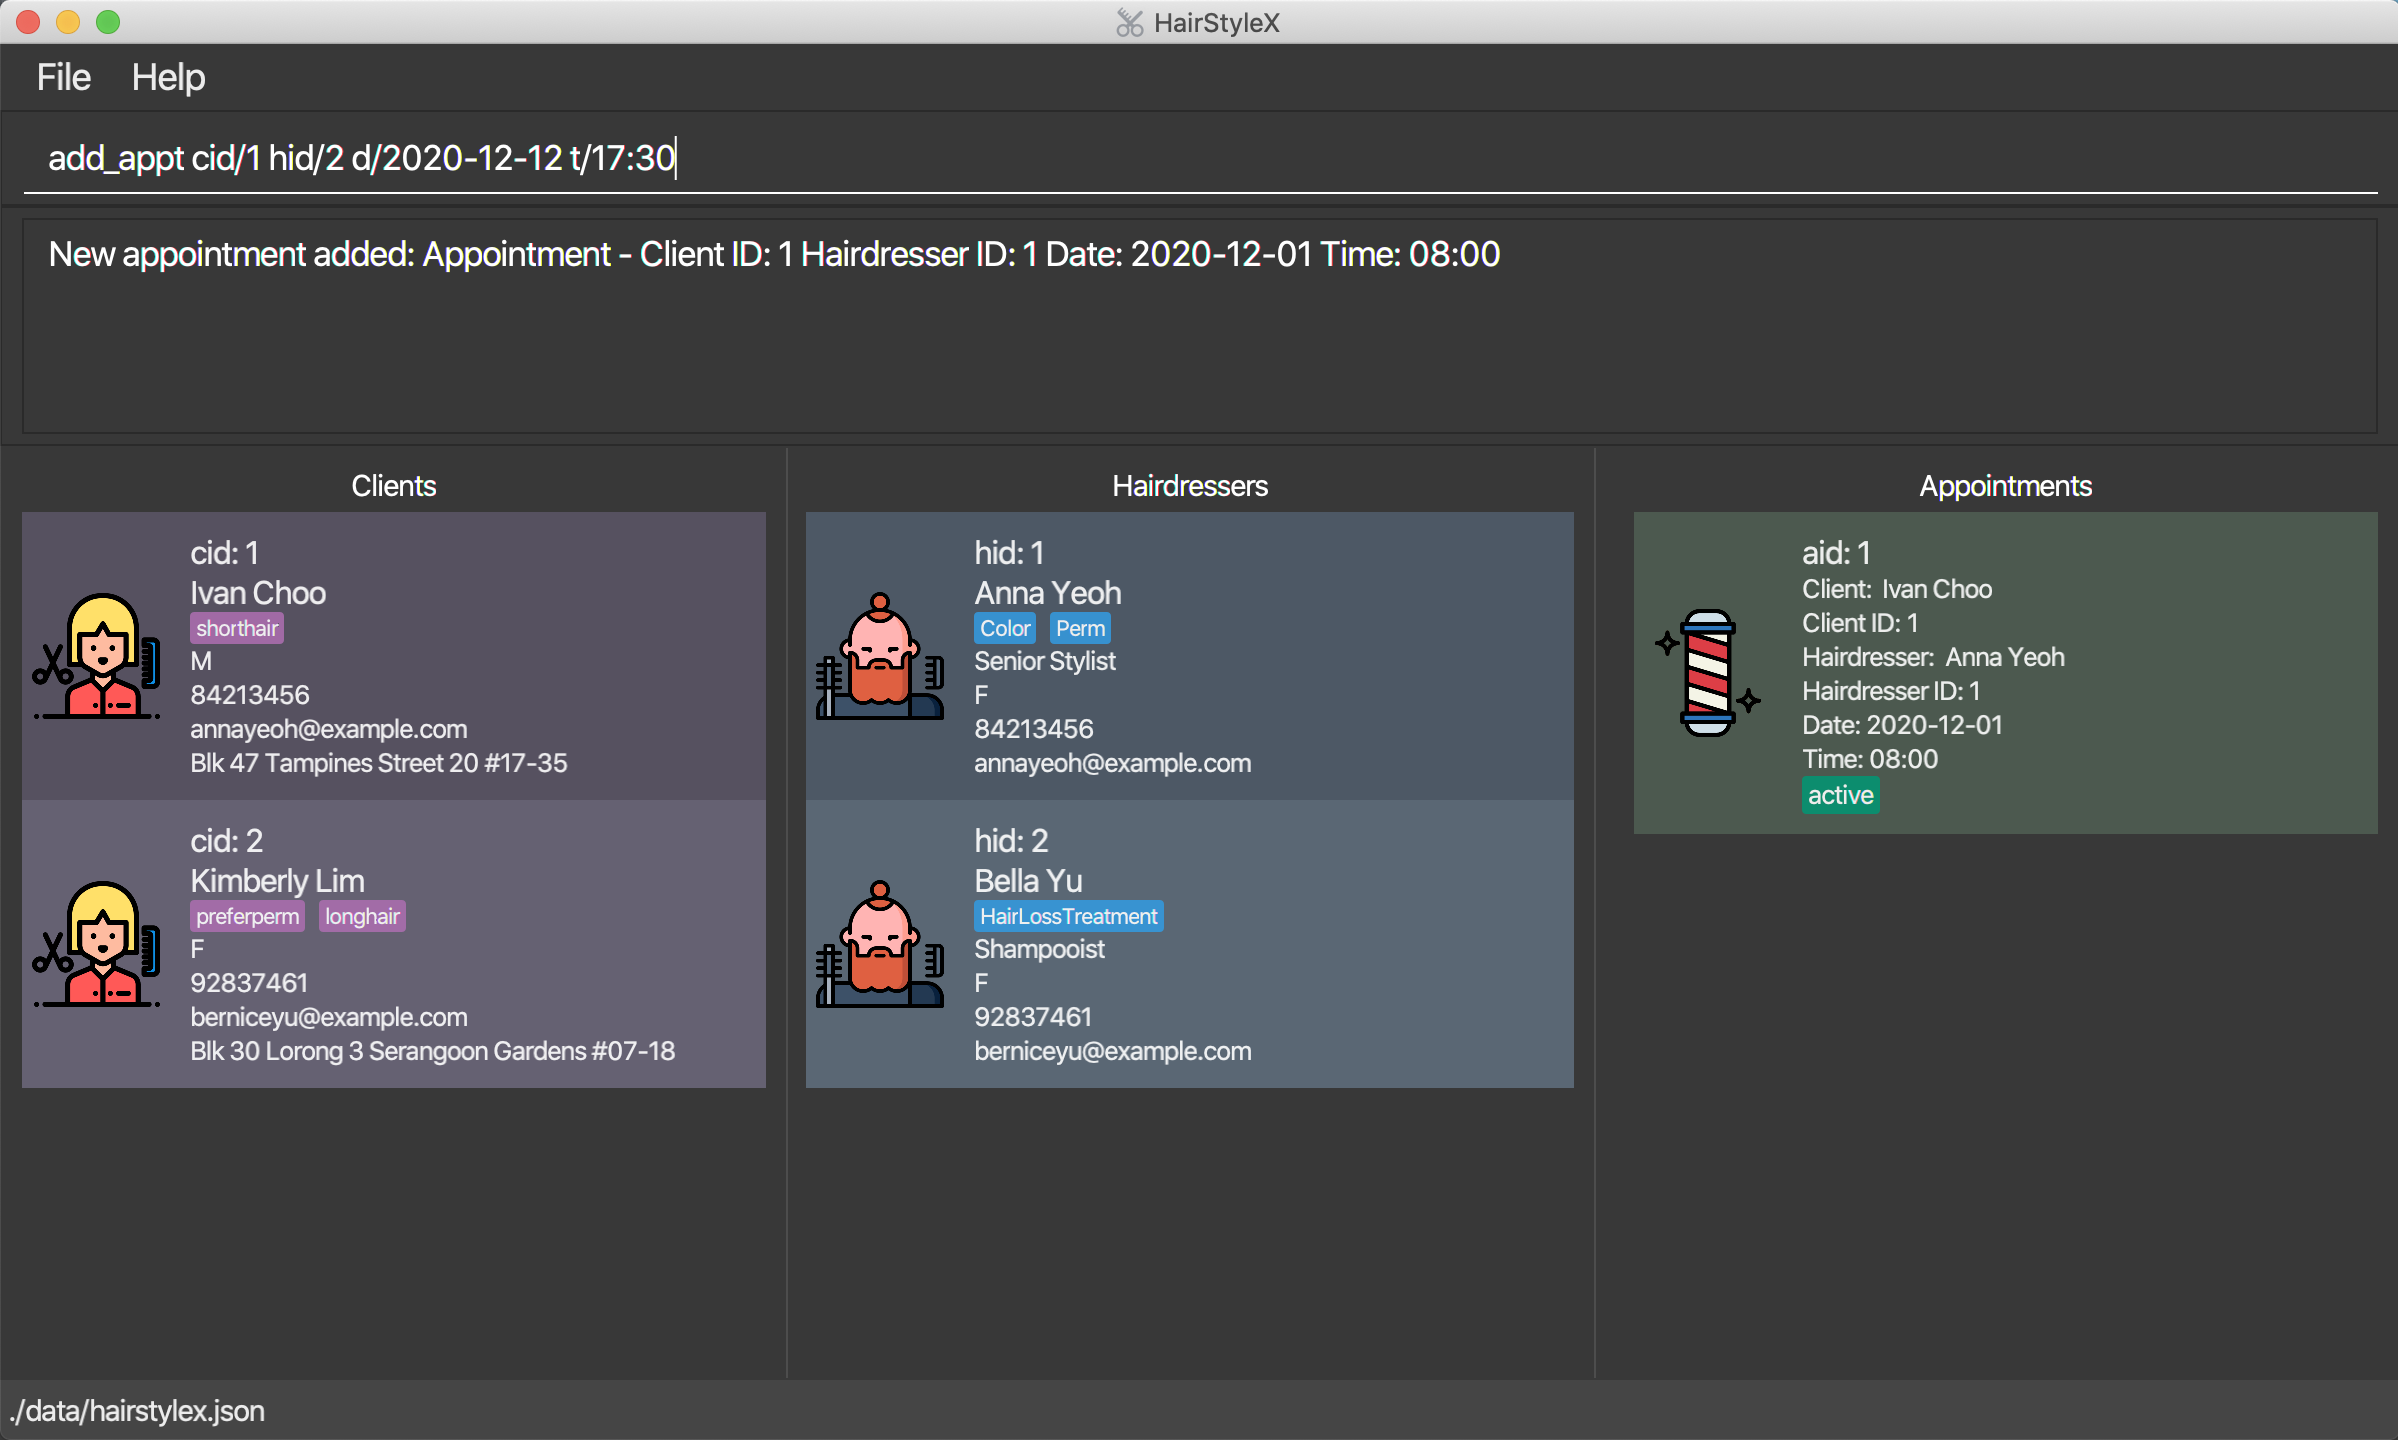
Example: In the example below, you will create an appointment between client 1 and hairdresser 2 on 12th December 2020 at 5.30pm. (This assumes that the client and hairdresser currently exist.) You will perform the following steps:
Adding a new appointment:
- Type
add_appt cid/1 hid/2 d/2020-12-12 t/17:30into the Command Box. - Press
Enterto execute.
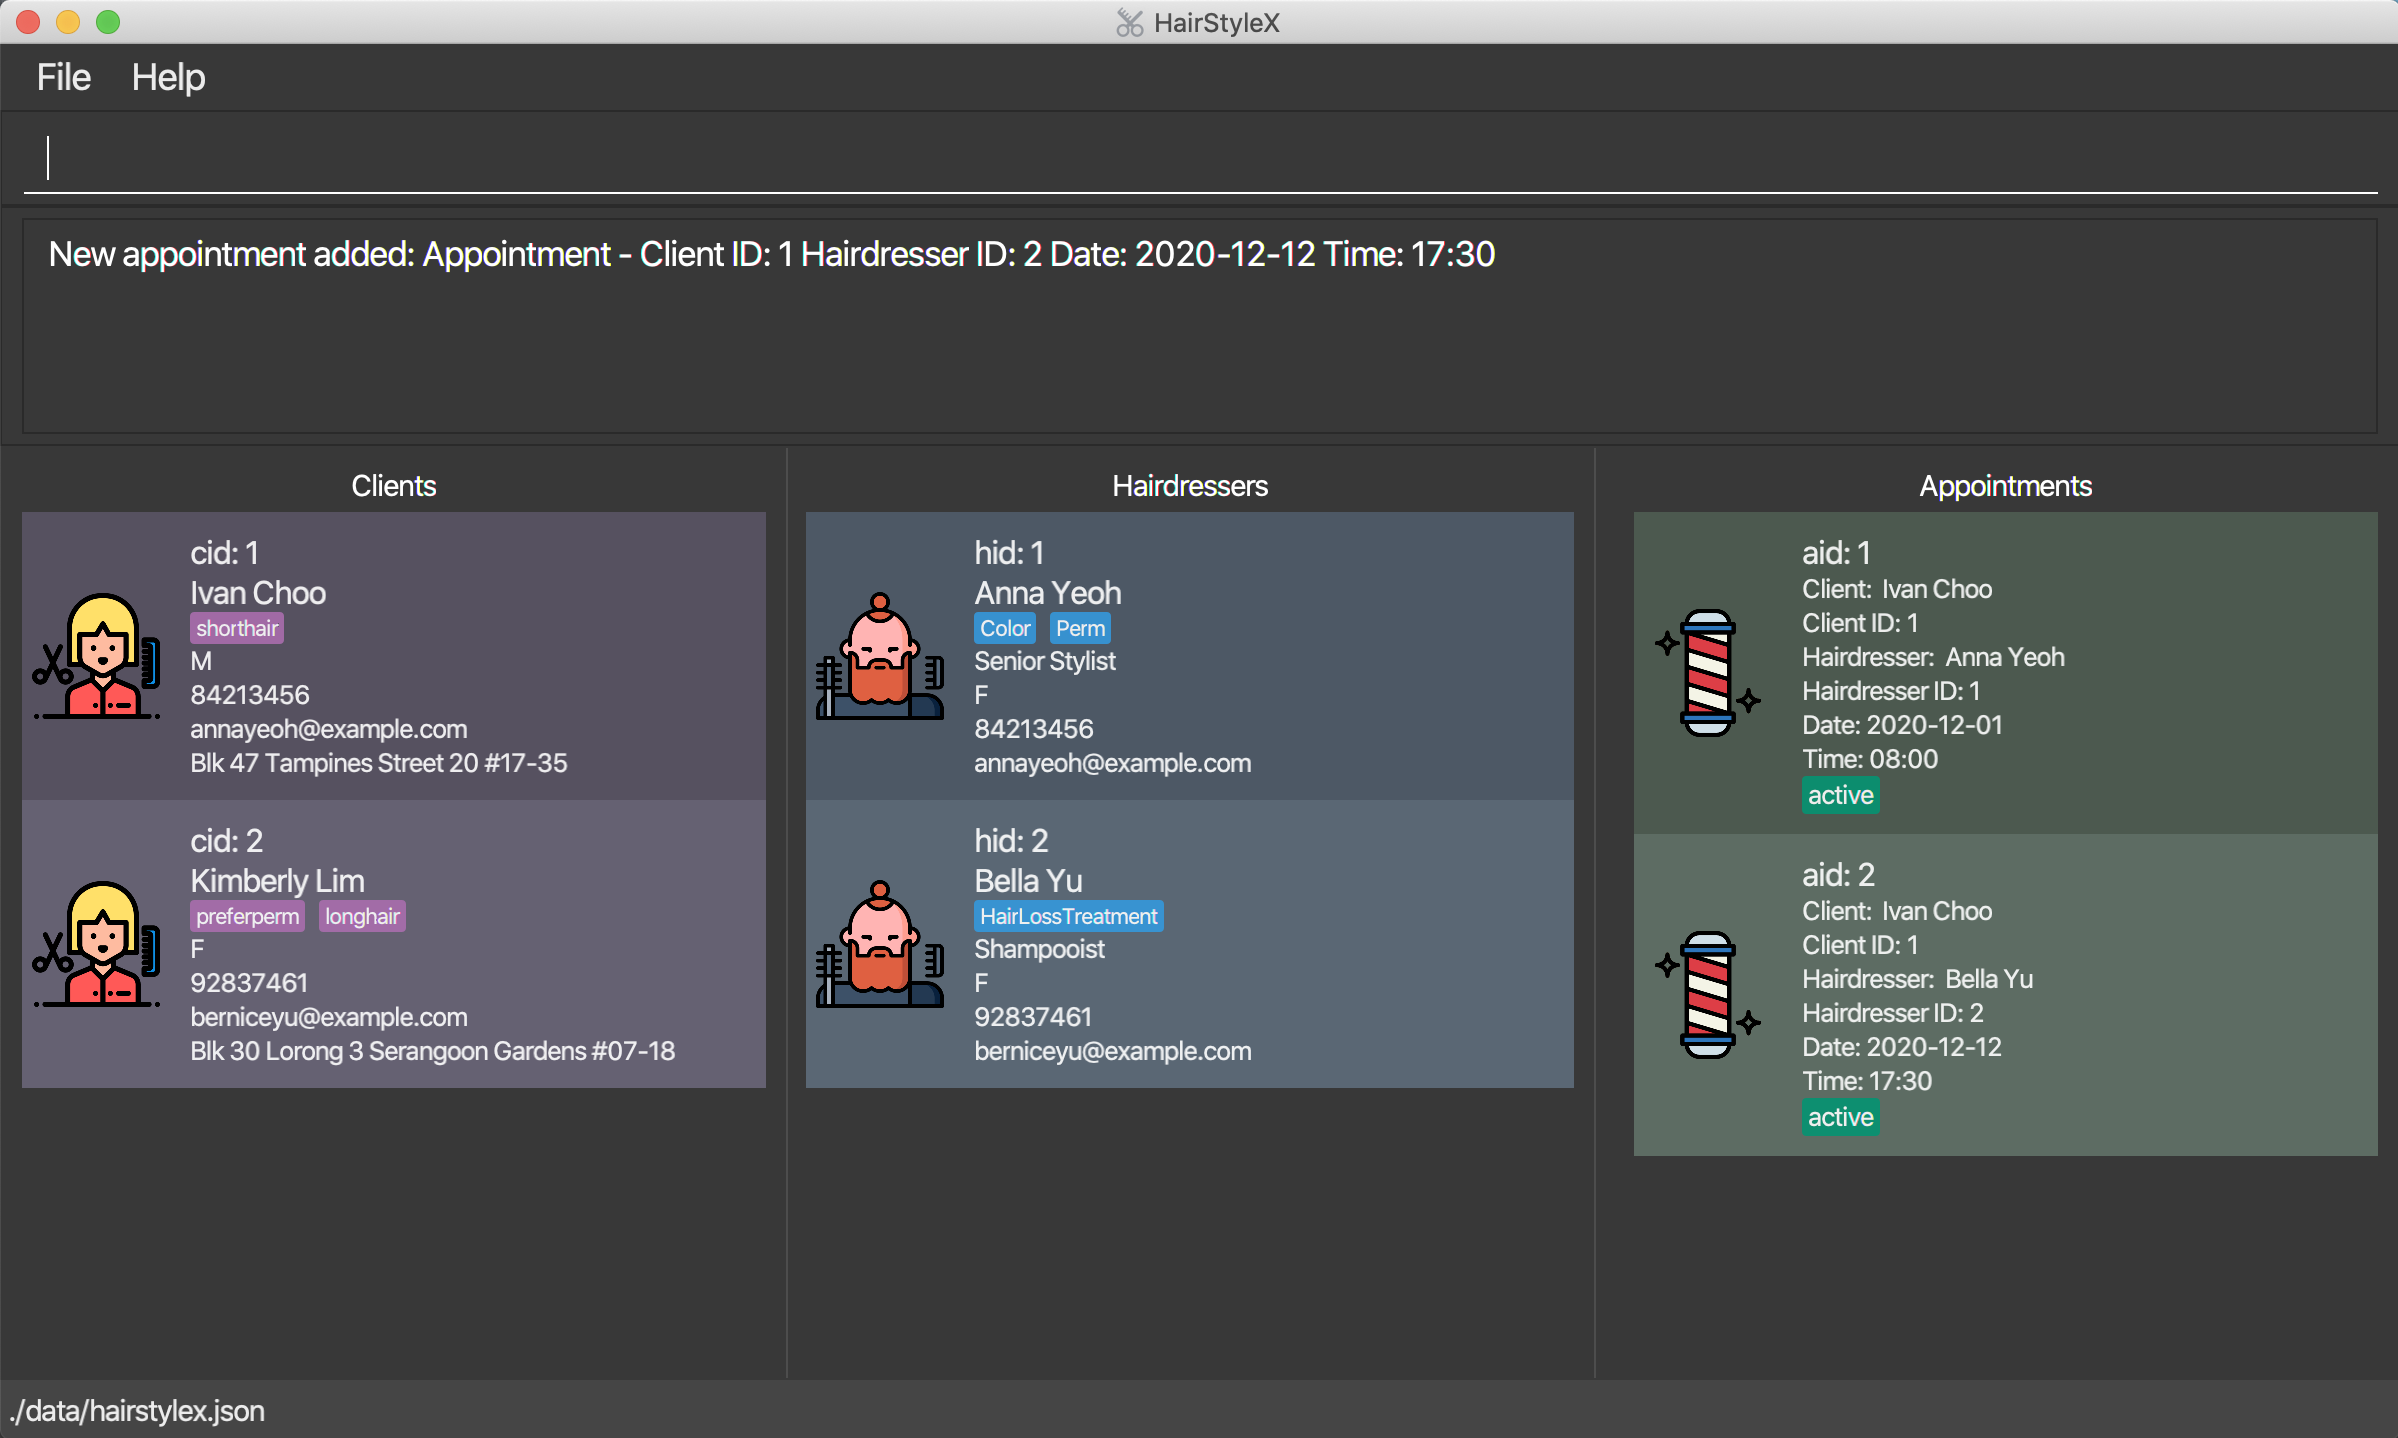
Outcome:
- The
Result Displaywill show a success message. - You can now see information about the added appointment in the Appointments Panel.
- If you had previously filtered appointments (refer to Section 4.4.6), the filter may be removed.
4.4.3 Listing appointments : list_appt
You can use this command to show a list of all hairdressers in the database. This command is especially useful if you used filter_appt command to search for appointments - list_appt will restore the full list to view.
Format:
list_appt
Example:
Assume that you have previously filtered the list of appointments, and now wish to view all appointments. You will perform the following steps:
Listing all appointments:
- Type
list_apptinto the Command Box. - Press
Enterto execute.
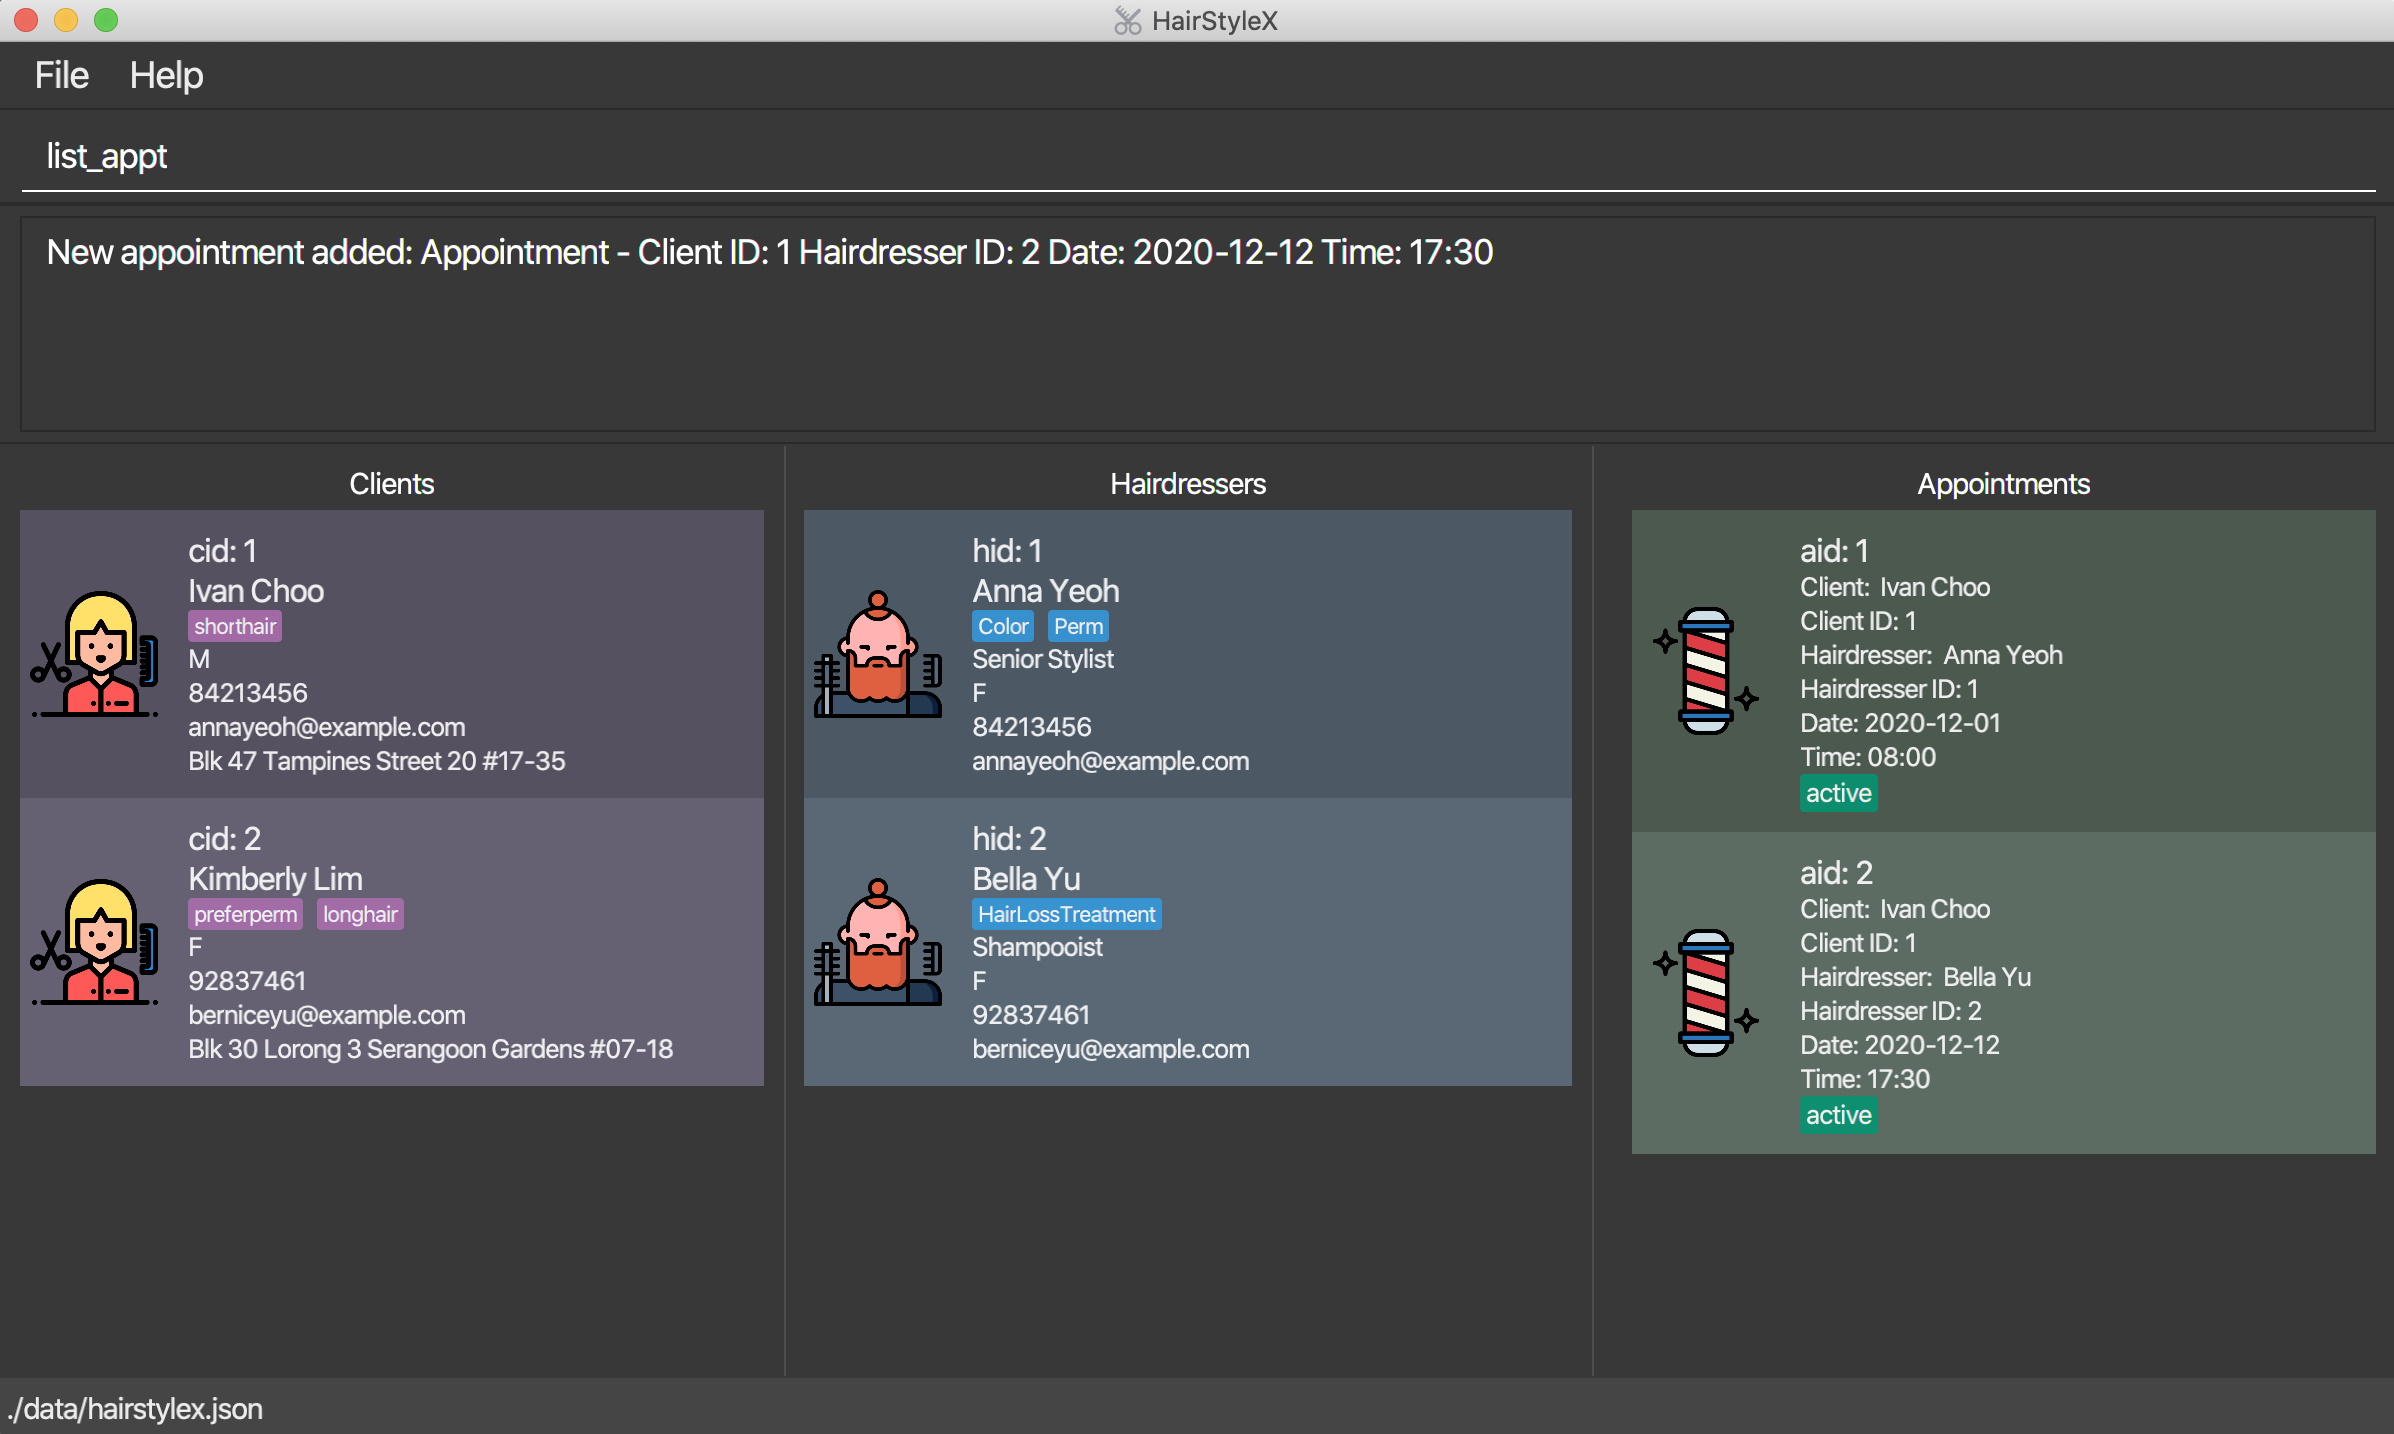
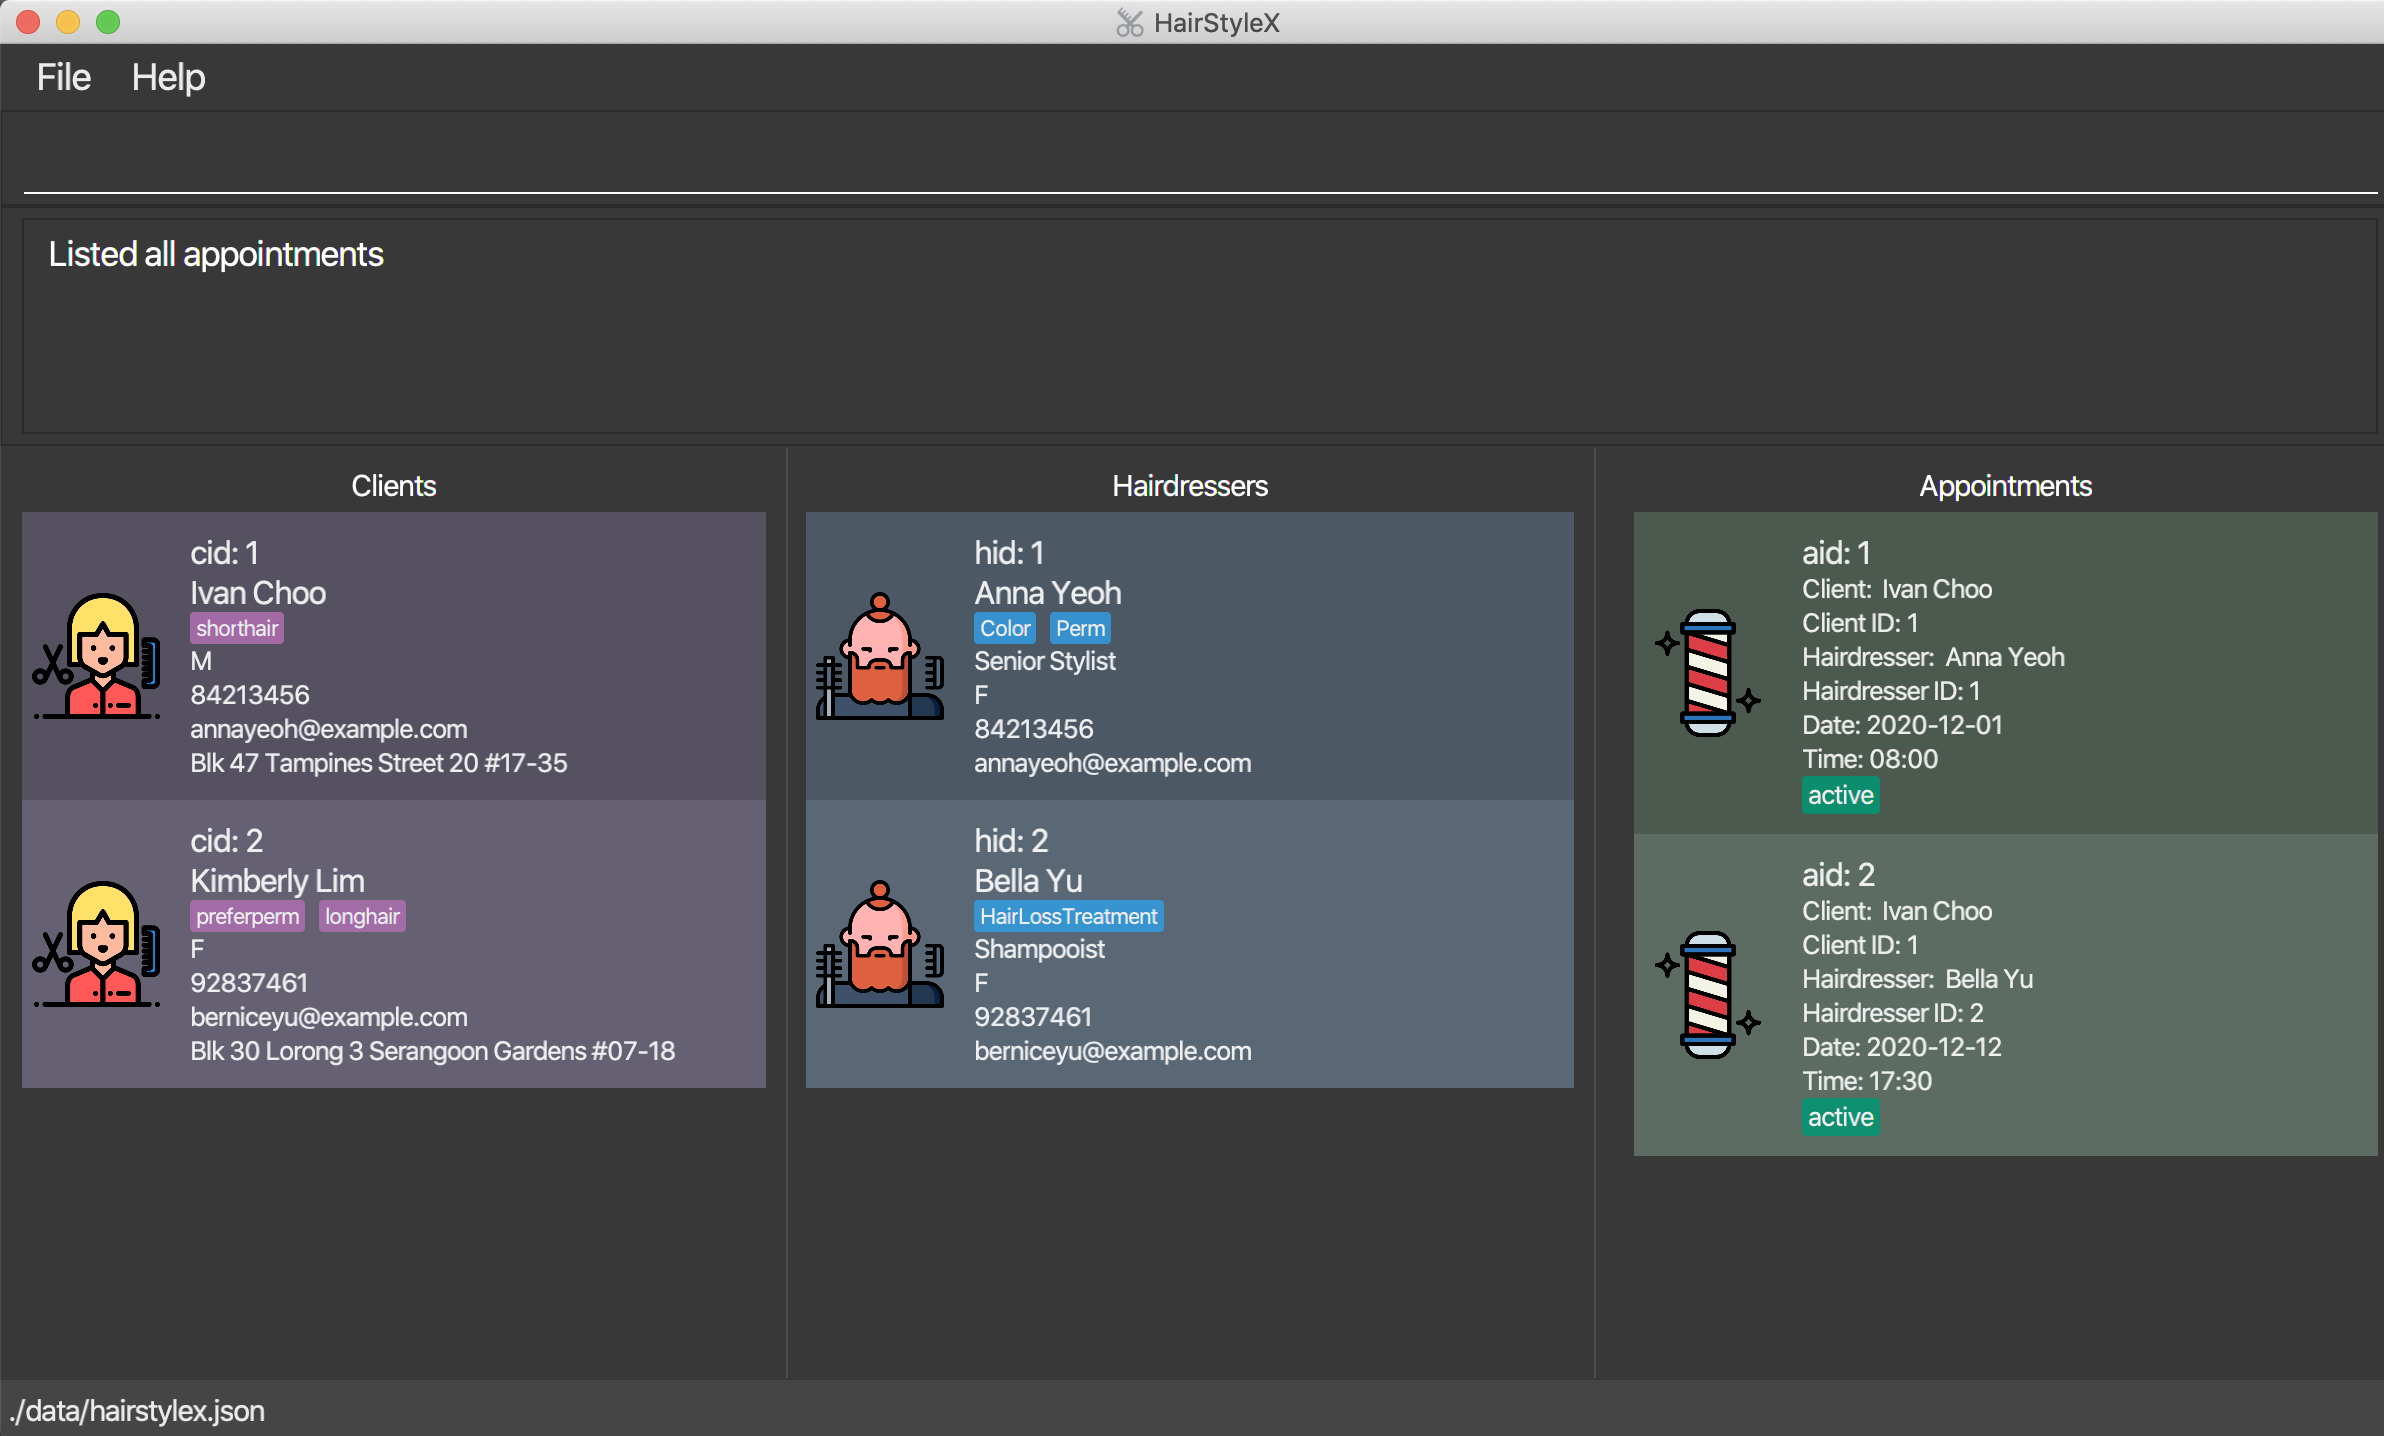
Outcome:
- The
Result Displaywill show a success message. - You can now see all appointments in the Appointments Panel.
4.4.4 Editing an appointment : edit_appt
You can use this command to edit an existing appointment in the database.
Format:
edit_appt ID s/STATUS
-
Edits the appointment with the specified
ID. -
CLIENT_IDmust be a valid appointment ID (aid). -
Only the status of the appointment can be updated. If you wish to change other aspects of an appointment, such as the client/hairdresser/time, simply delete the appointment and create a new one.
![]()
- Edits the appointment with the specified
ID. This refers to the appointment IDaidshown in the displayed appointment list. The index must be a positive integer 1, 2, 3, … - The current status will be updated to reflect the new status.
Example:
Assume that an appointment with ID 2 was successfully completed. You wish to update the database to reflect this appointment as COMPLETED. You will perform the following steps:
Editing an appointment:
- Type
edit_appt 2 s/COMPLETEDinto the Command box. - Press
Enterto execute.
Outcome:
- The
Result Displaywill show a success message. - You can now see the updated appointment information in the Appointments Panel.
- If you had previously filtered appointments (refer to Section 4.4.6), the filter may be removed.

4.4.5 Deleting an appointment : delete_appt
Removes a specific appointment from the database.
Format:
delete_appt ID
![]()
- Deletes the appointment with the specified
ID. - The ID refers to the appointment ID
aidshown in the displayed appointment list. - The ID must be a positive integer 1, 2, 3, …
Example:
Assume that a client has contacted the salon to cancel the appointment with ID 2 so you wish to delete it. You will perform the following steps:
Delete appointment:
- Type
delete_appt 2into the Command Box. - Press
Enterto execute.
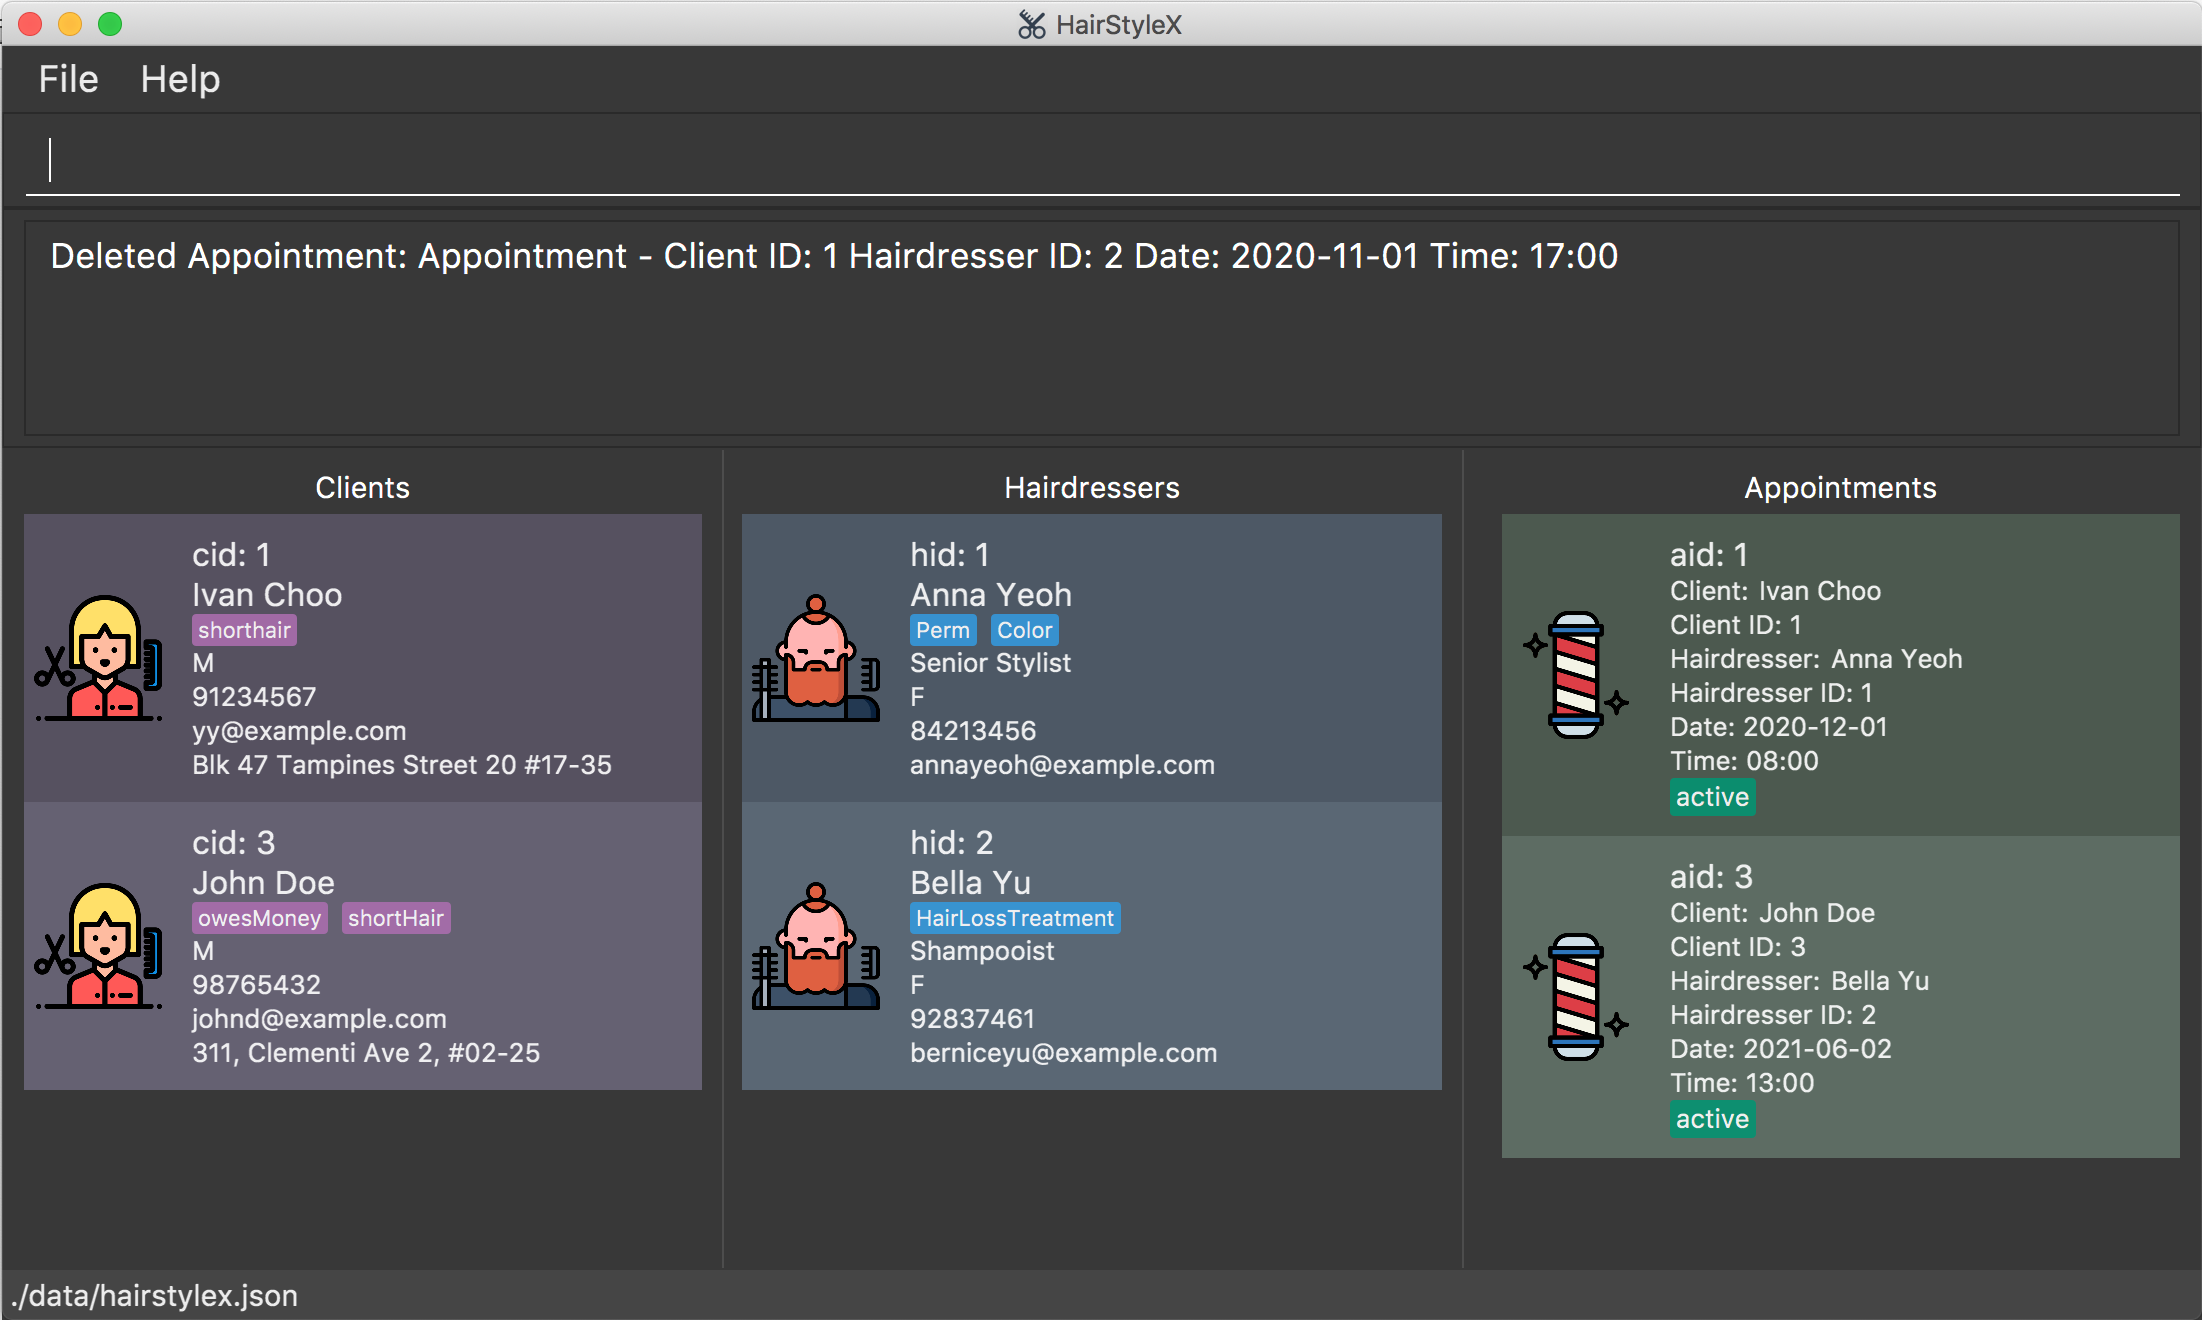
Outcome:
- The
Result Displaywill show a success message. - The appointment will be removed from the Appointments Panel.
- If you had previously filtered appointments (refer to Section 4.4.6), the filter may be removed.
4.4.6 Filtering appointments : filter_appt
You can filter the list of appointments in the database with a keyword search.
Format:
filter_appt [cid/CLIENT_INDEX] [hid/HAIRDRESSER_INDEX] [d/DATE_OF_APPT] [s/APPT_STATUS]
![]()
- The search is case-insensitive. e.g
active,aCtIVewill matchACTIVE. - Only full words will be matched e.g.
ACTIVwill not matchACTIVE. -
DATE_OF_APPTandAPPT_STATUSmust be valid e.g.2020-01-1is not a validDATEbecause it does not follow the format ofYYYY-MM-DD. - Only one input for each prefix is allowed e.g.
filter_appt cid/1 cid/2is not a valid input.
Example 1:
You wish to find appointments with status MISSED in the database. You will perform the following steps:
Filter appointments:
- Type
filter_appt s/missedinto the Command Box. - Press
Enterto execute.
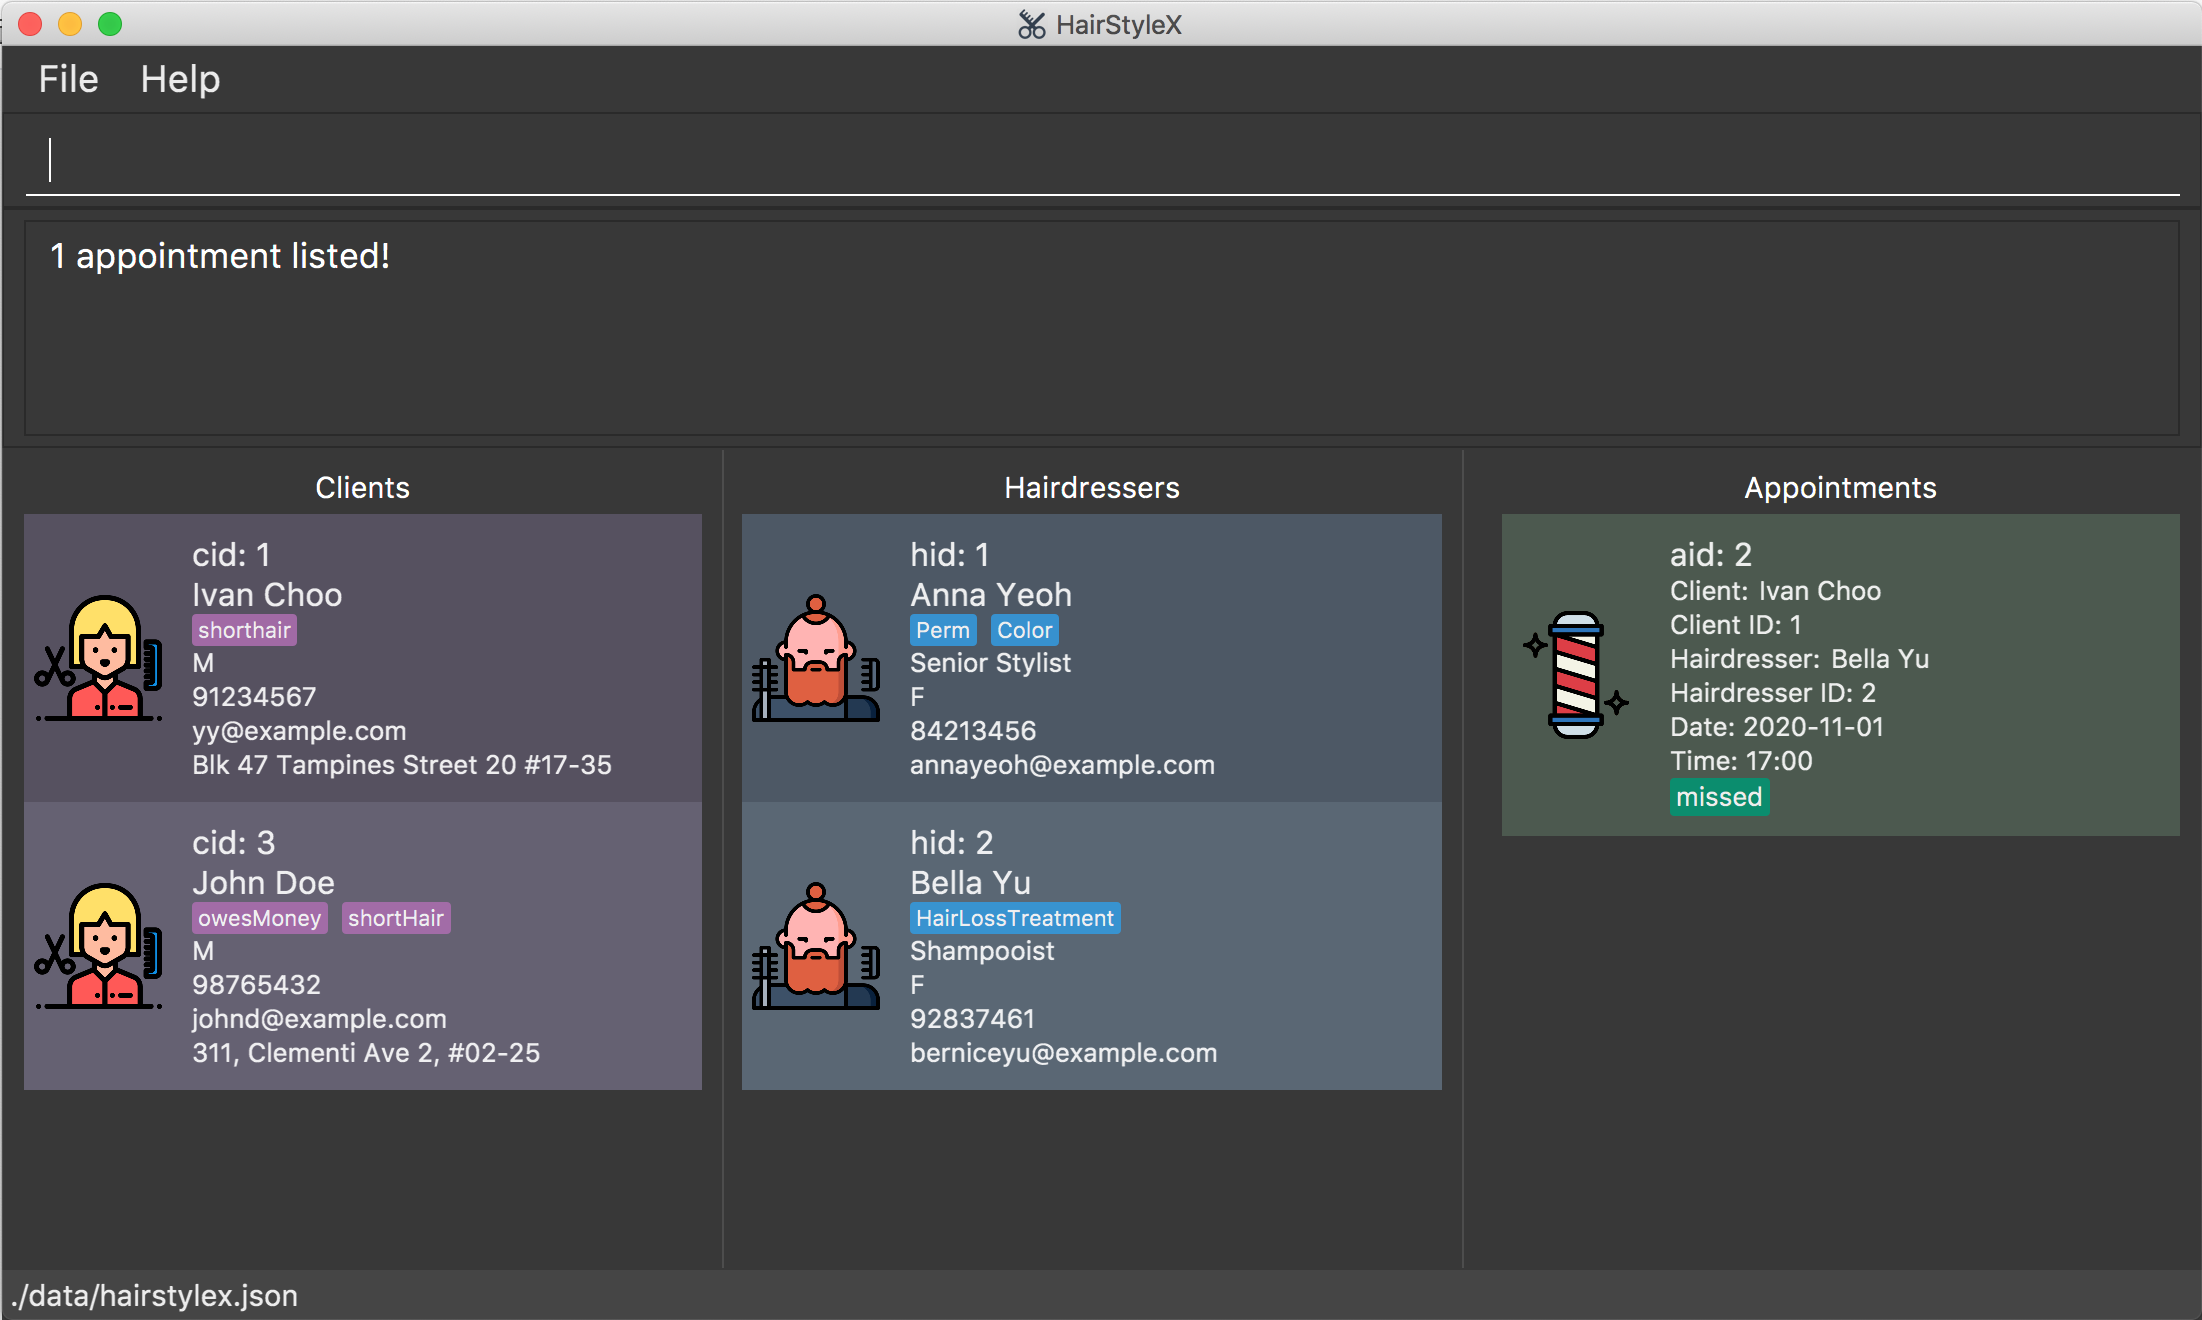
Outcome:
- The
Result Displaywill show a success message. - You can now see the filtered appointments in the Appointments Panel.
Example 2:
You wish to find appointments with date 2021-06-02 in the database. You will perform the following steps:
Filter appointments:
- Type
filter_appt d/2021-06-02into the Command Box. - Press
Enterto execute.
Outcome:
- The
Result Displaywill show a success message. - You can now see the filtered appointments in the Appointments Panel.

4.5 Shortcut commands
(Contributed by Aloysius)
This feature allows you to customise command shortcuts. You can add, delete and list shortcuts for
longer commands. This is very helpful as it allows for a shorter time when typing out the commands.
For example, instead of edit_hairdresser, you can add a shortcut and use eh instead as an example.
4.5.1 Shortcut Command Parameters
| Parameter Name | Description |
|---|---|
OLD_SHORTCUT |
The name of an original command provided by HairStyleX. E.g. add_client, edit_appt, etc. |
NEW_SHORTCUT |
Your preferred shortcut name for the OLD_SHORTCUT. It should only contain at most 20 alphanumeric characters, hyphens -, or underscores _.E.g. a_c, ea, a-h, etc. |
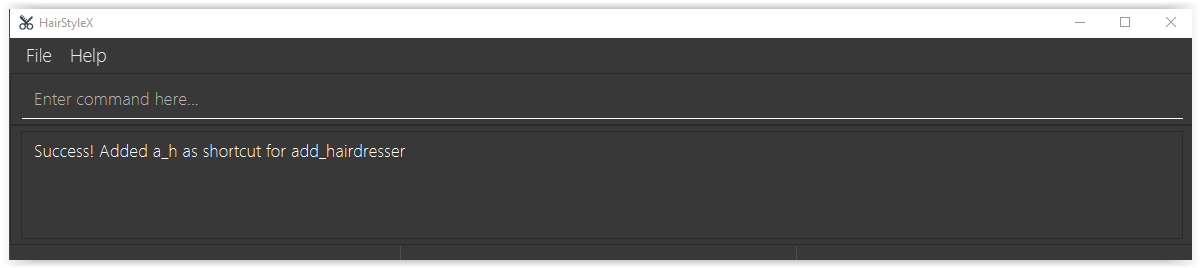
4.5.2 Add a new shortcut : add_shortcut
You can use this command to add a new shortcut to the program.
Format:
add_shortcut old/OLD_SHORTCUT new/NEW_SHORTCUT
Example 1:
You want to create a shortcut aa for add_shortcut.
Creating a new shortcut:
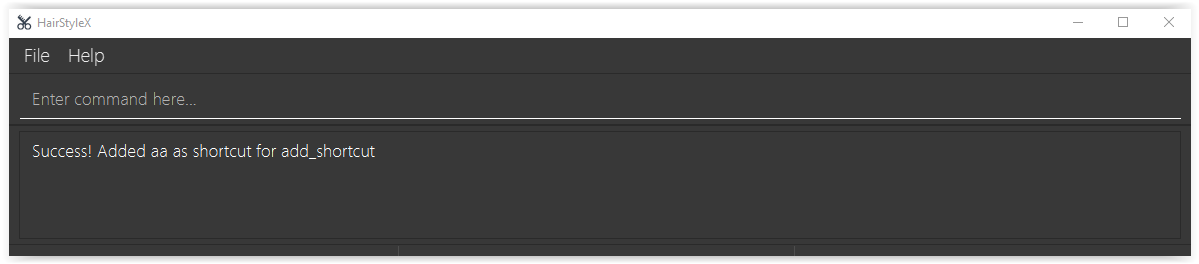
- Type
add_shortcut old/add_shortcut new/aainto the Command Box. -
Press
Enterto execute. Outcome:
 - The Result Display will show a success message.
- You can now see your new shortcut.
You can now use the shortcut

And it works!
![]() You cannot add duplicate shortcuts or default command words as shortcuts. You also can still use the original command!
You cannot add duplicate shortcuts or default command words as shortcuts. You also can still use the original command!
4.5.2 Delete a shortcut: delete_shortcut
You can use this command to delete a shortcut to the program.
Format:
delete_shortcut SHORTCUT
Example 1:
You want to delete a shortcut aa.
Deleting a shortcut:
- Type
delete_shortcut aainto the Command Box. - Press
Enterto execute.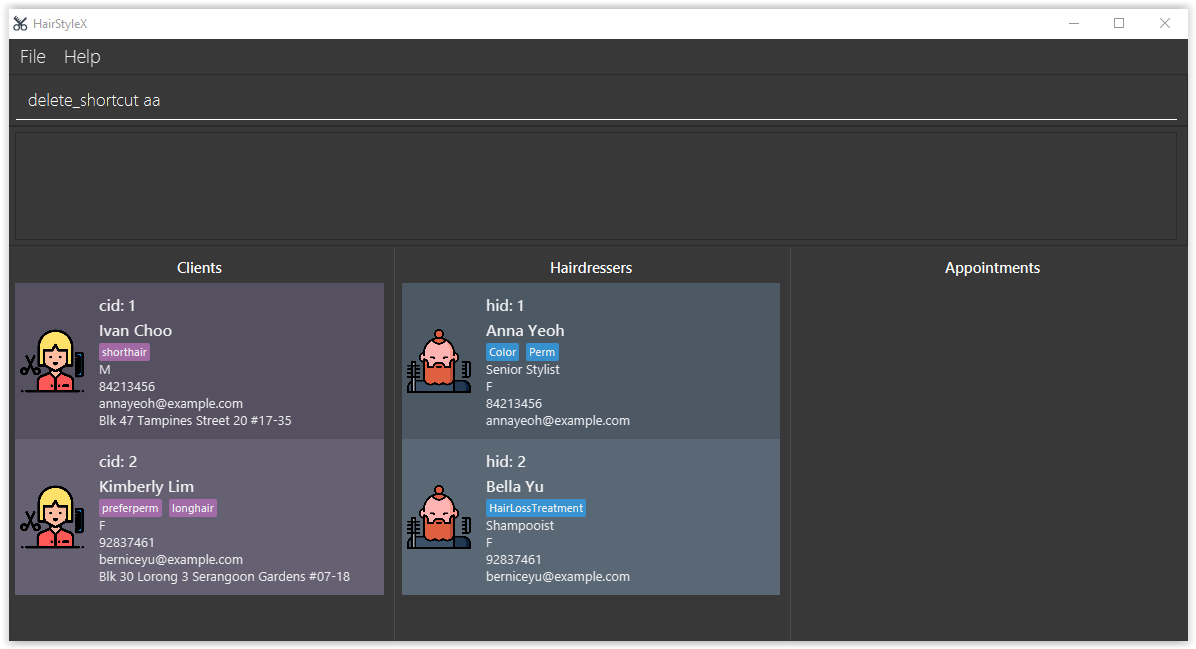
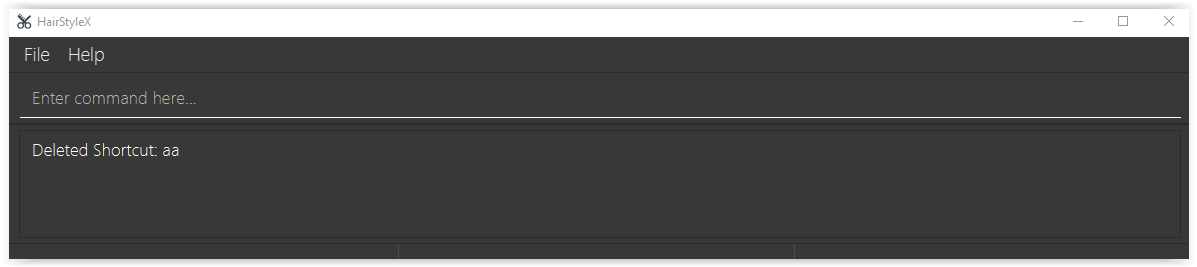
Outcome:
- The Result Display will show a success message.
.Outcome of a successful delete_shortcut command
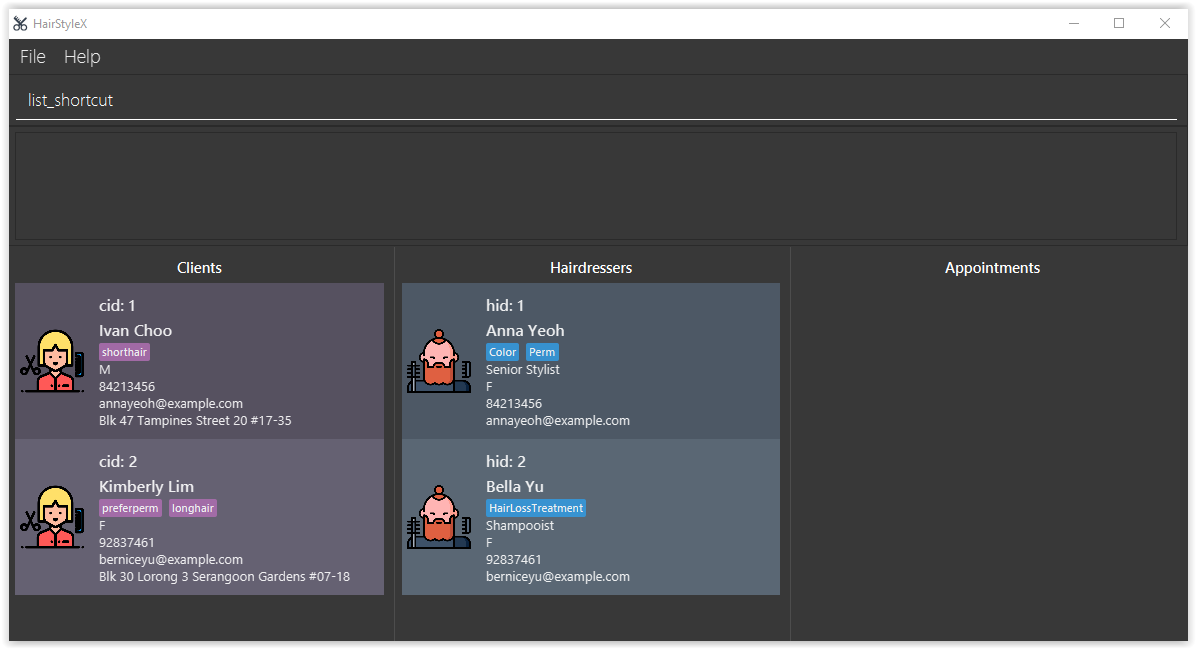
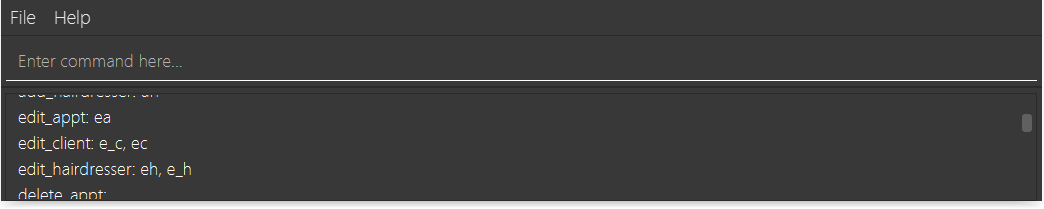
4.5.3 List all shortcuts : list_shortcut
You can use this command to list all your shortcuts.
Format:
list_shortcut
You can use this command to show all your shortcuts.
5. FAQ
(Contributed by Tan Yu Li, James)
Q: How do I transfer my data to another Computer?
A: Install the app in the other computer and overwrite the empty data file it creates with the file that contains the data of your previous HairStyleX home folder.
Q: Why aren’t I allowed to edit my date or time for the appointment?
A: Editing the date or time may cause conflicts in your schedule if the change results in two appointments with the same hairdresser occuring concurrently. However, we are working on a feature that will allow you to resolve these conflicts in the upcoming version of HairStyleX.
Q: What do I do if I want to change my appointment’s date or time since I cannot edit them?
A: Unfortunately, you have to delete the appointment and create a new one.
Q: What happens if I schedule 2 of my appointments with the same hairdresser on the same date and time? Will HairStyleX detect it?
A: Yes, HairStyleX will detect such cases and prevent you from creating such an appointment.
6. Command summary
(Contributed by Tan Yu Li, James)
6.1 General Commands
| Action | Format, Examples |
|---|---|
| View user guide | help |
| Clear all entries | clear |
| Exit the application | exit |
| Export to CSV | print |
6.2 Client Commands
| Action | Format, Examples |
|---|---|
| Add Client |
add_client n/NAME p/PHONE_NUMBER e/EMAIL g/GENDER a/ADDRESS [t/TAG]… e.g., add_client n/Nicholas Toh p/12345678 e/niktoh@example.com g/M a/123, Clementi Rd, 1234665 tr/colouring p/female stylist t/frequent
|
| List Clients | list_client |
| Edit Client |
edit_client ID [n/NAME] [p/PHONE_NUMBER] [e/EMAIL] [g/GENDER] [a/ADDRESS] [t/TAG]…e.g. edit_client 2 n/James Tan p/Female Stylist
|
| Delete Client |
delete_client ID e.g. delete_client 3
|
| Filter Client | filter_client KEYWORD... |
6.3 Hairdresser Commands
| Action | Format, Examples |
|---|---|
| Add Hairdresser |
add_hairdresser n/NAME p/PHONE_NUMBER e/EMAIL g/GENDER ti/TITLE [s/SPECIALISATION]… e.g., add_hairdresser n/James Ho p/22224444 e/jamesho@example.com g/M ti/senior s/colouring t/colleague
|
| List Hairdressers | list_hairdresser |
| Edit Hairdresser |
edit_hairdresser ID [n/NAME] [p/PHONE_NUMBER] [e/EMAIL] [ti/TITLE] [s/SPECIALISATION]…e.g. edit_hairdresser 2 n/James Lee ti/senior
|
| Delete Hairdresser |
delete_hairdresser ID e.g. delete_hairdresser 3
|
| Filter Hairdresser | filter_hairdresser KEYWORD... |
6.4 Appointment Commands
| Action | Format, Examples |
|---|---|
| Add Appointment |
add_appt cid/CLIENT_ID hid/HAIRDRESSER_ID d/DATE t/TIME e.g. add_appt cid/1 hid/1 d/2020-12-12 t/17:30
|
| List Appointments | list_appt |
| Edit Appointment |
edit_appt ID s/STATUS e.g. edit_appt 1 s/COMPLETED
|
| Delete Appointment |
delete_appt ID e.g. delete_appt 3
|
| Filter Appointment |
filter_appt [cid/CLIENT_INDEX] [hid/HAIRDRESSER_INDEX] [d/DATE_OF_APPT] [s/APPT_STATUS] e.g. filter_appt s/missed
|
6.5 Shortcut Commands
| Action | Format, Examples |
|---|---|
| Add Shortcut |
add_shortcut old/OLD_SHORTCUT new/NEW_SHORTCUT e.g. add_shortcut old/add_shortcut new/aa
|
| Delete Shortcut |
delete_shortcut SHORTCUT e.g. delete_shortcut aa
|
| List Shortcut | list_shortcut |